

We are having a heat wave here in Oregon, first one for the summer and given that this is Oregon, it could be the only one. Some dismiss us Oregonians as whiny because our warmest days don’t usually get much higher than 99 to 103, but keep in mind that we have few of them, so how can we get use to them. AND there are many of us who do not have air conditioning! Why? Well, most of the time we are wearing fleece so why do we need air conditioners?!! This is heat wave day 4 (89 , 91, and 95 for the last 3 days) and my house is barely cooling down enough to be able to sleep at night. I have looked so forward to the summer because I was tired of cold and rain… I am determined not to get grouchy, to stay positive, to stay cooooool. Speaking of cool, this weekend is the Blues Fest in downtown Portland and since the temperature prediction is the high 80’s, I plan on wearing a dress that I recently finished, one that I really love, made with the McCall’s 6745 pattern.

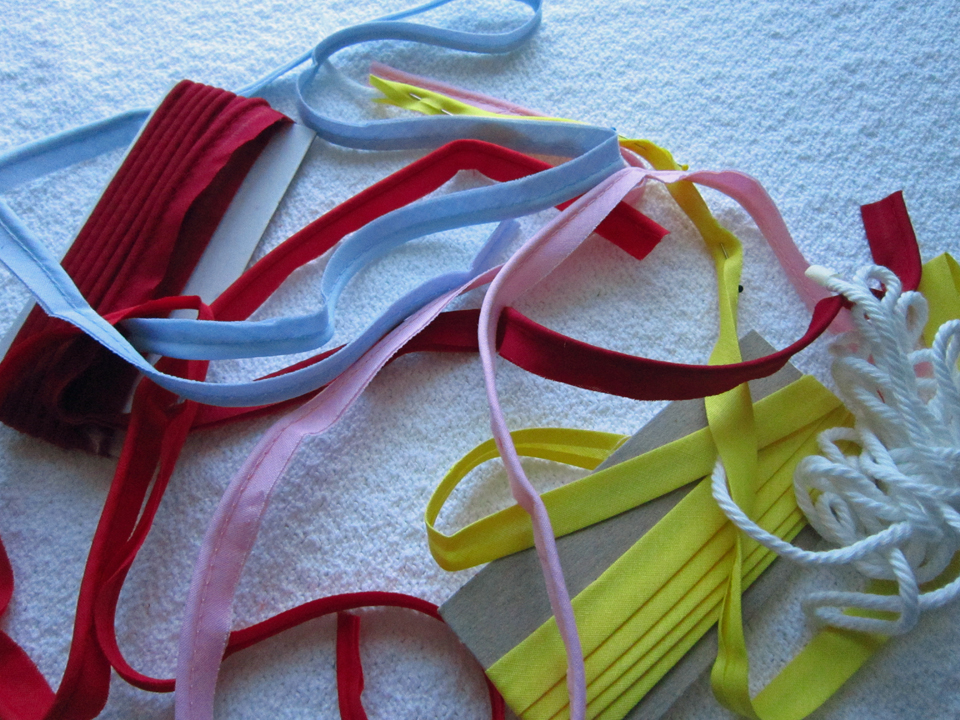
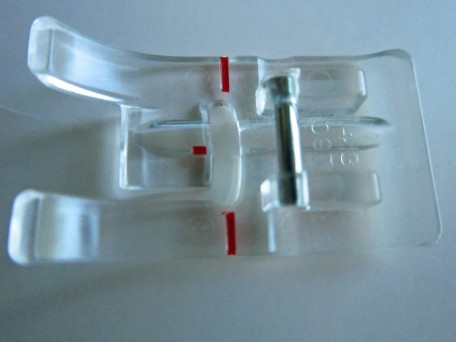
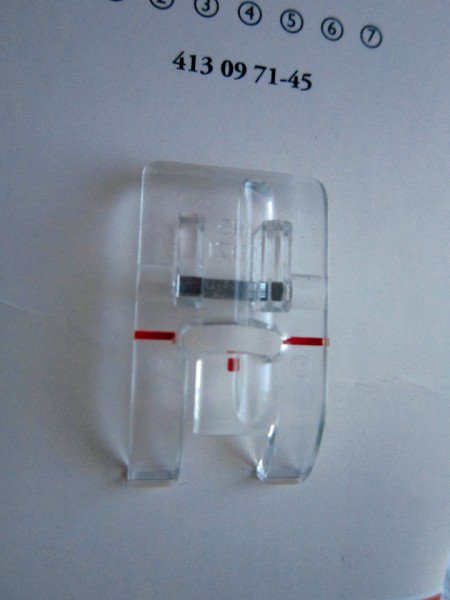
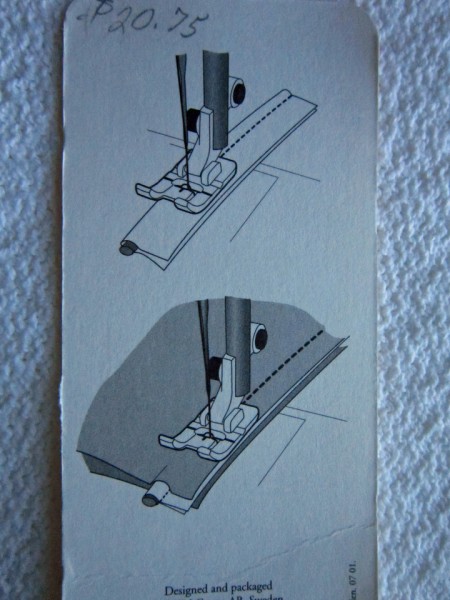
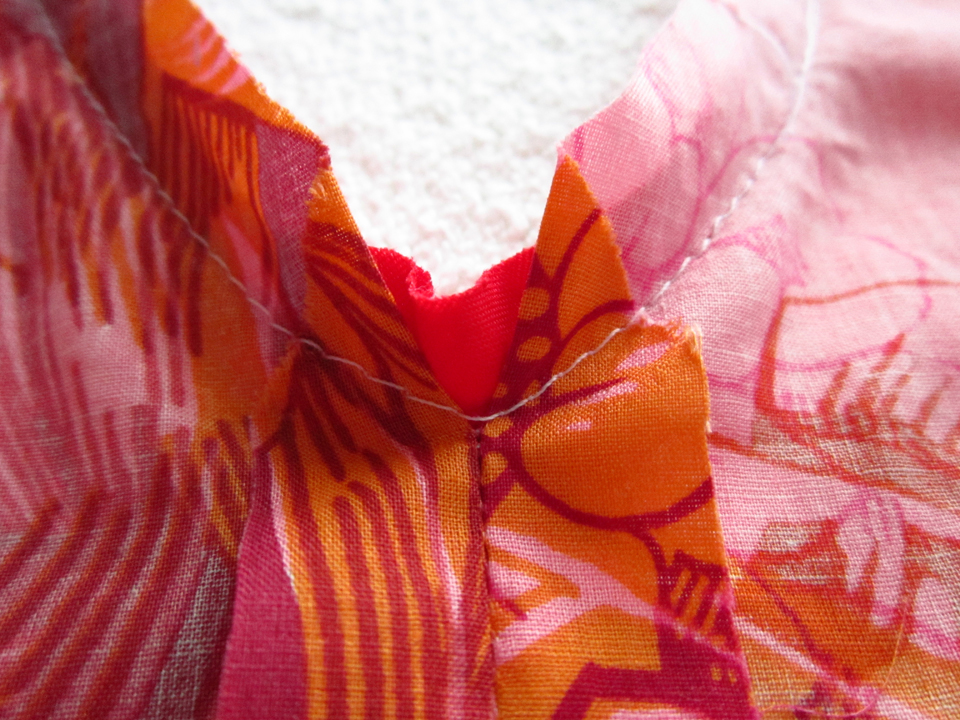
I think what fascinated me most about this dress pattern was that piping was used to trim the bodice. Piping creates a look that has always caught my eye when it is sewn into a garment. I have used it enough times that I eventually purchased a piping foot for my sewing machine and it makes the job much easier. The pattern instructions say to use a zipper foot…I don’t know about that. I would love to hear from anyone that has tried sewing piping with one.
This is what my piping foot looks like. I have a Husqvarna 750 Platinum.
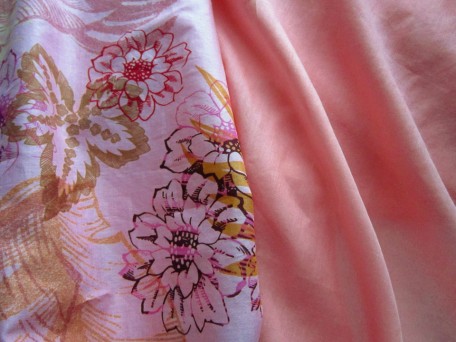
It took me over a month to find fabric that I could see this dress in. I loved the colors in the fabric of the dress shown on the pattern envelope but I’m not big on the southwest look. I do love teals as well as the deep cobalt blue that I’ve been seeing in lots of RTW (ready to wear) garments shown in magazines but alas, no printed fabrics with these colors in either fabric stores or on-line fabric stores. What’s with that! I probably know why but I won’t go there because it could cause me to rant.
I eventually decided on this, far from blue, but I really love this color too. (wow-I just rhymed) The fabric is fine cotton and for the lining I chose a salmon colored voile.
Before cutting into my beautiful fabric, I did what has become habit, made a muslin. With experience I have learned how much circumference I need for my hips and waist so I chose not to make the skirt part of the dress, just the bodice. Thank goodness because there was naturally a fitting issue. It seems to always be the same for me, the area just above the bust and next to the armhole. I need a size 8 everywhere but this spot. I decided to try something different since up until now I have remedied this problem by making adjustments to either the shoulder and/or center front neck, though neither really fix the problem that well. I have to share this even though this is suppose to be a pattern review because it was a major revelation for me!
I first traced the front pattern bodice piece on tracing paper. Next, I marked a spot 2 inches up from where the armhole starts. From here, I made a second mark 1/4 inch further up from this mark. Using these two marks, I created a dart drawing a line from each all the way to the top point of the waist dart. After briefly admiring my lovely new dart, I cut it out! I then drew a line from the bottom of the waist dart at the center between the two dart legs, all the way up to almost the tip of the lovely new dart I cut out, leaving a smidgen of tissue paper to act as a hinge. (the standard method is to cut the waist dart leg closest to the side seam but I was was in experimental mode, and being a rule breaker, as usual!) Using the hinge, I then swung the section of bodice nearest center outwards closing my lovely dart! Essentially what I did here was to remove the extra fullness at the armhole I didn’t want by first drawing in a dart that would remove it but then moving that dart and it’s fullness to the waist dart. It was then the final test. I made a 2nd muslin and when I tried it on, I tasted sweet success (like eating chocolate if you are chocoholic like me). It worked!

I love chocolate!
Now back to our review. The pattern instructions are clear enough to understand, but I would consider this pattern to be an intermediate skill level, partly due to the piping, but also because of the pivoting that happens in the center front of the bodice and all the pleating in the skirt. I am not sure if I pivoted properly, but did achieve a look I could live with. It might have been easier if piping had not been involved! (Sounds like I’m dancing)
The darts are to be cut open and ironed flat. By doing this, you distribute the extra fabric of the dart evenly creating balance. This is an haute couture technique which I love, but you certainly need to be sure that you have done your fitting because once it’s cut, there’s no changing anything!
I basted the piping to the bodice but had a difficult time removing the thread after sewing the bodice and bodice lining together. I used the loosest stitch my machine sews. I try to always remove any temporary basting after the final seam is sewn because the fabric seems to lay smoother, especially when there are a number of layers.
With the bodice finished, I was ready to move on to the skirt. Be warned, you will need some patience for this. I made all my markings for the pleats on the wrong side of the fabric but the picture instructions show you how to do the pleats on the right side of the fabric. Maybe the best way to do this would be to make tailor tacks (marking all the large and small dots with thread) on the right side but because I was not paying a lot of attention to the pictures when I first read the instructions, I missed this kind of important detail. There was a whole lot of pinning and I think a whole lot of swearing going on and fortunately the fabric I was using was forgiving of the pins and me!
The two back pieces each have four pleats.
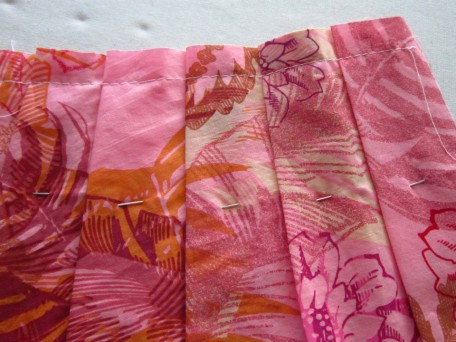
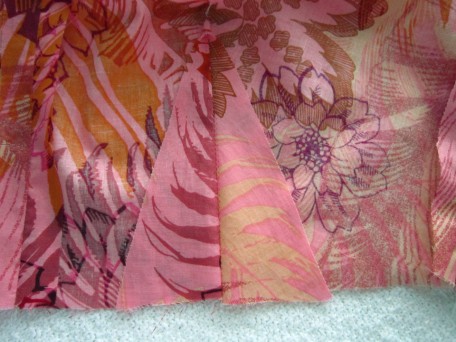
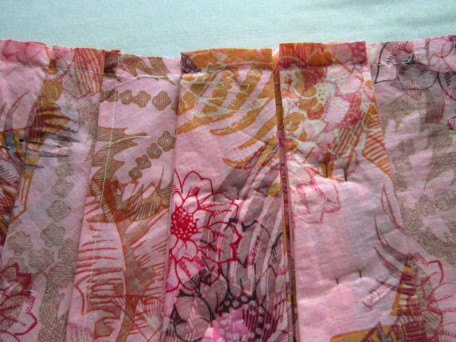
The front has two double (yes double) pleats on each side of center.

Here is a close up so you can see what I mean when I say double. It may be a bit confusing looking at the picture, but the main point here is that I want you to know that two pleats are stacked on one another which I found sort of confusing at first when following the instructions. I need to find out the techy way of putting pointers on my pictures so your eyes are directed to what I’m talking about. I’ll get there, soon, promise 🙂
I was a little worried about the thinness of my fabric and the skirt without a lining since it was not called for but when I finally finished my skirt, I knew exactly why there was no lining. And I certainly didn’t need to worry about see through. There’s a lot of fabric in that skirt, especially when it came to having to hem it. I made a 1 inch hem instead of a 5/8 inch like the pattern recommends since dresses are usually too long for me. Now I wish I would have made it a 2 inch hem but it took me an hour to sew by hand so I think I’m good with how it is!
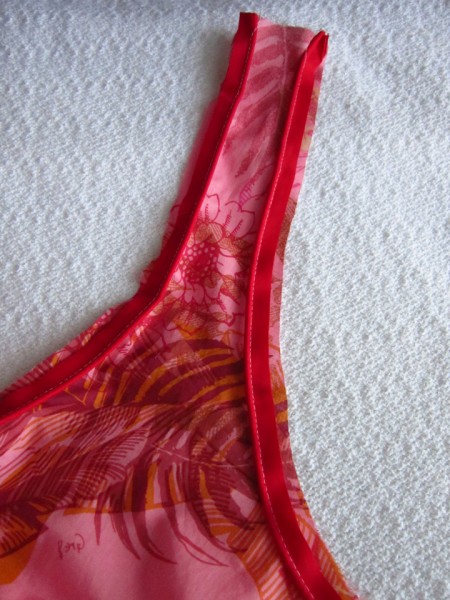
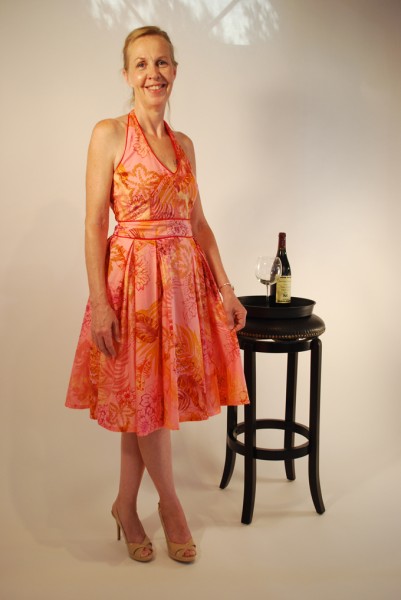
So here’s my dress!
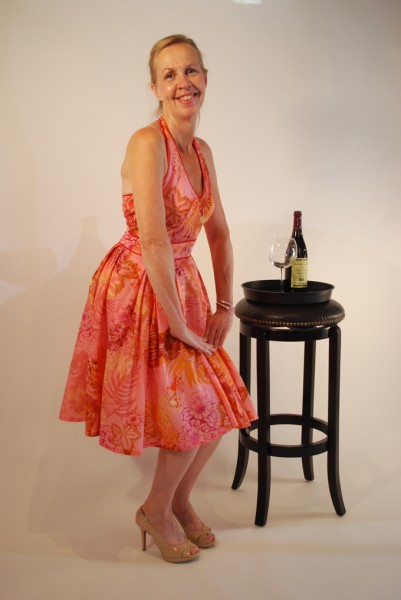
And the back.

Notice the interesting color line on my back. Got this after 20 minutes in the sun watering my plants on Saturday. Lots of Aloe Vera Gel for the first 24 hours!
So there it is – McCall’s 6745. I’m not sure if it’s the fabric or the style of dress but I feel girly when I wear it. Several weeks ago I wore it to an American Sewing Guild Garment Lunch and when I left the restaurant, the wind caught my skirt and blew it up. I mean UP! It was sort of a Marilyn Monroe moment but I wasn’t feeling very Marilyn. I was worried more that someone saw my butt! Oh well – it made for an interesting moment. Wonder what I should expect this next weekend at the Blues Festival. Part of the day I will be on a boat cruise floating up the Willamette River listening to Blues singing women and drinking wine and the remainder of the day sitting in my beach chair, listening to more blues singers and socializing. Hmm…I’ll have to get back to you on that!
Salute! Jessica
4 Comments
Leave a Reply to MariaDenmark Cancel reply
About Me
 Portland, Oregon,
 United States
Hi there! I’m Jessica Brandon and I am a clothes-loving sewing artist. When I am not sewing, blogging or shopping for shoes for my creations, I fill in the remainder of my days spending time with my children, playing ice hockey, gardening and making and drinking wine!


Up Coming Projects:
Vogue 1426

Vogue 7881

McCall's 7089

Vogue 8997

Vogue 1431

Vogue 9006

Vogue 8991

What a great dress! Very girly! And I hear you about the weather. It’s the same here in Denmark – it’s cold most of the time, so when the heat comes we need to enjoy it while it lasts.
Thank you Maria. Still no rain here, just high 70’s and 80’s and I’m not certainly not going to complain! This last Friday was a “girls day” for my daughter and I… so when we were shopping, we noticed that fall season clothes are starting to come out and we both have agreed that we just can’t do warm clothes yet! Gonna hang on to summer as long as we can!
I love this dress and it looks so good on you. I saw you wearing it to the blues fest on line. Once more a great job done. xxxooo
Thank you! I was hesitant to make the halter version because on the whole, I am not too keen on halter anything, but after some thought I decided to give it a try. It is sooo comfortable. I am thinking about making another but the bodice would be a slightly different style, in other words, not a halter and contemplating sewing fishing weights into the hem! 😛