

Tricked So No Treat Part 1
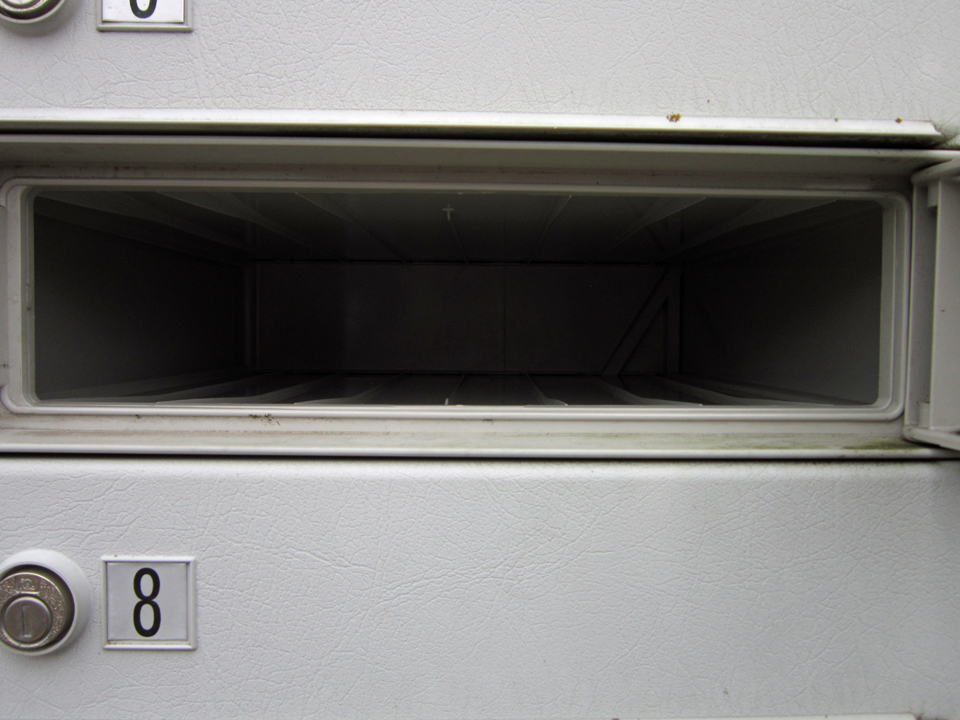
Why, you ask, is the above picture a snapshot of an empty mail box? Well there is an answer! The short version… ordered 8 yards of trim for the Halloween costume I was making to share with you in this post but it never came! Boo-Boos do happen (pun intended!) … have made at least a few of my own, so rather than blame the business I ordered the trim from, I decided to not spend energy on ranting about the fact that I don’t have a finished costume for this article one day before the big “Trick Or Treat” event and instead, share what I have got done so far in a Part 1 with a Part 2 to follow. And what will I wear for the party tomorrow? Well… I finally have a reason to justify the dozens of costumes I have, stored in boxes and containers and stuffed everywhere in my house…they are my back up plan for when something like this happens!
**Note to self: You just ranted!
Okay, moving right along. So… the costume I’ve been working on is an historical period garment. The pattern is Butterick 4093 that was available in 2003. Unfortunately being that it was 11 years ago, this pattern is no longer available.
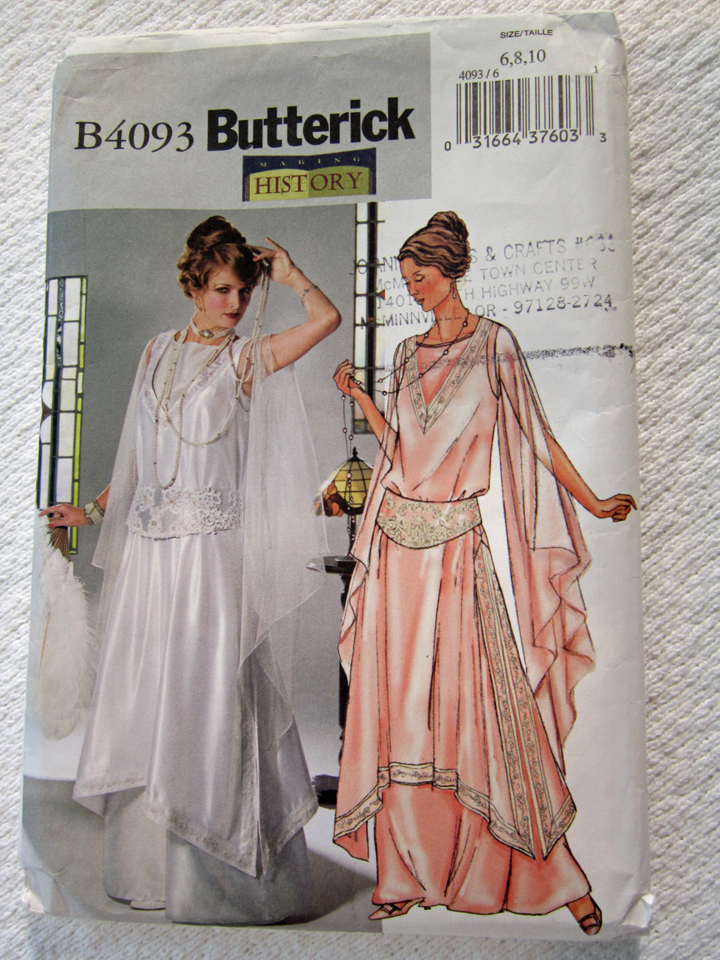
I don’t remember what my thoughts were when I bought the pattern, maybe I just thought it was pretty, but here in 2014 with Downton Abbey being so popular, it seemed like the time to break it out.
For my fabric, I chose Chiffon for the gown. It is the perfect texture and color for the tunic that fits over it made from Crepe Back Satin but unfortunately because of it’s thinness and low neck-line of the tunic, an additional under layer is gonna be needed! This was a total “OH CRAP” moment. I never thought about it when choosing my fabric.
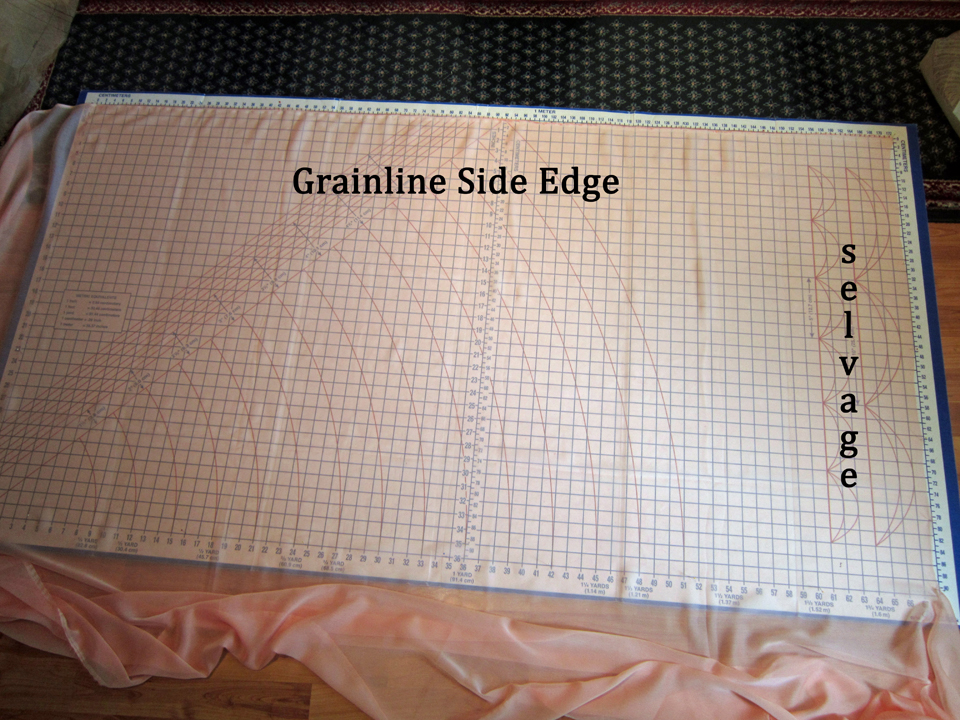
I worked out a system for cutting my pieces out of the chiffon. I laid a cutting board that you can buy at Jo-Ann Fabrics on the floor and then pinned one grainline side edge onto the cutting board. I used lots of pins spaced about 2 inches apart. I next gently pulled the fabric to pull out the wrinkles and make it smooth across to the opposite side leaving the remaining fabric lying off the board and on the floor. Then I pinned alternately, the selvage along the end and the fabric laying over the opposite edge of the cutting board, continuously smoothing and working with the grainline so my finished gown would hang properly when wearing it. Because this fabric is very thin and light, I think it’s really important to pay attention to what it does when you are pulling on it. It’s not hard, but you do have to be patient!
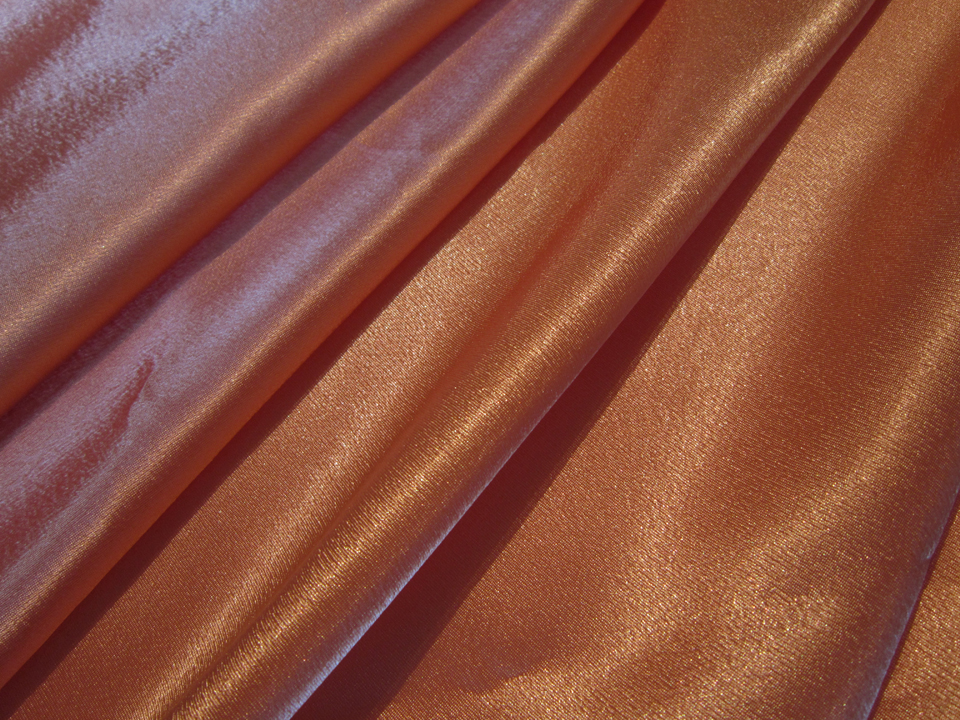
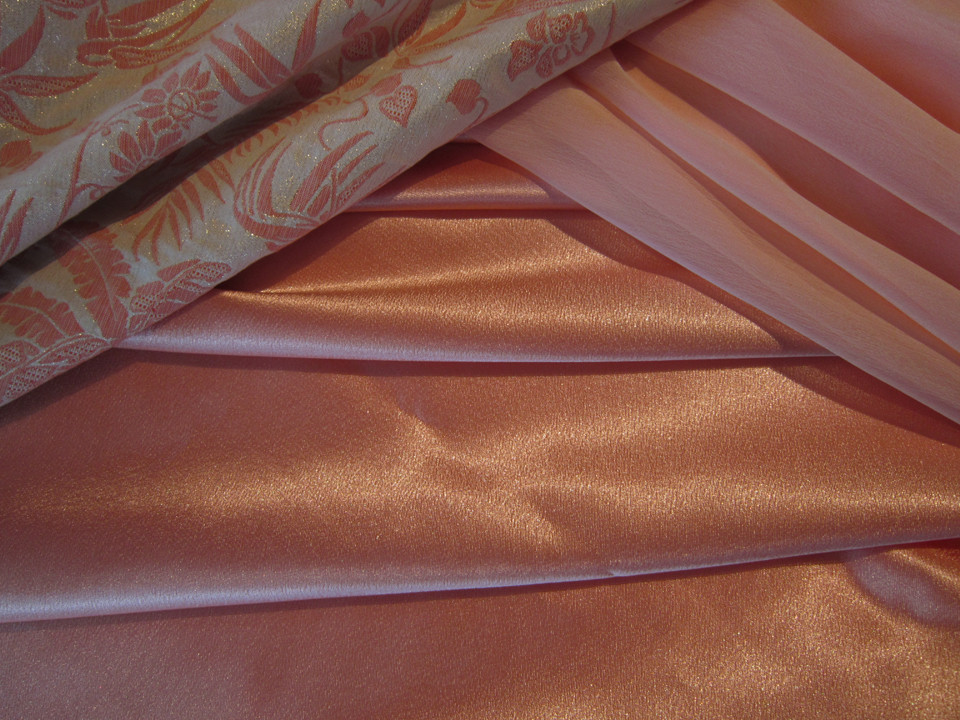
Cutting my pieces from the Crepe Back Satin went a little quicker because the fabric is heavier though it was slippery so I used my pinning technique that I used for the chiffon. I did get bold and cut my pieces on the fold! Risky but it worked out! Below is a picture of the fabric.
There is a third piece to this costume, a girdle, and for it I chose a gold Brocade embroidered with colored thread that looked perfect next to my Chiffon and Crepe Back Satin.
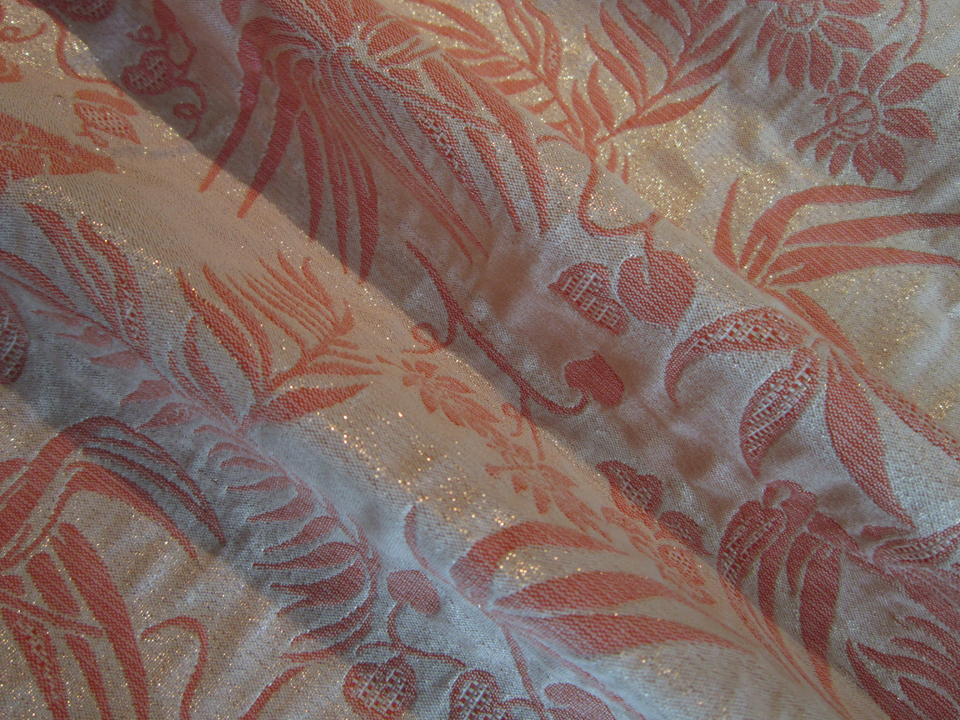
Here is a mix-up of the three. See… they look good together!
Hey, I’m stretching this out so this posting has something interesting in it. It’s not my fault!
The gown I made first because I thought it would be the biggest challenge due to the sheerness of the fabric. Surprisingly it actually went quite well. I did make my own bias tape and used the same Chiffon for it.
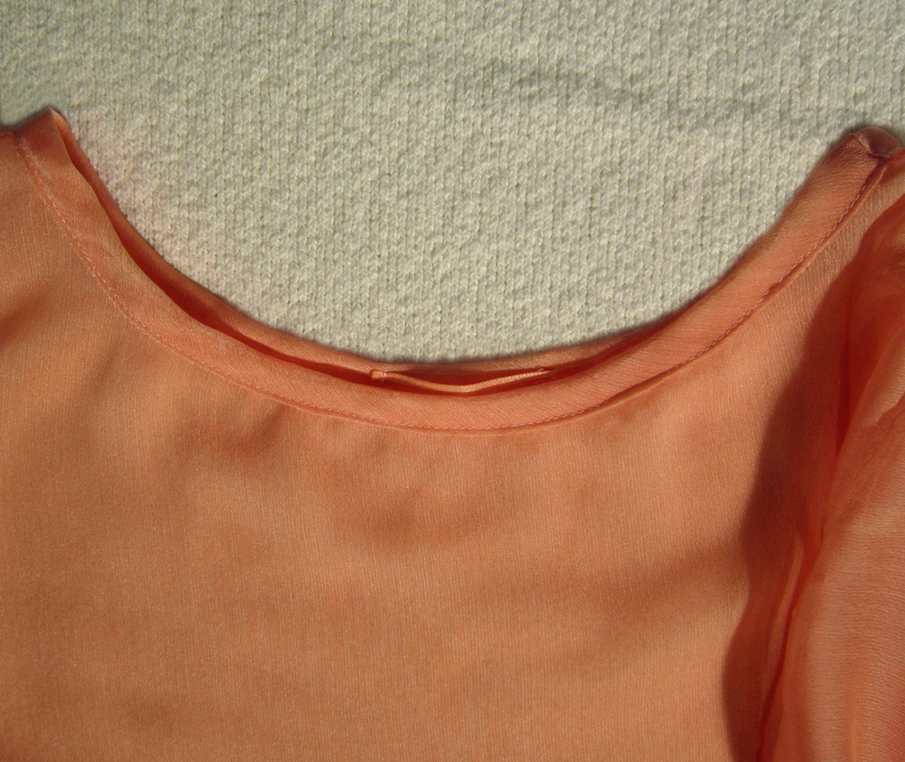
The sleeves are sleeves, but not sleeves! They are connected for about two inches down past the point at the end of the shoulder, but from there to the hem they are open.

The tunic I found to be a little more of a challenge than the gown. It was like sewing… uh.. I hate to say it… “snot” because it sounds gross but it’s the best analogy! Once again, patience was my best tool of defense! Believe it or not, I changed absolutely nothing and followed the pattern instructions exactly when I made the tunic! And I might add that it went very smoothly.
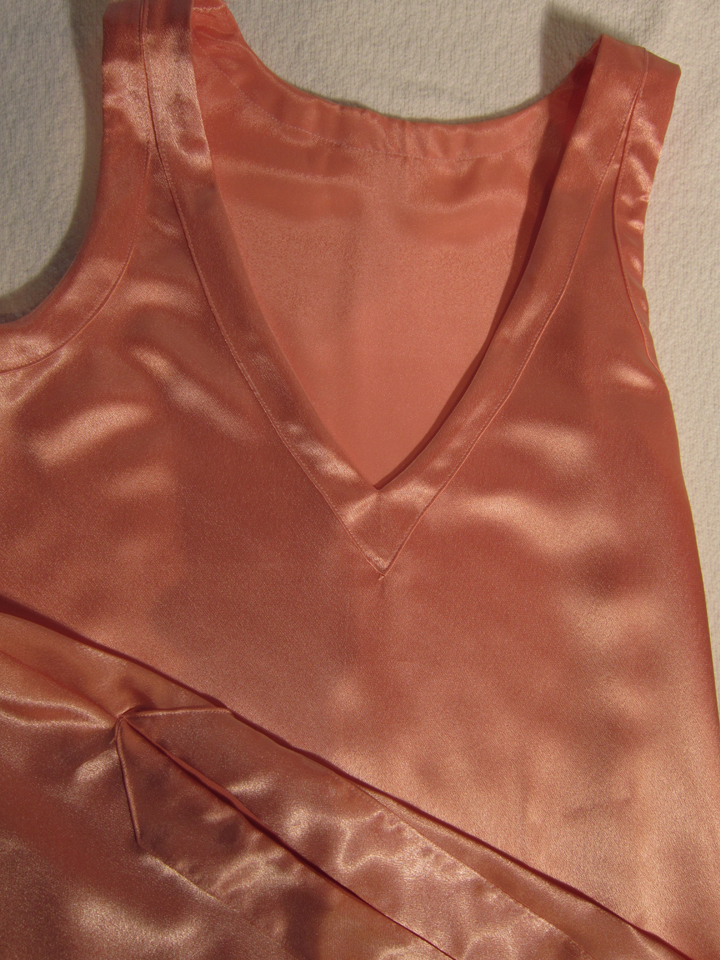 The two folds towards the bottom of the picture looking like a “V” pointing dowards are actually one of the sides. I just folded it upwards into the picture.
When I finished sewing the tunic, this is when the production line shut down. I needed trim, 8 yards of it to be exact, and I faithfully checked my mailbox every day thinking that it would be there because I ordered it!. Several of those days I even made my son go check the mail for me in rain that was pouring down in buckets… (well I wasn’t going out there!). But alas, no trim. While stuck in stand-by, waiting for the missing package, I figured it was the perfect time to finish the girdle. Hey – that’s what it’s called! There is really nothing to it. There is a front panel and 2 back panels that fasten in the middle of the back, and then it is faced to enclose the seams. This part of the costume I have been chipping away at for a while because I have been sewing beading on it. More specifically, pearls, bugle beads, sequins, and glass beads as well as gluing on Swarovski crystals. It has been a work in progress but it is done.
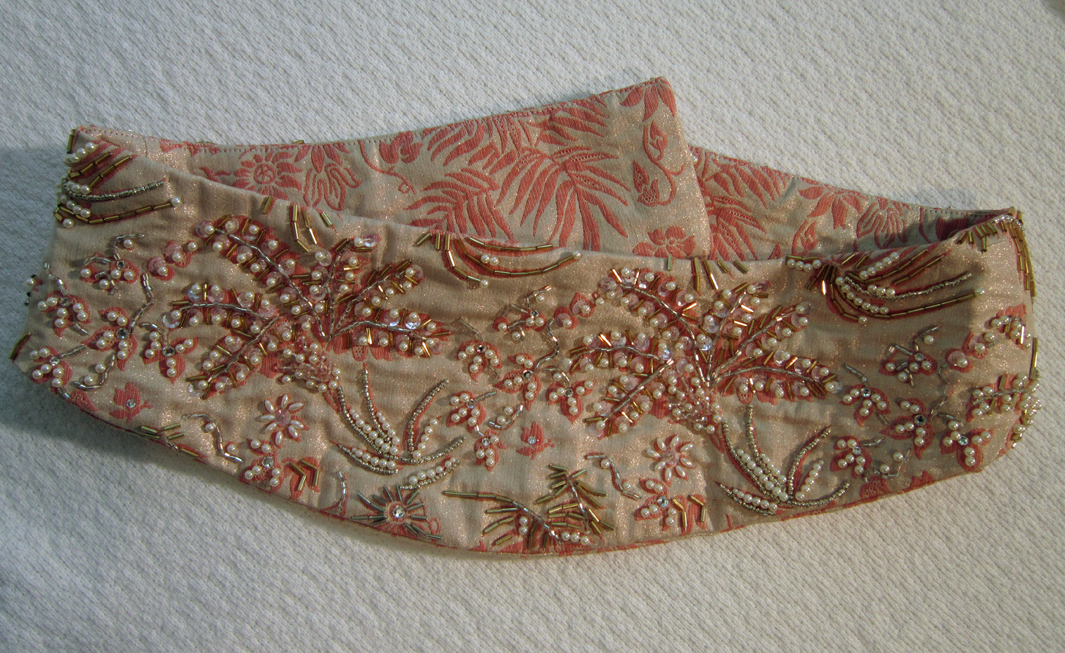

It is actually very sparkly and bling-y but I was having trouble with my lighting today so it is what it is!
Good news! My trim has been shipped so when it arrives and I get it sewn onto my tunic, my ensemble will be ready to share! Until then, have a fun Halloween, stay safe, stay warm and here in Oregon, stay dry!
Salut! Jessica
Read MoreDKNY Vogue 1160 as Little Black Dress

It looks like summer is about over here in Oregon. How do we know this… it’s raining! And when it starts, it seems like it never stops. But the good news… this is when I find myself sitting at my sewing machine quite regularly, forgetting the cold wet dreary weather outside and focusing on what I can create to wear that will pick-up my mood through the winter months. I think bears have it made! They just hunker-down in a cave and sleep until the sun comes back out. However, it’s hard for me to to picture myself hunkering down in a cave… well I do love to sleep, but I’m a social creature who loves to spend time with family and friends, love my wine drinking activities and don’t want to miss out on any fun stuff! Hmm… Better re-think the hibernation business. One thing for sure though, I will definitely continue to cling to my Little Black Dress mode because the LBD makes me think of the warm summer evenings, sipping wine or champagne, laughing, eating and dancing the night away!
This is where the sound of a needle dragging across a vinyl record is heard…..and a voice in the distance crying out “BACK to EARTH JESS! Ahem…. So — the point to my ramblings is that I am ready to share my new LBD I made using the DKNY Vogue 1160 pattern. I had fun making it! Well… most of it was fun… except for all the “n-a-r-r-0-w” hems… especially on the slip that is cut on the bias. But this too I eventually conquered and I think will not be as big a deal with future projects. Most of the seams are “french seams” so plan to use lots of thread!
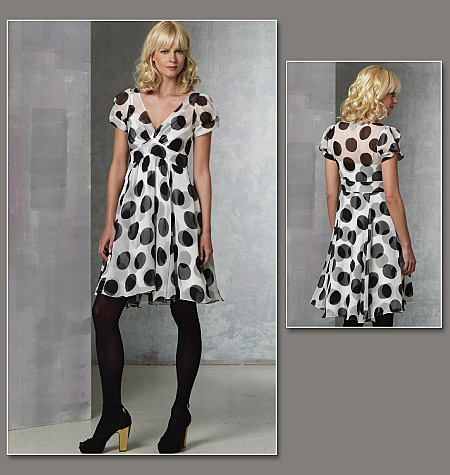
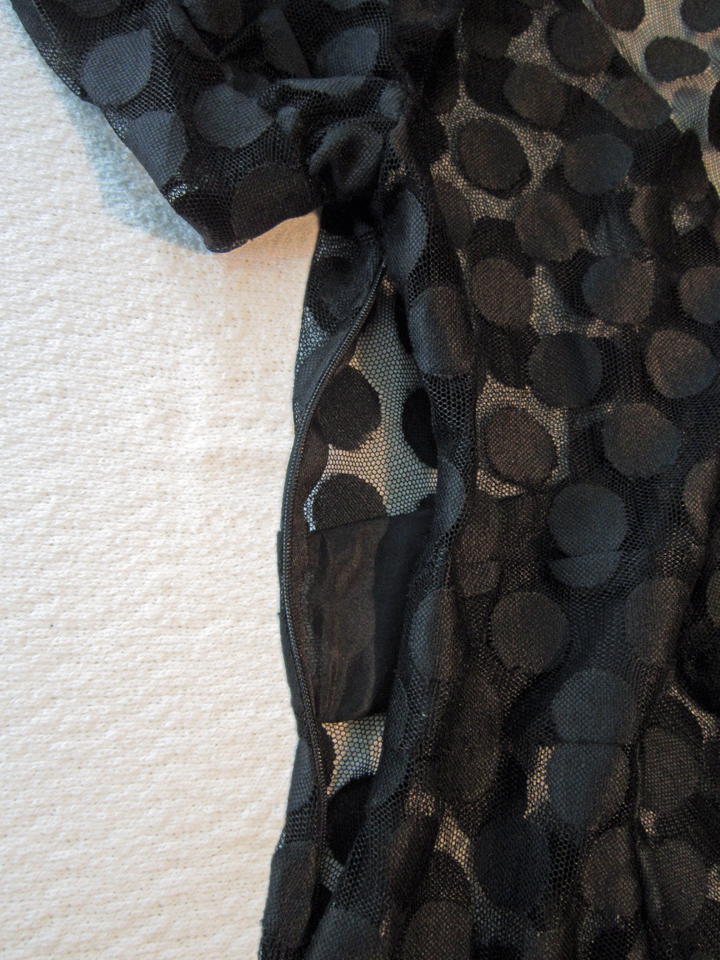
Recommended fabrics are Chiffon or Georgette for the dress and Silk Twill or Charmeuse for the slip. Definitely jumped ship at this point. For the dress, I used a rather stretchy mesh. Why?! Well because it’s polka dots, it’s sheer enough to see the slip underneath, it’s black… and because it’s just plain cool!
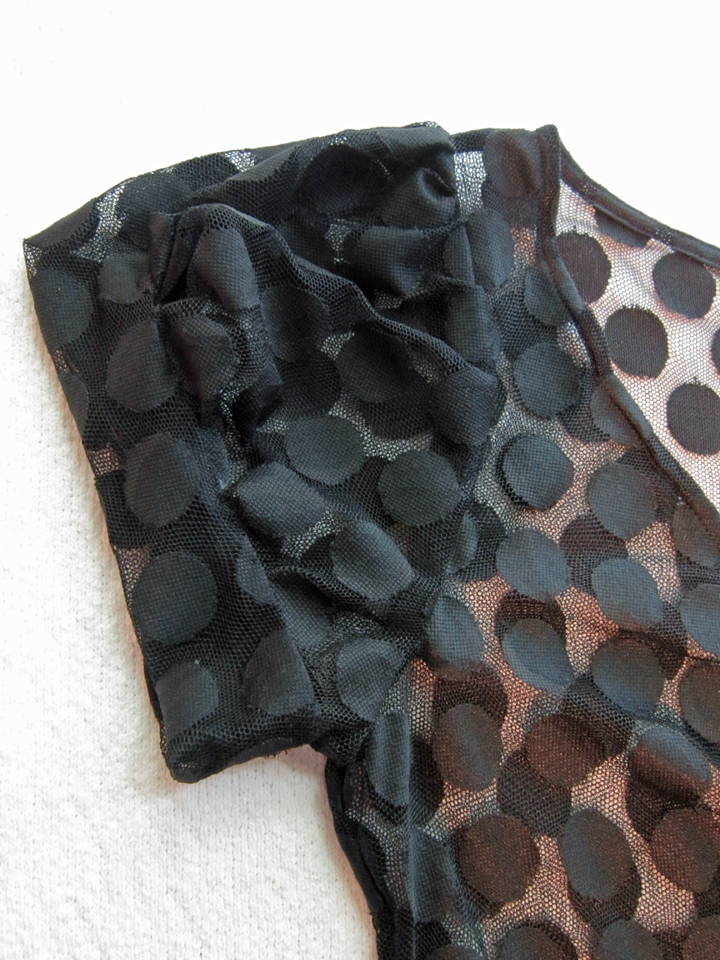
 The dots are not much larger than a dime!
The sleeves are an interesting design, but unfortunately my picture could not really capture what’s going on. Nonetheless, here it is.
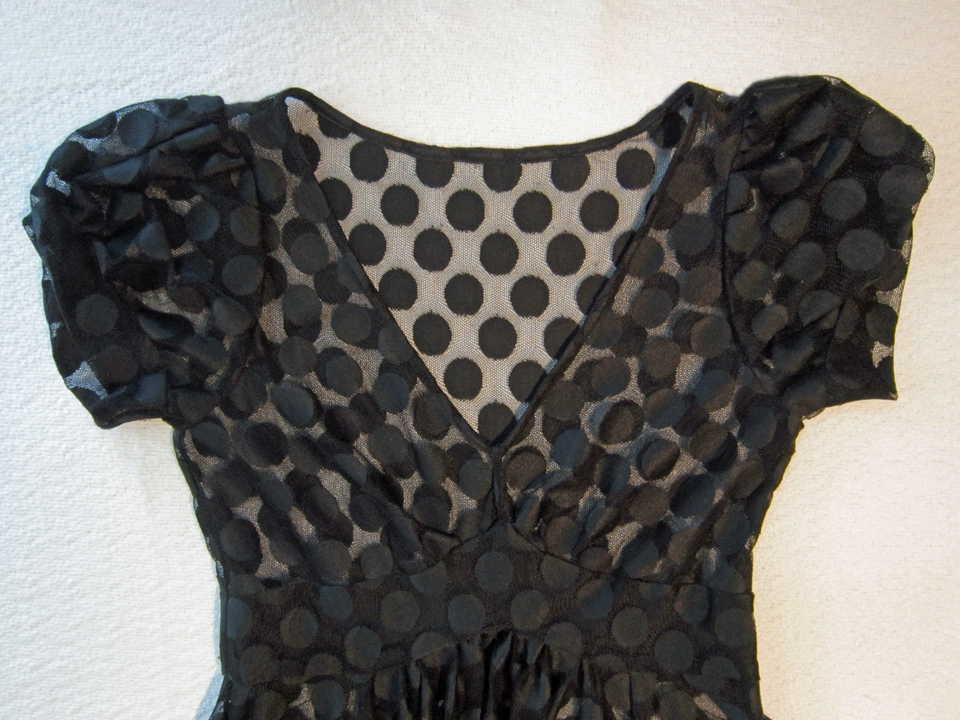
The bodice midriff piece is suppose to be lined with the same fabric as the dress, but I chose to use China Silk because I didn’t want all the seams to show.
There is a side zipper which fortunately isn’t real long, 7 ” inches to be exact! Kind of a pain because of the fabric I used.
So I was zipping along, making good progress, though all the while thinking… there’s a LOT of skirt to hem… in a “n-a-r-r-0-w” hem. Don’t get me wrong, the skirt is really neat. It’s a little shorter in the front than the back… but there is a lot of gathered fabric that creates it! I never measured it, didn’t want to know! When I finally made it to the hemming step, I had concluded there was only one way to take on this bad girl! I was gonna do a “rolled” hem! Do I know how to do this. NO! Not really! But one of my ASG (American Sewing Guild) friends, Suzanne, shared a most awesome link with our group that was gonna save my butt!
What’s a hand sewn rolled hem? Watch this video and you will see! This is a gem done by Ami Simms, who is a quilter, teacher, author and fellow blogger, who has most graciously allowed me to share it with you.
Pretty nifty huh! And here is a picture of my “rolled” hem. I know you can’t really see the stitching, but truthfully, I couldn’t either! That’s mesh for you!

Yes, I did use Silk Charmeuse for the slip and overall, it went smoothly. Admittedly there was a wee bit of hair pulling but I persevered!
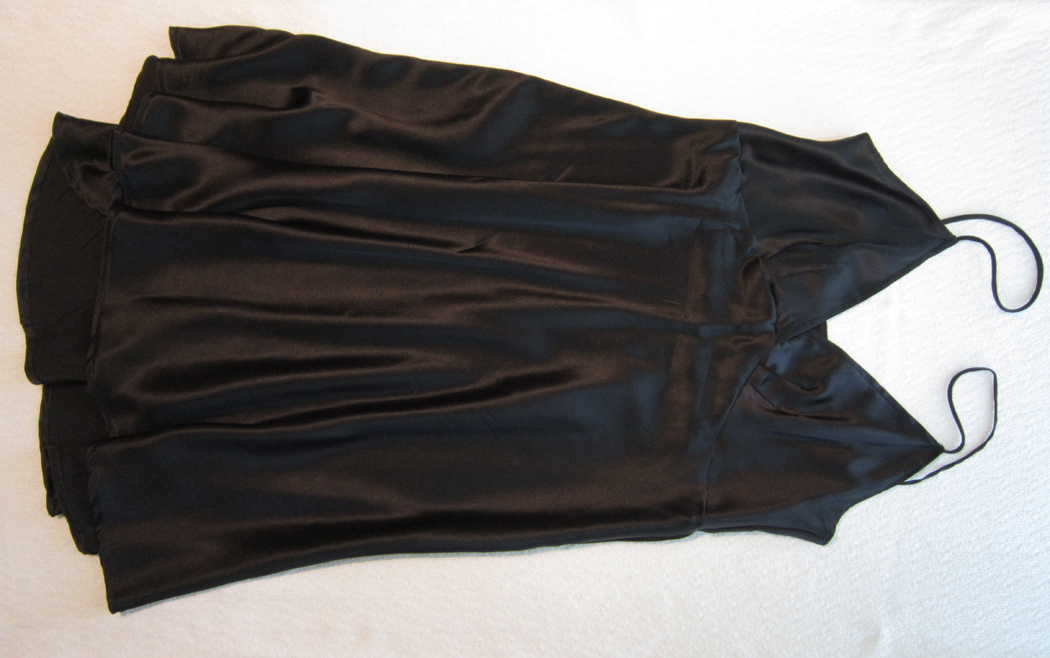
The straps which I call “spaghetti” straps (cuz that’s what I learned growing up) were really really really easy to do with Charmeuse! This fabric has lots of “slippage capability”! Yes, it slips when cutting it, it slips when sewing it, it slips when “n-a-r-r-0-w” hemming it! But don’t be afraid. We must dive into pits of horror to learn that we CAN get out! And it makes us better sewers!
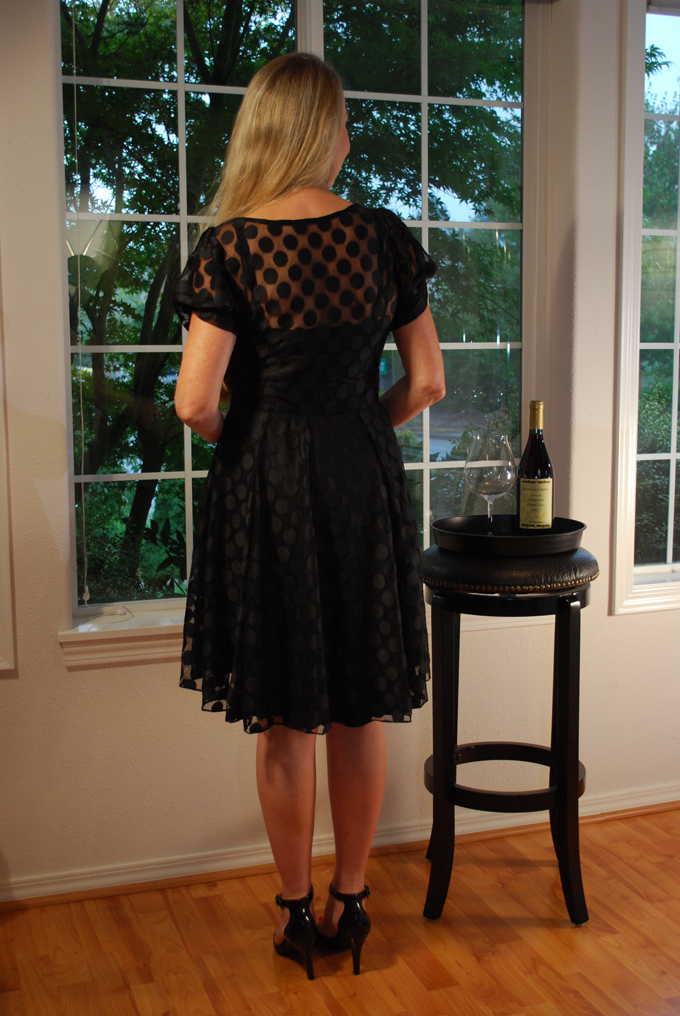
I contemplated not doing a photo shoot with me as the model and using Phoebe instead. She’s so easy to work with. Just hangs around and doesn’t talk back! Phoebe is my full bodied dress form for anyone wondering what in the world I’m talking about. I sometimes wonder if I come across as narcissistic, with all the pictures of myself. Truly I’m not, I am actually quite camera shy and so it usually takes a glass of wine to put my mind at ease. Okay… you figured me out. I guess photo shoots are wine drinking opportunities! Well, on with the show!
Moi in my LBD!

See how the back is a little longer than the front.

The back of course!
Cheers to another photo shoot!

Right around the corner is one of my favorite times of year… Halloween! To everyone sewing costume(s)… I raise my glass to you. This is when the artist in each of us gets to really shine! I am presently working on mine like a mad fool in order to get it done pre-Halloween and posted to share with you. Be back soon!
Salut! Jessica
Read MoreAbout Me
 Portland, Oregon,
 United States
Hi there! I’m Jessica Brandon and I am a clothes-loving sewing artist. When I am not sewing, blogging or shopping for shoes for my creations, I fill in the remainder of my days spending time with my children, playing ice hockey, gardening and making and drinking wine!


Up Coming Projects:
Vogue 1426

Vogue 7881

McCall's 7089

Vogue 8997

Vogue 1431

Vogue 9006

Vogue 8991
