

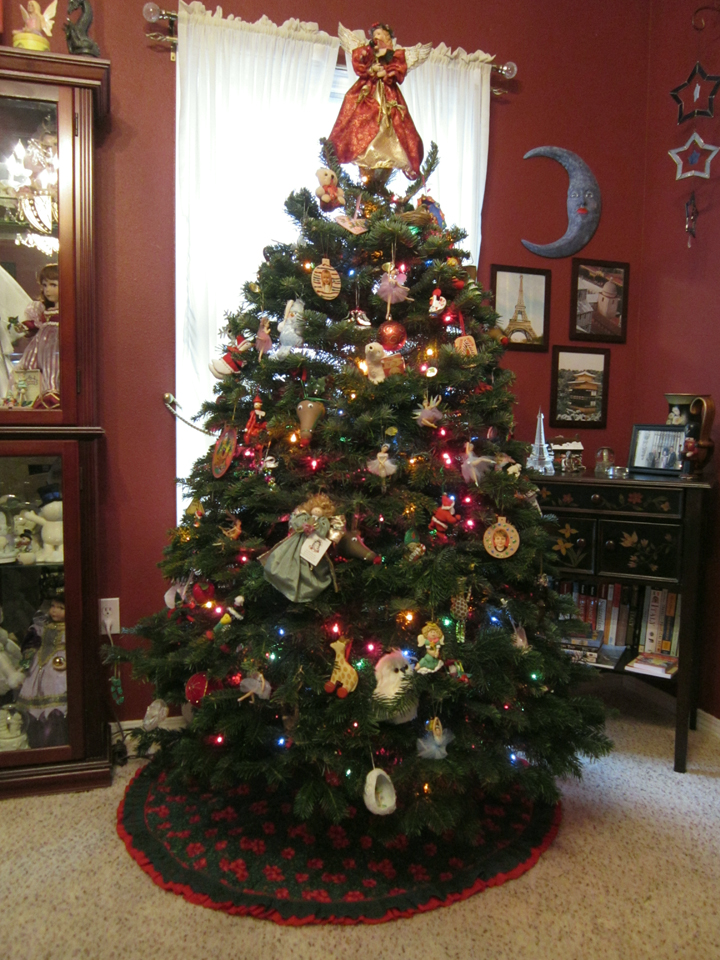
Yes.. I am one of those who drags the yule log in the house and decorates it… with the help of my kids of course! There were absolutely no squirrels in the branches this year but… there was another problem. Monday morning at about… say 6:30 am, there was a tinkling, ringing, clanking sound that came from the downstairs room where this pretty little tree WAS (I’m emphasizing the “was”) standing. The ornamental carnage that came with the falling of our tree drove me to drink!… Tea! HA… you thought I was gonna say wine! I am unwilling to take the responsibility for this fate so I am blaming this incident on either the South Pole Elves or the crappy tree stand that we used. Since there was no evidence of elves, I determined that the blame would be placed on the tree stand! After a trip to Lowe’s and the purchase of a new improved tree stand, we were able fix the disaster. I did have to wait until today for the carpet to dry so I could put the skirt underneath but now it is finished and ready for Christmas.
Interestingly, this holiday season here in Oregon has started off with truly cold cold weather that has caused a lot of us to actually freeze our butts off!

For the last three weeks it has been in the teens and low 20’s during the day, getting even colder at night. My understanding is that this hasn’t happened since the 70’s! Believe it or not, during all of this coldness, I have managed to continue sewing, albeit a bit slower of a speed than my usual. I haven’t left my skirt making mode and while making them, I got to thinking that I need tops to go with my skirts.
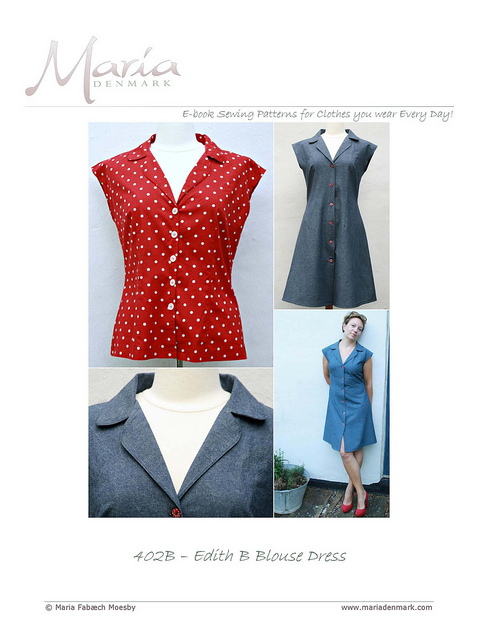
MariaDenmark, a fellow blogger has designed and created a blouse pattern, the “Edith Blouse”, that you can purchase on Craftsy . She shares a little story on both Craftsy and her “Wool and Weeds” Blog about how this cute blouse came to be. Last summer I purchased it with the intention of making it then but alas… so much was going on that it didn’t happen. However… now, in my skirt-making-madness-mood, it seems the perfect time to make it.
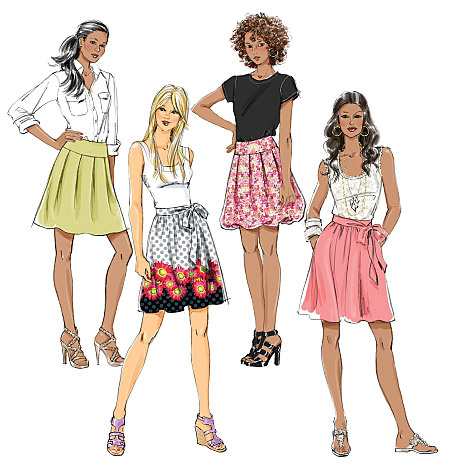
This is a picture of the blouse. The pattern also includes a dress, which actually is just added length below the level of the blouse. It has that Retro look yet still looks modern and given that the blouse fits me so well, I think the dress will be a fabulous spring project!
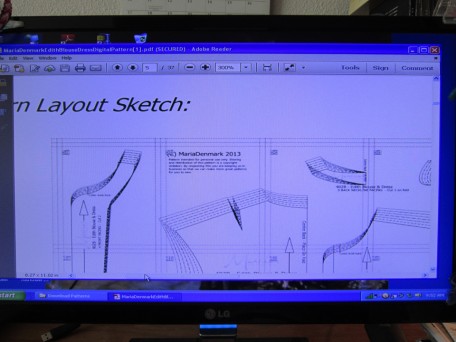
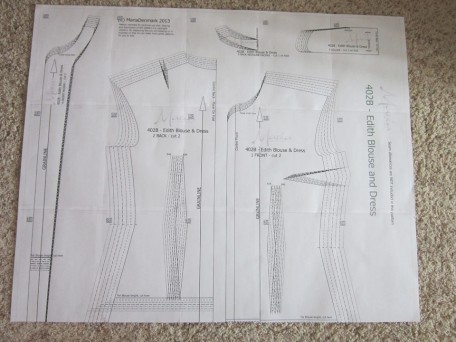
This is a download pattern which arrived to me via PDF file. I have never downloaded a pattern before so admittedly, I was a little nervous at first. However, it truly went very smooth. I opened the PDF file and after reading all the instructions, printed off only the pages for the blouse. While piecing all the printed sheets together, I kept the full pattern layout sketch picture that’s included, on my computer screen while I was cutting and matching and taping.
Before I started, I considered to first cut off all the right sides and bottom edges of the printed pages along the red dotted lines but… since I am really getting tired of re-doing ANYTHING.. I decided against this and instead, went one page at a time. Here is a picture of my system.
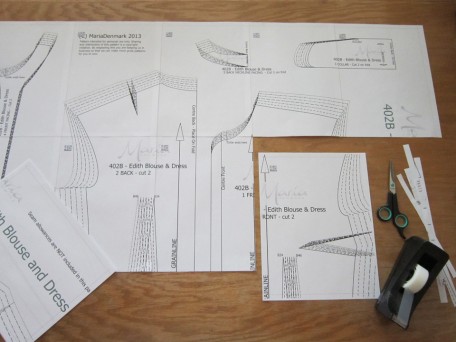
Now that the printed pages were all taped together…
I was ready for step two. Using tracing paper that I purchase by the roll from Nancy’s Notion’s, I traced the pieces that I needed for the blouse, adjusting sizes between bust, waist and hip. I next made a muslin to see where I was at in the fitting. Too much shoulder length, perfect bust, waist to narrow and hips WAY to wide. It was back to the drawing board so-to-speak. I rolled back out my taped together Edith Blouse pattern and re-traced my pieces making adjustments for all my fitting issues. Now it was time to make muslin number 2! It was a success! The happy dance commenced!
I had found some fabric at Mill End’s in Beaverton, Oregon that I felt so drawn to. Not sure why… it was a very nice fine cotton, but I knew that matching cut fabric pieces with a pattern like this fabric had would be tricky! Nonetheless, I was determined to make this fabric into the E. blouse.
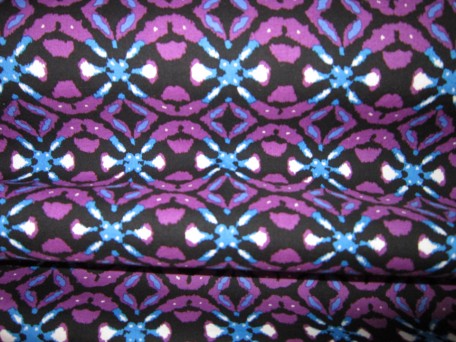
I spent a little time pondering my tactics before I started cutting. I pre-washed, dried and pressed the fabric and when I laid it out to cut out my pieces, I discovered that it was not on grain! Yuk! I paid $9.99 a yard for this fabric which was only about 42 or 43 inches wide resulting in having to buy additional yardage to cut out all my pieces. I decided to do what seems to be my usual these days… I tossed my fate to the rain and cut my blouse pieces the way that I thought the printed pattern would look best. I haven’t washed it since I’ve made it so I don’t know if I will get twisting or what, but…I will worry about that then!
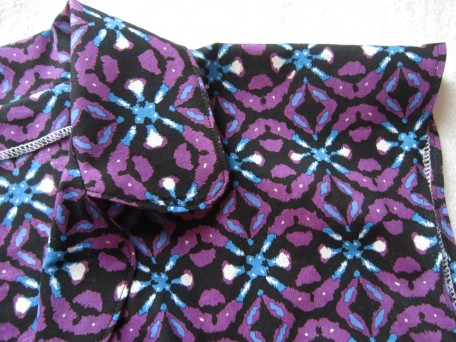
The blouse sleeves finish in such a way that I was concerned about them raveling even if I used my pinking shears so I decided to dig out my old dinosaur serger. I hate that machine! If I was a better operator maybe I wouldn’t get so frustrated with it but it’s so rarely that I use it. That is why I’ve not considered taking classes or joining a serger group but maybe I should reconsider. At least I would know how to fix most of my problems! It must have taken me an hour to finally get it to sew a decent seam and so now I was ready to actually sew together the blouse .
I had fun sewing it. It was a little time consuming making all the darts but they are what makes the blouse fit so nicely. There are two long ones that go to the hem in the back piece and one on each of the front pieces that are almost as equally long as the back ones. The front center edges fold over to the outside towards the top like a lapel and blend nicely into the collar.
Next up was my skirt. I found some beautiful wool flannel in black that I couldn’t wait to sew so I could wear it! I am thinking really warm here! I tried to take a picture of the wool but because it was black, the camera had a horrible time with it. I was getting grays which were not at all true to it’s color so I bailed on the picture. The skirt that I decided to make was a style from the Butterick 5613 that I made my previous skirt from. My lining skirt that is!
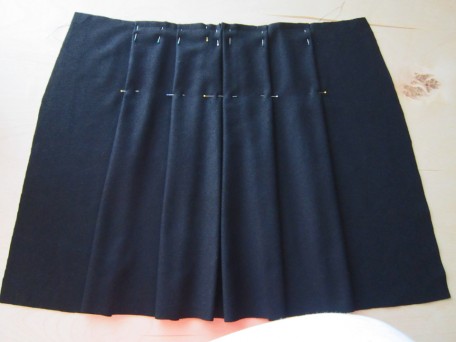
This time I chose the option C style with pleats. I made a few changes however. There are five pleats in the front section and per the pattern instructions, all are folded in the same direction. You are told to make the pleats on the outside, creasing along the lines of the small circles and then bringing those creases to the lines of the large circles. I did this for the 2 outer pleats on the right side but did the opposite for the 2 outer pleats on the left side. I still had the center pleat to contend with. I decided to divide the width of this pleat in half and marked this as the center. Then I folded one side of the pleat towards that center and then folded the other side of the pleat the same. I pinned them in place and then basted them. I wanted the pleats to hold their shape so I then top-stitched each fold, 6 in total, down 4 1/2 inches from the top edge of the waist. The back pleats I folded per the pattern instructions though I did top-stitch them like I did the front ones.
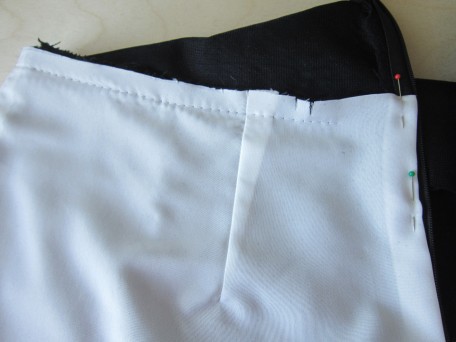
The pattern doesn’t give instructions for lining the pleated skirt but because I made mine from wool flannel, I considered the itch factor so decided to line it. An added plus would be that the pleats would drape better, especially if I used the straight lining that comes with the pattern. This straight skirt lining is intended for the pleated skirt if you make a bubble hem so that’s why it’s included. My method was my own for attaching the lining. I followed the pattern instructions through until after inserting the zipper (excepting the change I did in the front pleats). Then I made my lining and basted it to the skirt selvage, raw edges even, in a 3/8 inch basting seam with my sewing machine.
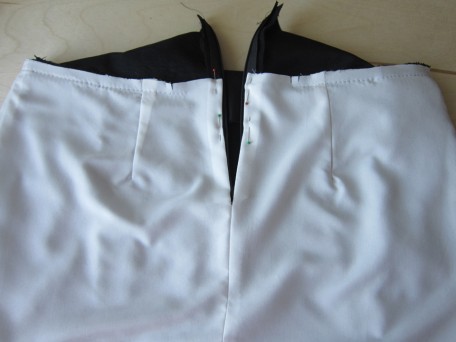
It was a toss up on what to do next, either sew the waistband yoke facing to the waistband yoke, or slip stitching the lining to the zipper. I decided to sew on the waistband facing first. I followed the pattern instructions for this… it’s pretty easy. Just matching up seams and markings. Next was slip stitching the lining to the zipper.
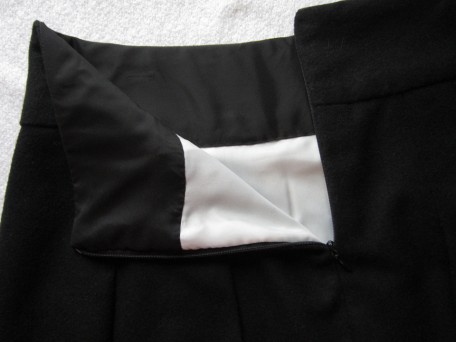
Almost there… now it was time to slip stitch the folded under waistband yoke facing over the skirt seam.
Then finally, the last thing to do… hem the lining. Mind you I did do this before I attached the lining to the skirt but I had an oh crap moment! I didn’t hem it short enough so it hung down below the hem of the skirt after I basted it in place. I just hate it when that happens!
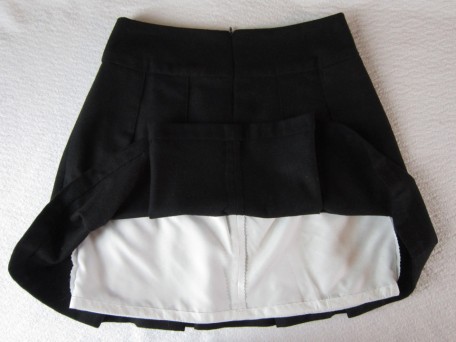
I contemplated top-stitching the waistband yoke on the top and bottom, but for some reason my mind doesn’t want to let me. I kinda like the plain wool look, it is so beautiful. I absolutely love sewing wool flannel. I don’t know what other colors it comes in but I plan on making more skirts from it. It will be so warm and cozy to wear.
I am not sure if my cotton Edith Blouse is the best match for my wool flannel pleated skirt but their colors compliment one another so I decided to pair them up for pictures. Here they are!

The back actually hangs quite smoothly but because I was turned a little, I think this feature was lost!
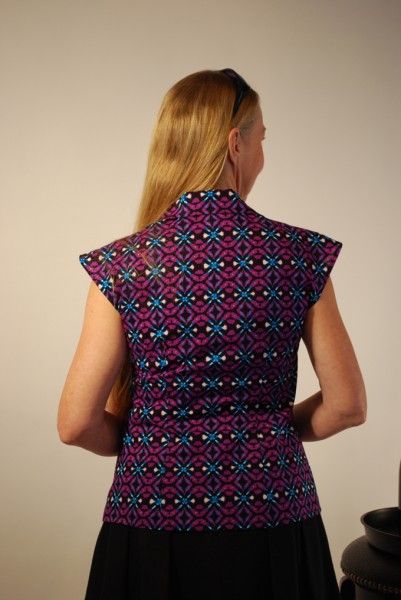
My daughter told me to tip my head a little, and then shortly later said left giving me a direction but I thought she said laugh!

That’s a take then! We are finished. I hope to next start on something blue. I have never made myself anything in blue before but the ladies at one of my favorite fabric stores did a poll with some customers while holding the fabric up alongside my face and it was unanimous that I could pull off wearing blue! So please note that if I look like crap, I am not responsible! 🙂

Salute! Jessica
About Me
 Portland, Oregon,
 United States
Hi there! I’m Jessica Brandon and I am a clothes-loving sewing artist. When I am not sewing, blogging or shopping for shoes for my creations, I fill in the remainder of my days spending time with my children, playing ice hockey, gardening and making and drinking wine!


Up Coming Projects:
Vogue 1426

Vogue 7881

McCall's 7089

Vogue 8997

Vogue 1431

Vogue 9006

Vogue 8991
