

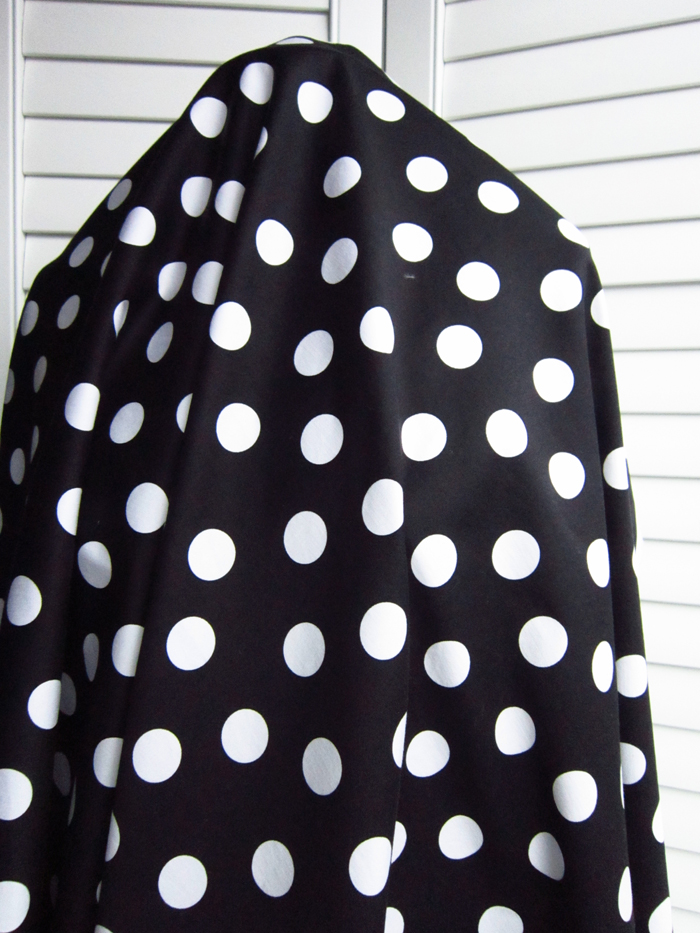
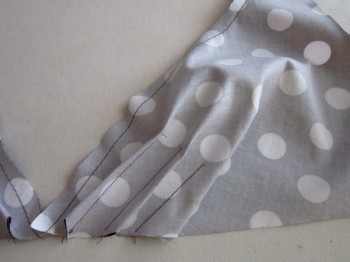
Yes, this is Betsey Johnson polka dot fabric! Lady Luck was on my side when I saw it available at Gorgeous Fabrics. I snagged 2 yards, then later thought about getting some more, but alas…it was all gone! It is Sateen and has a slight stretch to it; definitely has the feel of bottom weight fabric but perfect for what I had in mind. I washed it on the gentle cycle in my washing machine, bypassed the dryer and hung it to dry instead.
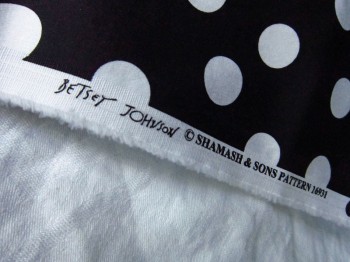
Some of you might say, “who the heck is Betsey Johnson?” Well, she is an American clothing designer who loves color, adores costumes and likes to design fashions that are playful, whimsical and edgy. I bet she would be a lot of fun and I would so love to meet her! So when I saw this fabric with the big polka-dots, I caved!
My original plan for this fabric was to make a dress from the Simplicity 1797 pattern. However… crap happened! There is really no other way to say it and that was the nice way. If you are one of my regular readers, then you know the story. If you are new here, it had nothing to do with the Simplicity pattern but the fabric I was practicing with before I started cutting pattern pieces out of my polka dot fabric. The pattern review for Simplicity 1797 tells all!
My new game plan was to draft my own dress. I wanted to make a skirt with an empire waist and it would have a whole lot of flare! I envisioned the bodice as sleeveless with a criss-cross front. Oh yeah – I thought I was brilliant until it was time to start drafting. I begin to lose my courage and started the transformation into a big chicken!
I deduced that maybe I needed to stimulate my imagination so for ideas I went rummaging through my patterns. It was sort of like panning for gold; a lot of “not what I wanted”. Then all of a sudden, there it was, the gold nugget, Simplicity 3783. What I saw sparkling was the bodice…it was exactly what I saw in my mind. The skirt I was not sure about though I loved the bubble hem idea. I had time before I had to make up my mind so I swept the skirt business aside, eager to check out the bodice scene.
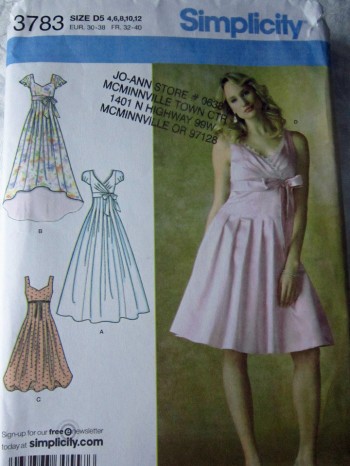
I can’t remember when I bought it but it is old enough that if you search Simplicity’s website, you can’t find it, not even in the out-of-print section.
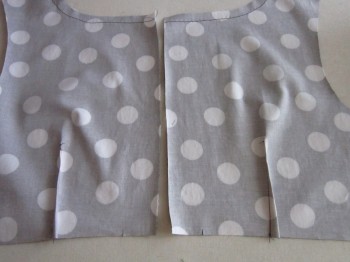
I selected the bodice pieces of tissue from the pattern envelope and began. Here it is… my muslin. I loved the fit…it was perfect!
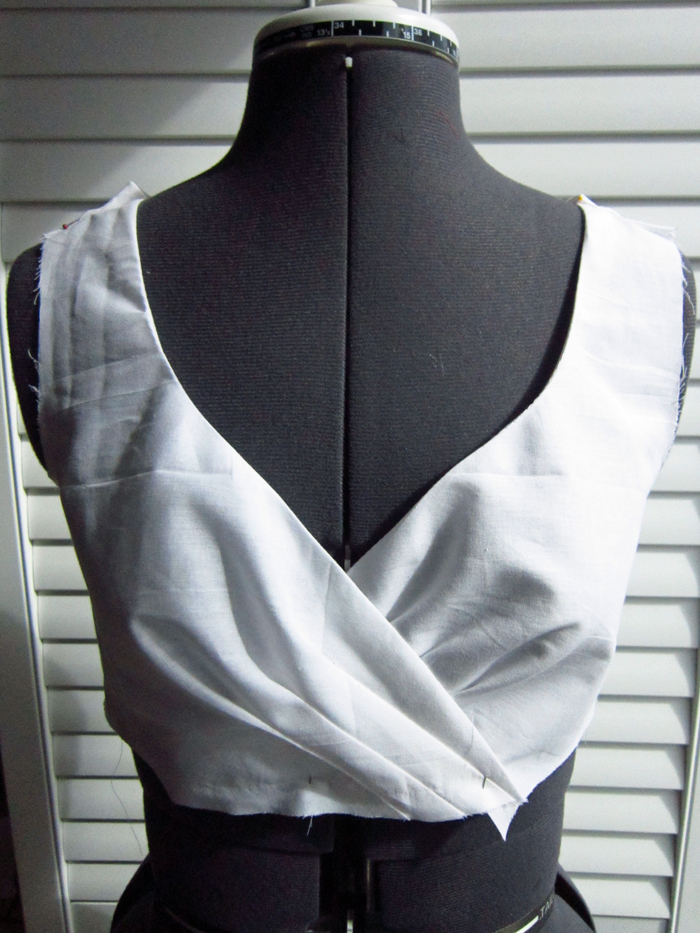
Elizabeth, my dressform, is probably a little embarrassed by the wrinkles that you can see on the muslin so I should apologize. Not sure when it happened, but I did iron it at some point! 🙂
Now it was time to figure out what to do about a skirt. The bottom of the skirt pattern seemed wide enough to do a subtle bubble hem (though I wanted more than subtle) but it was the darts that ran from the top of the skirt to down below the waistline that were troubling me. Not to mention I wasn’t sure I wanted all that fabric folded around me and wasting those beautiful polka dots! That was when Simplicity 3783 was no more but my courage had grown and drafting a skirt didn’t seem to be as scary a business. I had a skirt pattern I drafted last year that I used to make several other dresses and it had an empire waist so I dug it out. I know it’s a crummy picture, but it’s hard photographing tracing cloth.
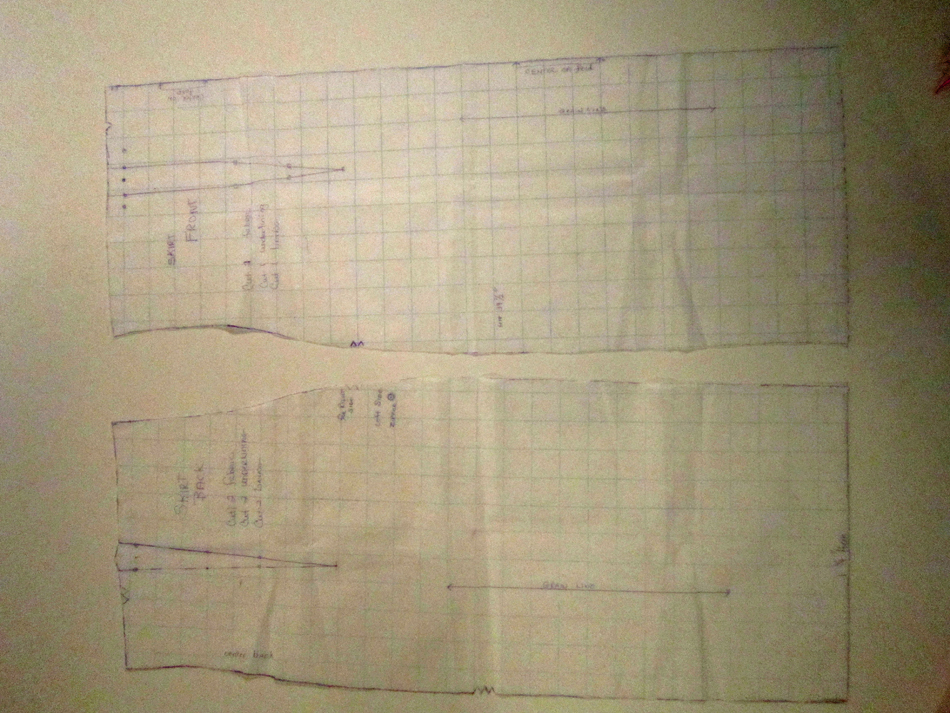
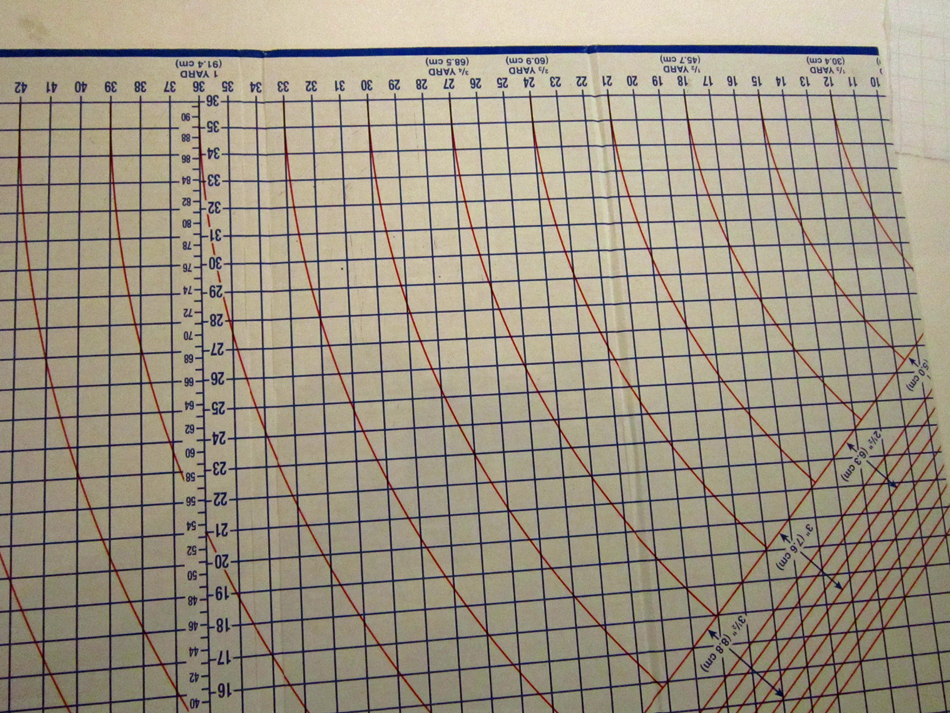
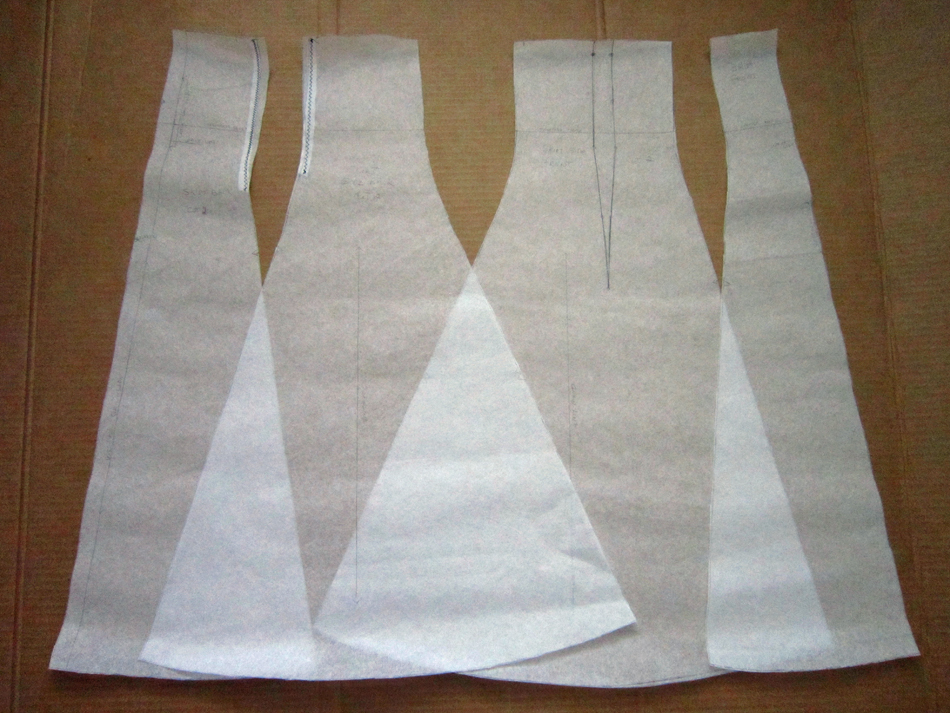
I fit me perfectly, a front and a back, each side with two darts. I wanted fullness, not as much as a circle skirt, but just lots of flare at the bottom. I knew that I couldn’t get the flare I wanted with only a front and back piece; I was going to have to split them into a center front and side front, and center back and side back. After having a mental struggle with whether I was on the right track or not, I gave in to my creative side and dug out my pattern tracing paper, my mechanical pencil and my Dritz cardboard cutting board with the quarter circle lines on it.
The drafting commenced for what seemed like hours and then it was time to cut my new skirt pieces out. Once again the wave of uncertainty hit me! I hate it when that happens! Everything looked good; all the sides that were to be seams were of equal length. The waist matched the bodice…but I needed some support so back to my pattern stash I went. It was the Butterick 5603 pattern that slapped me in the face! The skirt was exactly what I wanted.

I pulled out the tissue pieces and compared them to my drafted pieces. I was close! Several of my curves needed a little correction, but outside of this, I was good to go!
With the pattern/designing war over, I went to work cutting out the pieces from my beloved polka dot fabric. Sewing the dress together was like a fantastic dream! I loved the way the fabric handled and it all went so smoothly. I made the bodice first.
As you may note, the bodice is already attached to the skirt in the following pictures. I forgot to take pictures during the process. I also forgot to eat that day –I’m sorry but I get so involved!
Then it was on to the skirt. I serged all the edges before I sewed the seams.
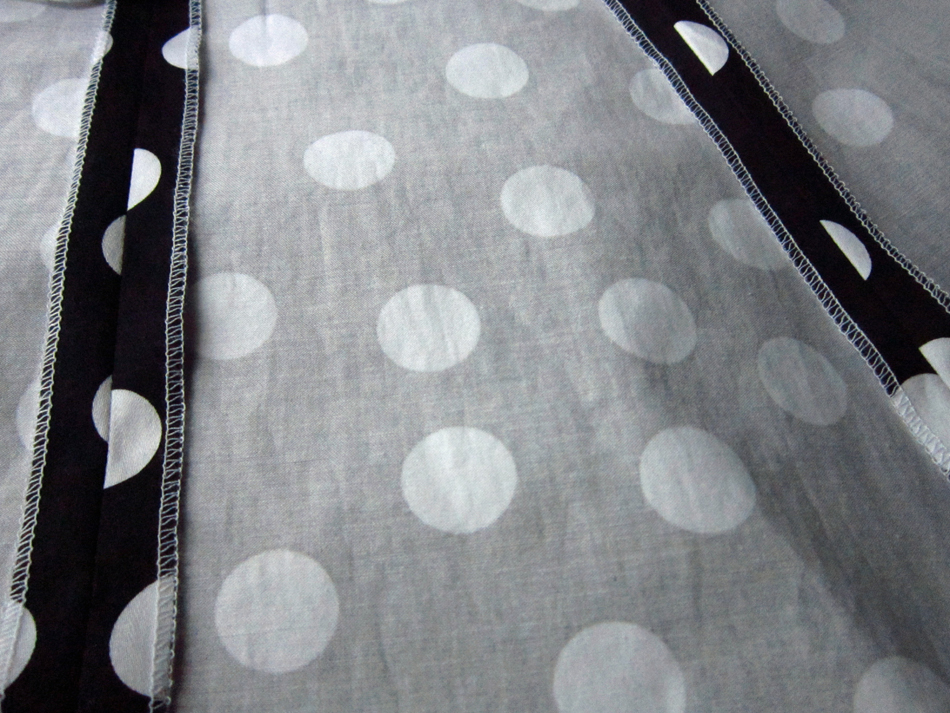
I made a lining. I used the one from Simplicity 3783, It was nothing more than a front with 4 darts and 2 pieces for the back, each with 2 darts. I serged all the edges on these too before sewing it together, then I machine sewed a 5/8 inch hem in it. Next, I basted it to the skirt, wrong sides together. I didn’t sew the back seam of the skirt so basting in the lining was easy. I usually do it this way anyway because I find it easier to put the zipper in first, THEN sew in the back seam.
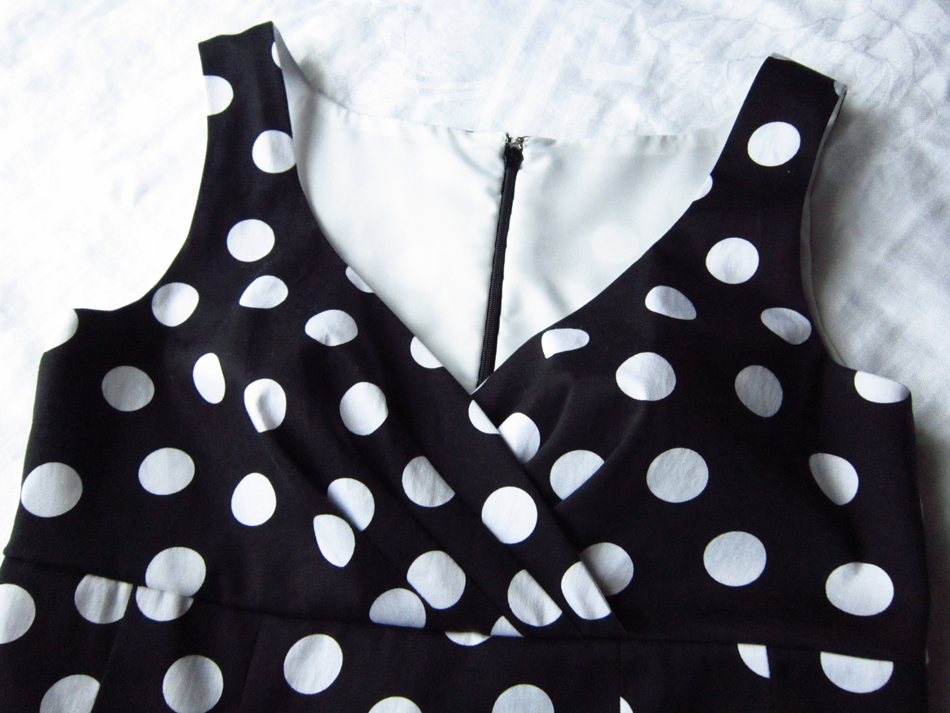
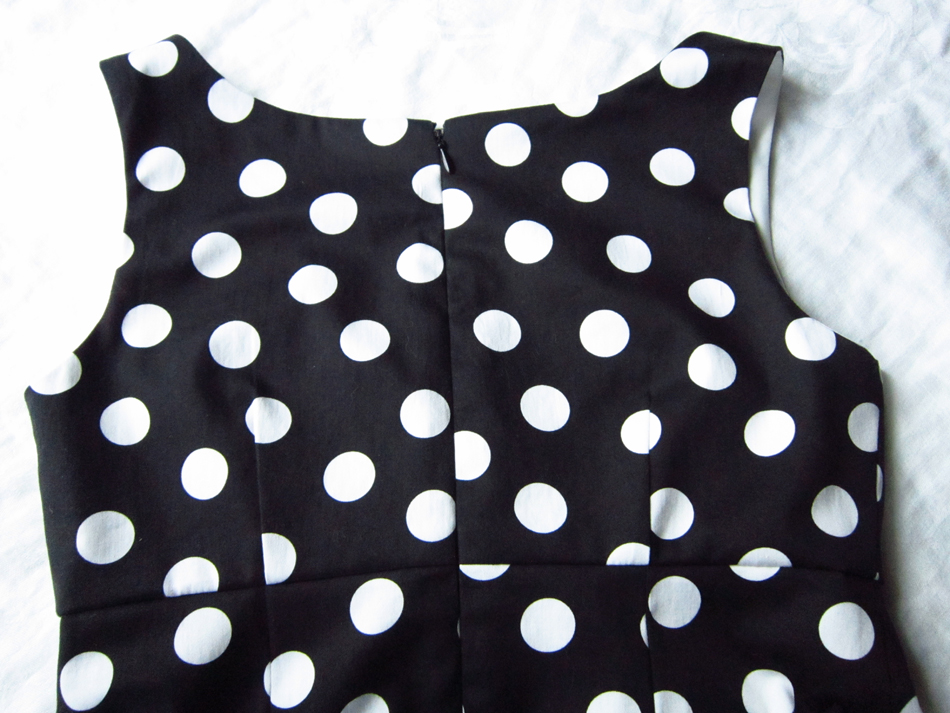
Now with the skirt lining installed, I was ready to attach it and it’s mate the skirt to the bodice. It went very smoothly. I was definitely needing a confidence boost and this was it! Now, all that was left was to set in the invisible zipper, sew the back seam and turn under and hand sew the edges of the lining. This was a little tricky on the front of the bodice where the two sides crossed. I had to get a little creative but still managed a nice finish.


All that was left was to hem it and Shabam!


Check out the earrings if you can see them. They are my daughter’s…red guitars! How awesome is that!

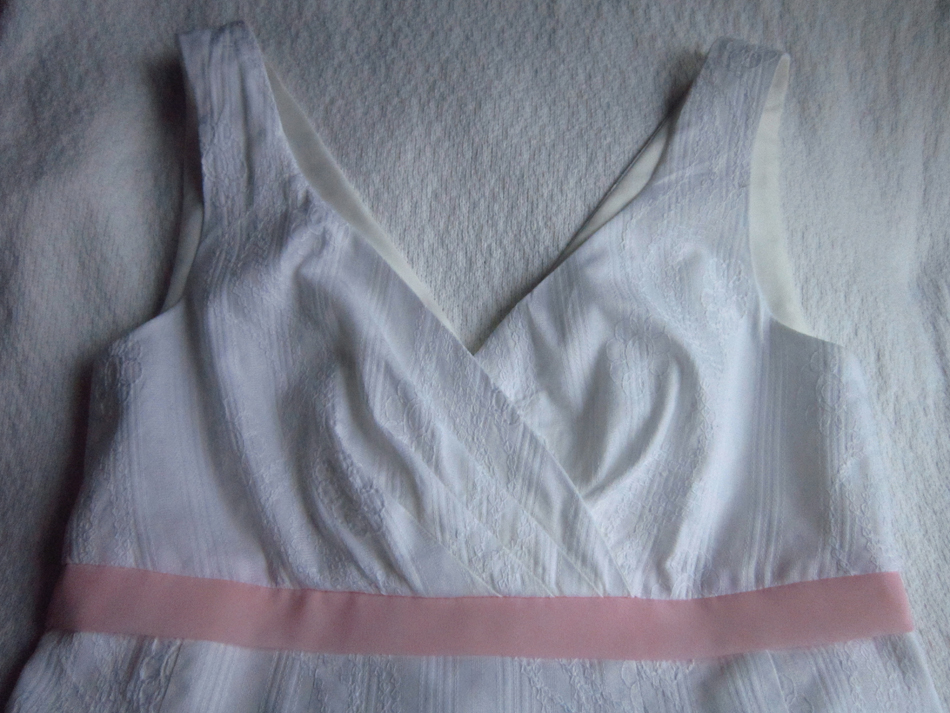
So there you have it. My creation with a little help from B & S! (That doesn’t sound right does it?) I call it my Jessica Betsey dress. I love this style so much, especially because while being somewhat form fitting, it is oh so comfortable. So comfortable that I made a second one, a “little white dress”. The fabric has pretty embroidered flowers and I used a bit of pink chiffon I had on hand.
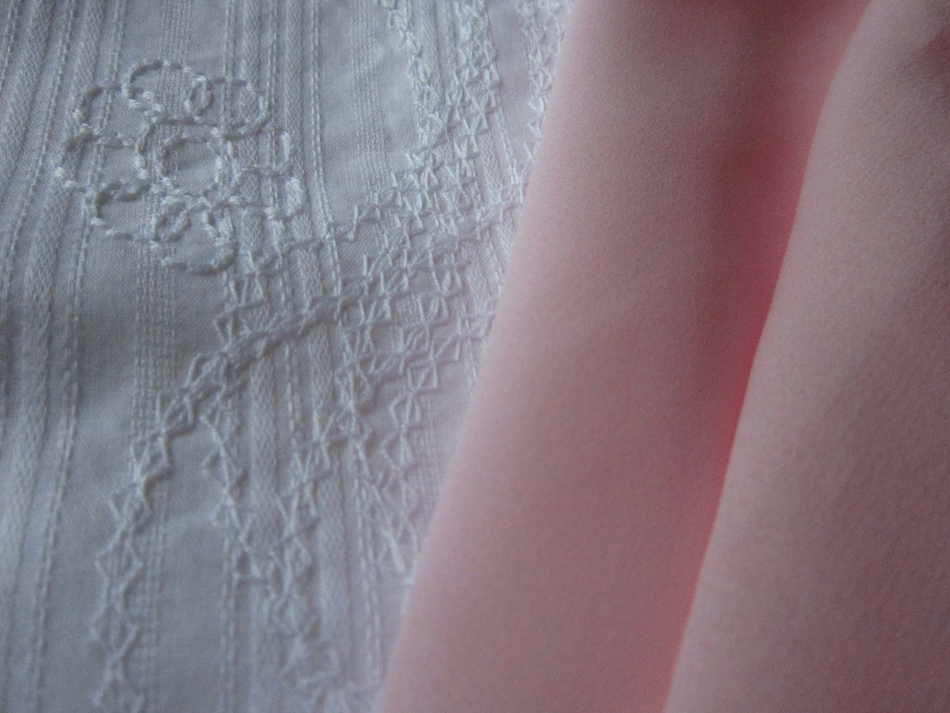
I did change it up a bit though. A pink band of chiffon sewn between the bodice and skirt.
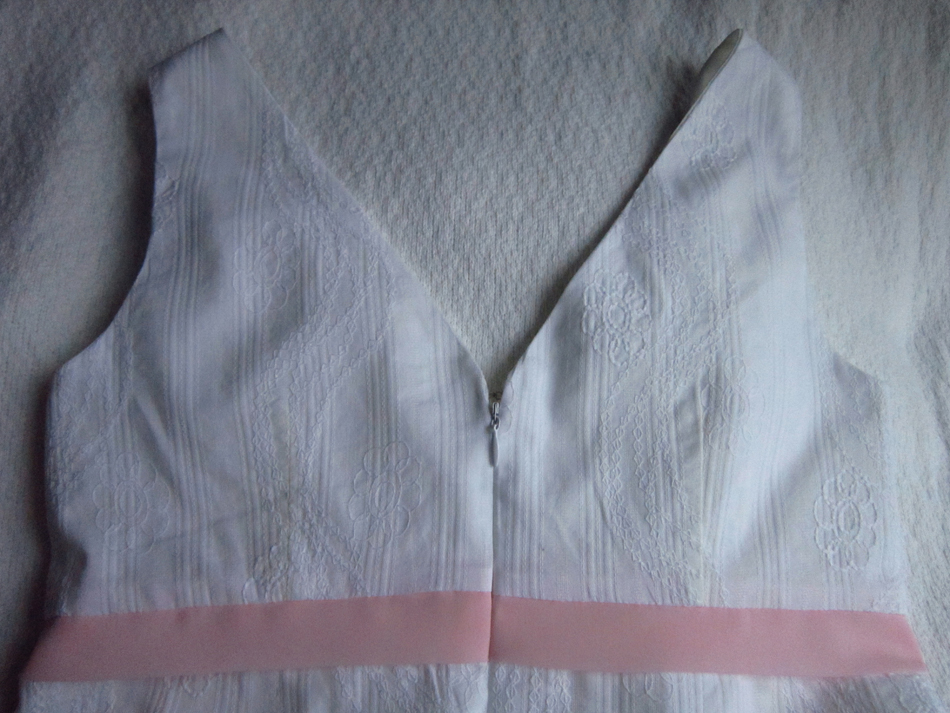
And a v-neck in the back.
and the full deal…

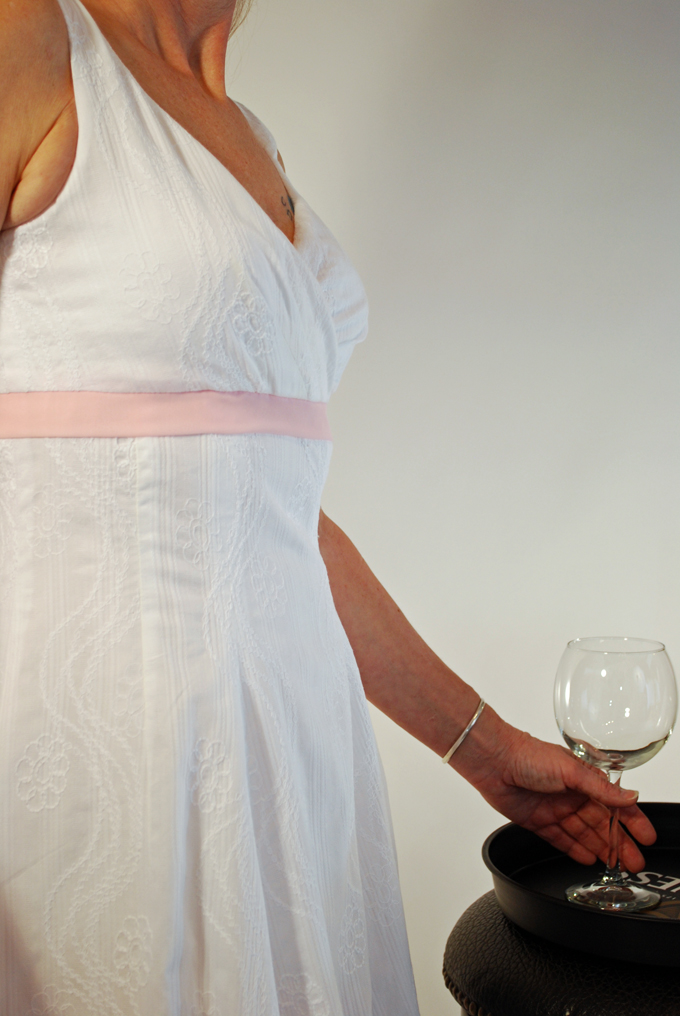


I have several occasions in mind for wearing my dresses and I can’t wait. Coco Chanel once said, “Dress women in black or white at a ball. They will catch the eye”. I don’t know about catching the eye, but I certainly will feel like I’m going to a ball. I can’t wait!
Salut! Jessica
About Me
 Portland, Oregon,
 United States
Hi there! I’m Jessica Brandon and I am a clothes-loving sewing artist. When I am not sewing, blogging or shopping for shoes for my creations, I fill in the remainder of my days spending time with my children, playing ice hockey, gardening and making and drinking wine!


Up Coming Projects:
Vogue 1426

Vogue 7881

McCall's 7089

Vogue 8997

Vogue 1431

Vogue 9006

Vogue 8991
