

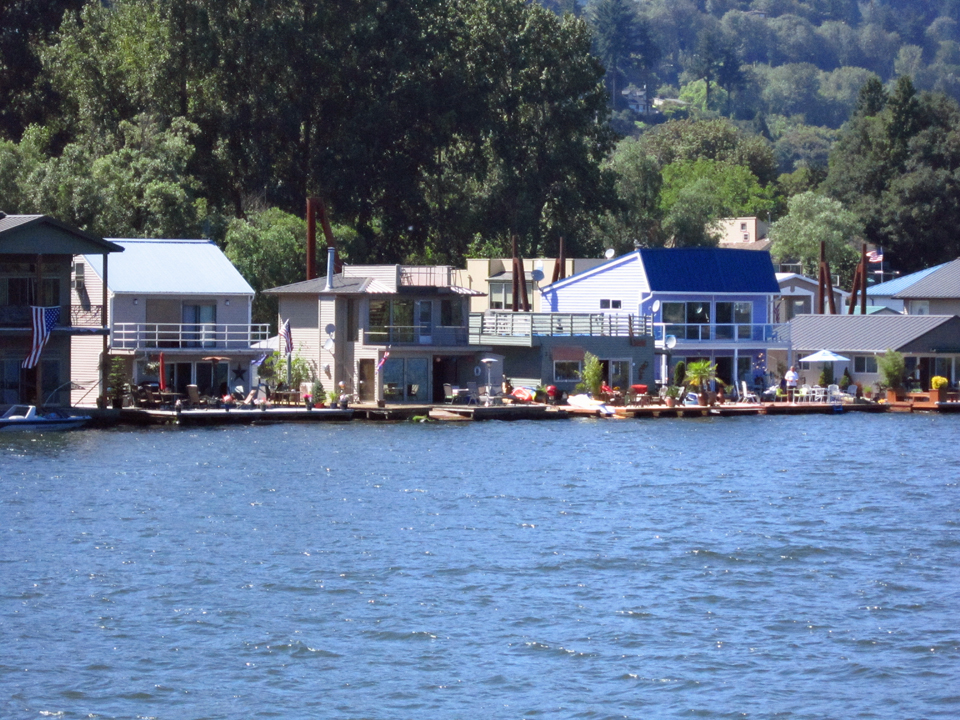
Well I made it to the Blues Festival this last weekend and it was fabulous! There were so many different blues artists playing on stages all over the park in downtown Portland. At midday on Saturday, my chicadees and I left land and stepped on the Portland Spirit and took a blues cruise down the Willamette River. The Sister Cruise, it was called, with blues singing sisters that rocked that boat! For a short spell, we stepped out on the lower back deck to see some sights and that’s when I took the above picture. I wonder what it would be like to live in a houseboat? Lived on a sailboat once for about six months (that’s another story!) but I don’t think that’s the same.
Anyways, I wore my latest dress, the McCall’s 6745 halter dress for this day and guess what? It happened again. When I was standing on the deck taking my pictures, the wind whooshed in and blew up the hem of my dress, I mean UP! It took me a couple of seconds to realize, but by then it was too late! I quickly grabbed the skirt of my dress and pushed it down, turned around and there was an elderly woman and her husband sitting in chairs watching me. I asked her how much I flashed and she said “well, quite a bit, but don’t worry, it didn’t look bad.” Hmmm… I wasn’t sure what she was saying but with as much dignity as I could muster, while holding onto my skirt, I gave my best smile and headed back into the cabin.
Maybe I should have worn a top and shorts instead of “the flashing dress” to the Blues Festival… if I had, I think I might have worn my new McCall’s 6751 top.
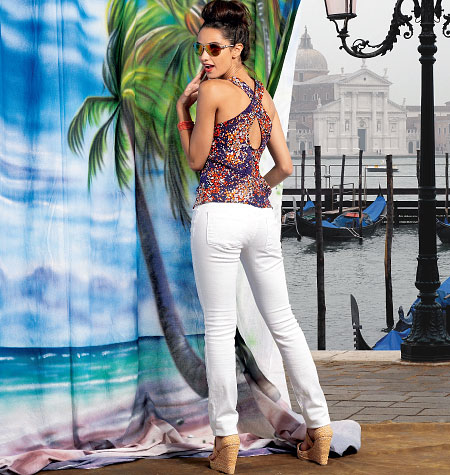
Mind you, I haven’t made the top shown above – it is top B. I made top A which shares the same front, but has a different back. Below is the drawings that includes top A.
Since the pattern is drafted for x-small through XX-large, I decided to throw my fate to the wind, pass on sewing a muslin, and just cut and sew! I was using some fabric that I had in my stash so other than the time I would spend sewing it, I wouldn’t be out anything so why not. I usually wear a size small so I decided to stay with this size, but I did adjust the pattern pieces to be medium at the waist because sometimes RTW (ready-to-wear) tops tend to be a smidge tighter in this area than I like.
The fabric that I used is a pale pink rayon and has a slight stretch to it. I didn’t particularly like sewing it. It was kind of like sewing peach skin fabric which I will never be sewing again, don’t like to sew that stuff at all! This rayon was not quite that bad, nonetheless, the 2 yards I have left may never see my sewing machine.

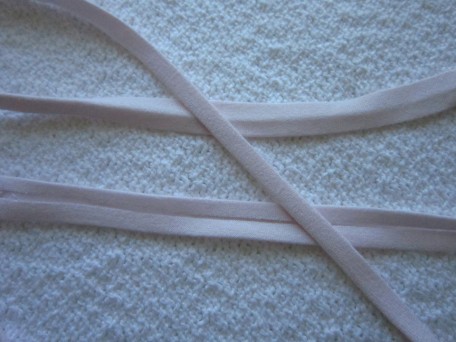
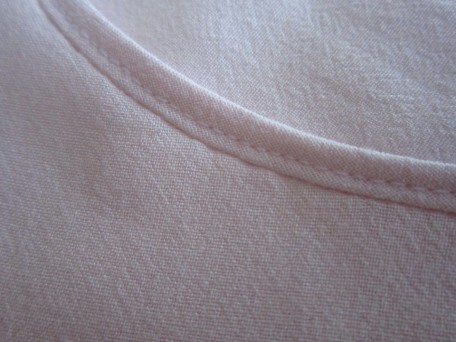
The pattern instructions are really easy to follow, however, I am not real fond of the finishing technique used for the neck and armholes. Maybe it’s me, but I cannot get a nice finish in these curved areas by simply folding the fabric into a narrow hem. The second technique they suggest is to use bias tape. I am not a big fan of packaged bias tape – yes, I have used it, but it feels and looks sort of cheezy to me. Instead of either of these, I opted to make my own bias tape, which I made from the pink rayon and used my Clover Bias Tape Maker.
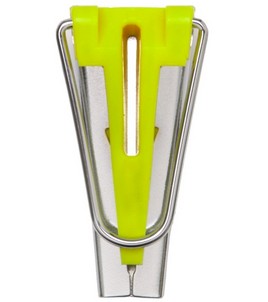
It comes in two sizes, 1/2 and 1/4 inch. I have the 1/2 inch. Using this little gadget is the easy part of making your own bias tape. The work comes with cutting out your strips and sewing them together. An important point in your success is making sure you cut every strip a width of exactly 1 inch. Sewing it to the neck and arms can be a bit tricky too, especially with certain fabrics like pale pink rayon.
When it was time to apply the bias tape, I baled on the instructions and attempted to do my own thing. While writing this review and re-reading the pattern instructions, I now realize that I made it harder than it had to be so I will not even explain what I did but I’m such a dork! You can still follow theirs using your own bias tape and be just fine.
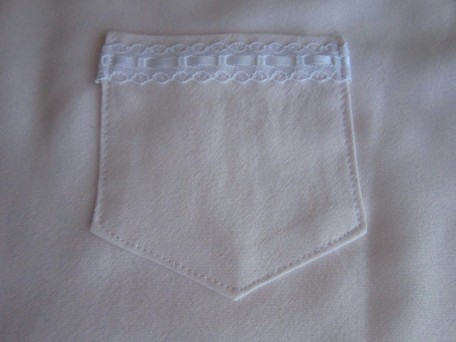
I wanted to add my own touch so I opted on making a pocket different than the one given with the pattern. This is what I ended up with.
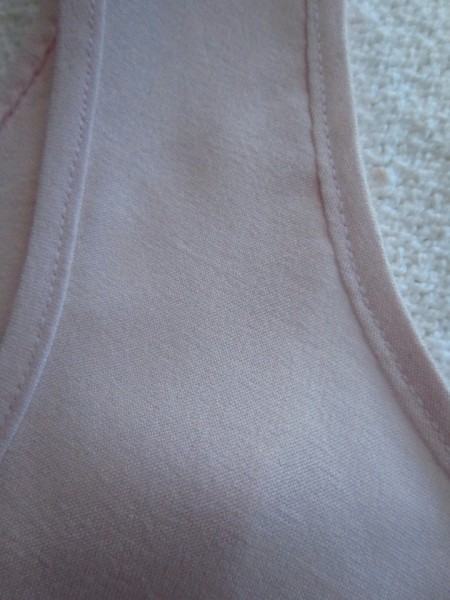
The back is interesting. I’ve seen lots of tops in clothing stores in this style and really like the look.
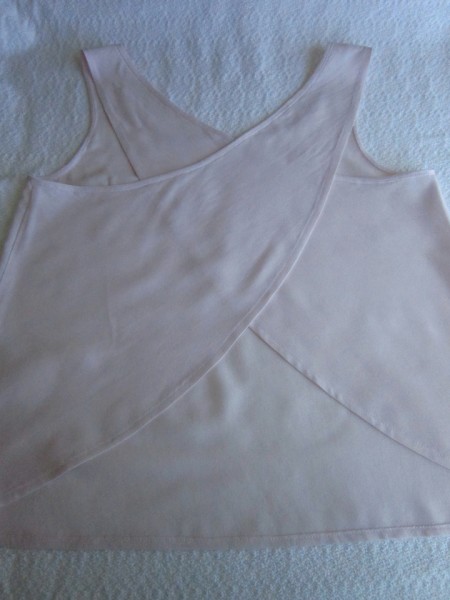
Wearing them is sort of different though. Still not sure what I think, but this is it.

And then there is the front view of course!
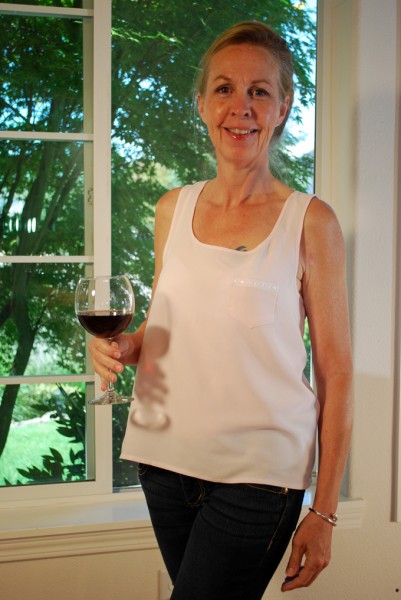
I still haven’t decided whether I want to make top B or let it rest. If I did make it, I’d get more practice making bias tape and applying it… hmm… guess I will be making top B after all! When we started our photo-shoot, my daughter informed me that she wants one of these too. I guess you know what that means… it’s time to start drinking this glass of wine!
Salute! Jessica
About Me
 Portland, Oregon,
 United States
Hi there! I’m Jessica Brandon and I am a clothes-loving sewing artist. When I am not sewing, blogging or shopping for shoes for my creations, I fill in the remainder of my days spending time with my children, playing ice hockey, gardening and making and drinking wine!


Up Coming Projects:
Vogue 1426

Vogue 7881

McCall's 7089

Vogue 8997

Vogue 1431

Vogue 9006

Vogue 8991
