

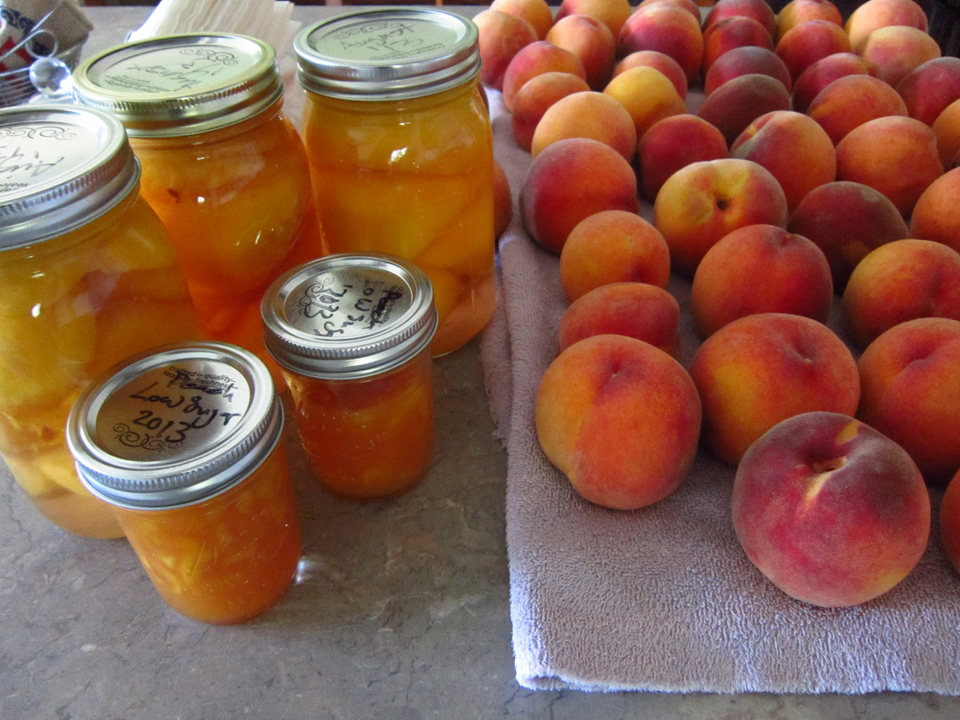
Well it’s September and you know what that means… yeah, summer is about over and school is starting but that’s not what I was thinking. The end of August and beginning of September means that the peaches have finally ripened on the trees and are ready for picking. An alternative band, The Presidents of the United States of America, rocked a song about peaches so I know I’m not the only one that’s got a thing for them! My children are also caught up in the peach frenzy so they most willingly helped me last Sunday, after our morning brunch, can 28 quarts of Canadian Harmony peaches and cook 16 jars of jam. The almost 80 pounds of peaches that we blanched, peeled, pitted and halved or chopped are now nestled in their jars and will rest in the pantry until their debut this winter. Yummy… can’t wait. Incidentally, peach jam is bodacious on scones!
So yeah, Summer is about over and for us Oregonians, the imminent rain will be arriving before long, but… I actually do look forward to the season change because this means having to spend more time indoors and getting back in full swing with my sewing. My projects have backed up on me, a basket full to be exact, and it’s going to take a bit to catch up. I’ve still managed to get a few things finished though, one being the McCall’s 6705 top which my daughter has been patiently waiting the whole summer for (I’m glad she loves me). Maybe I should rephrase my words a little and say that I made the top and THEN re-made it again! Stay with me and I will explain.
This is the McCall’s 6705 pattern.

It is designed for knit fabrics and the word “easy” on the pattern I can agree with! The instructions are easy to follow, only 3/4 of a page!
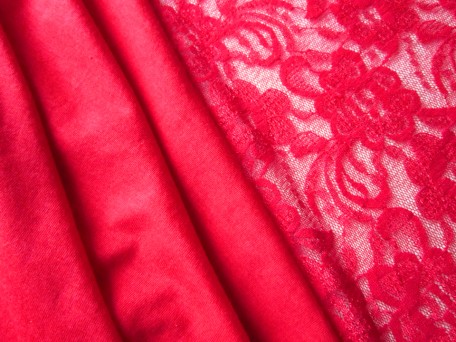
The fabric I used was a red t-shirt type of knit and for the lace overlay, a red stretch lace.
A useful tip: Baste the lace overlay onto the top, all around, and stitch the inner edges along the stitch line (1/4 inch) BEFORE sewing the front and back together. However, don’t baste and sew the lace clear to the edge of where the side seams will be; stop about 2 inches before reaching them. Remember, the lace overlay has to go over the side seams so you will have to fold it out of the way when you sew each of the side seams. With the first top I made, I did it per the pattern instructions, the 2nd time around I did it this way and it was a lot easier to stitch the majority of the inner edge of the lace before the front is sewn to the back. And when I had to finish stitching the overlay that goes over the side seams, there was a lot less sewing to contend with so it went pretty smoothly. (I still haven’t explained the top #1 and top #2 but it’s coming!)
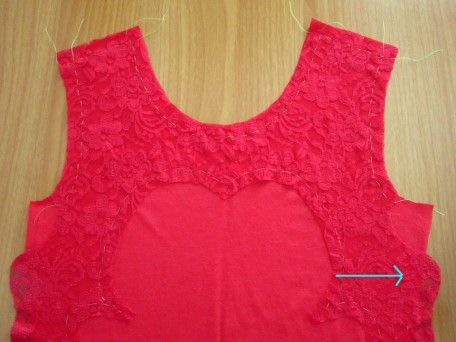
If you choose to apply the lace to the front first – remember not to baste and stitch edge of lace near the side seams. You can finish doing this after sewing the side seams.
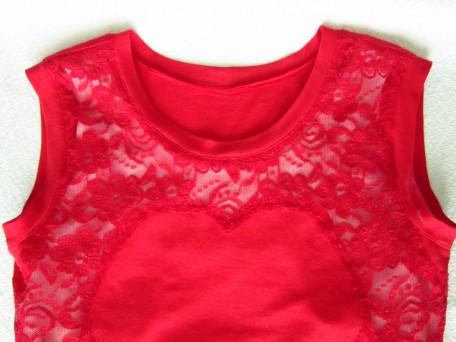
A close-up of the basting in front.
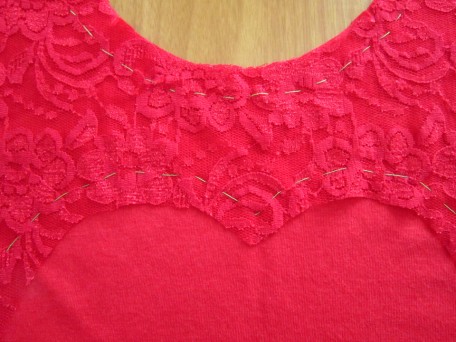
After you sew the side seams, you can then baste the remaining lace overlay and then stitch it down permanently. The pattern directions aren’t just for directions! I inserted them between the front and back to make it easy to baste.

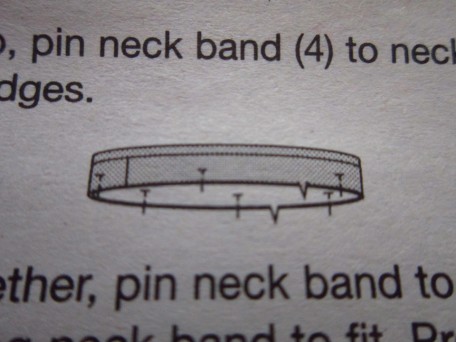
Okay… so this is where my dilemma started. I didn’t care for how the neck and arm bands were styled. There are 2 bands, one wider than the other, that are applied as one to the neck and each arm hole. They are a raw edge finish.
For the last several years, many RTW (ready-to-wear) tops have been made in this same fashion and quite frankly, I think its crappy looking! No doubt it’s probably part of the trendy shabby chic look that is great when all you want to do is put on some comfy kick around clothes when you are canning peaches or something else messy and work intense but… I don’t want that look on garments that “I” make! That’s just plain wrong! Against my better senses though I went ahead and made the neck and arm bands the way the pattern instructions were given so I could live to tell about it! In the end, I was not happy… not happy at all but it wasn’t the unfinished raw edges that were bugging me, it was trying to sew the 2 bands as one onto the neck and armholes and getting the finished edges equal widths from one another all the way around. If that sounds confusing, I’m sorry, but I think it’s one of those things where you have to do it to really understand.
Anyways, after I finally felt I had those damn things sewn on the best I could manage (cuz that’s how I felt about them), I was nearing the end. It was now time to cut the fabric off from underneath the lace and hem the top. It must have taken me a half hour or more to so very carefully cut that fabric off and when I was nearing the end… the last little section… those nasty evil scissors took control and snipped a substantial hole in the lace!
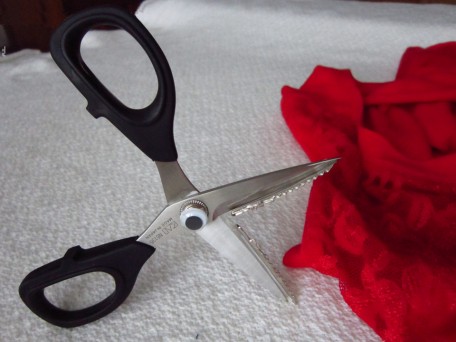
It was over! The four letter words came spilling out. I hated my Kai scissors even though I loved them before I started cutting the fabric from underneath the lace. I was more than pissed! I contemplated many things in that moment… chopping the damn thing to pieces with my evil scissors, burning it, or better yet, laying it out in the street and letting the cars have their way with it. Then… after a deep breath and a little dread for fear of her disappointment, I went to tell my daughter what I had done. All she said was “that’s a bummer.” Okay… wasn’t sure how to react to that! Did this mean she understood or did she just not care. It was a trap! It was then my turn to say something. So I did what I thought was the mature thing to do and said – I have enough fabric to make another one if you would like me to. She was thrilled that I was willing but wondered if we could do something different with the finished look of the neck and arms. Now that’s my girl! She has taste!
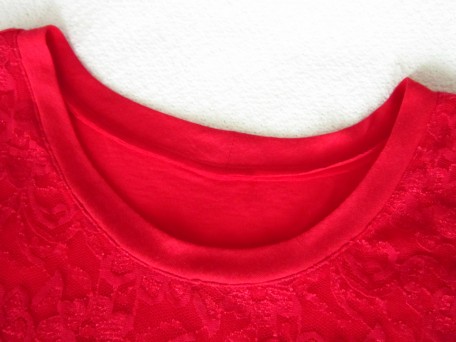
When I made the 2nd top, to change up the finished neck and armhole edges, I decided to just sew on bands like you see on a t-shirt. To do this, I took tracing paper and traced over the wider width neck and armhole bands but re-drew the pattern width of 1 1/4 inches to 2 1/2 inches. The original band is 5/8 inch wide with a 5/8 seam equaling 1 1/4 inches so by doubling this you end up with a width of 2 1/2 inches. After cutting them out, I just sewed the ends of each band together and then folded them in half lengthwise, wrong sides together so you have a circle and then applied them to the neck and armholes just like in the pattern instructions.
This is the neck band when finished…
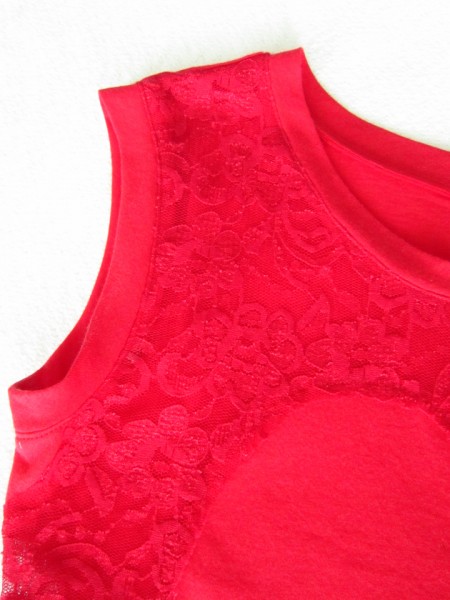
And the arm bands…
Then it was time… being ooooh so careful, I cut the fabric off from behind the lace and it was a success. Absolutely no holes!
Well, there you have it. The photo shoot commenced this morning and I am happy to share with you the finished McCall’s 6705 top with my daughter wearing it!

The right side…

And the left side.

And one just because!

Calley really likes this top and wants one… or two… with long sleeves to wear this winter. Minus the lace overlay of course which is just fine by me!
I have mentioned it before, but as a news update – with October creeping up and Halloween in its grasp, costumes are going to be my focus in some of my up and coming articles! Hope you enjoy them. As for September events, the October fest at Mt. Angel here in Oregon is next weekend and yes… I am going, with my sons! They have a r-e-a-l-l-y big wine garden!
Salute! Jessica
3 Comments
Leave a Reply
About Me
 Portland, Oregon,
 United States
Hi there! I’m Jessica Brandon and I am a clothes-loving sewing artist. When I am not sewing, blogging or shopping for shoes for my creations, I fill in the remainder of my days spending time with my children, playing ice hockey, gardening and making and drinking wine!


Up Coming Projects:
Vogue 1426

Vogue 7881

McCall's 7089

Vogue 8997

Vogue 1431

Vogue 9006

Vogue 8991

Do you mind if I quote a couple of your posts as long
as I provide credit and sources back to your website?
My website is in the exact same niche as yours and my
users would definitely benefit from a lot of the information you provide here.
Please let me know if this ok with you. Appreciate it!
Good day! This is my first visit to your blog! We are
a group of volunteers and starting a new project in a community in the same niche.
Your blog provided us beneficial information to work on. You have done a marvellous job!