

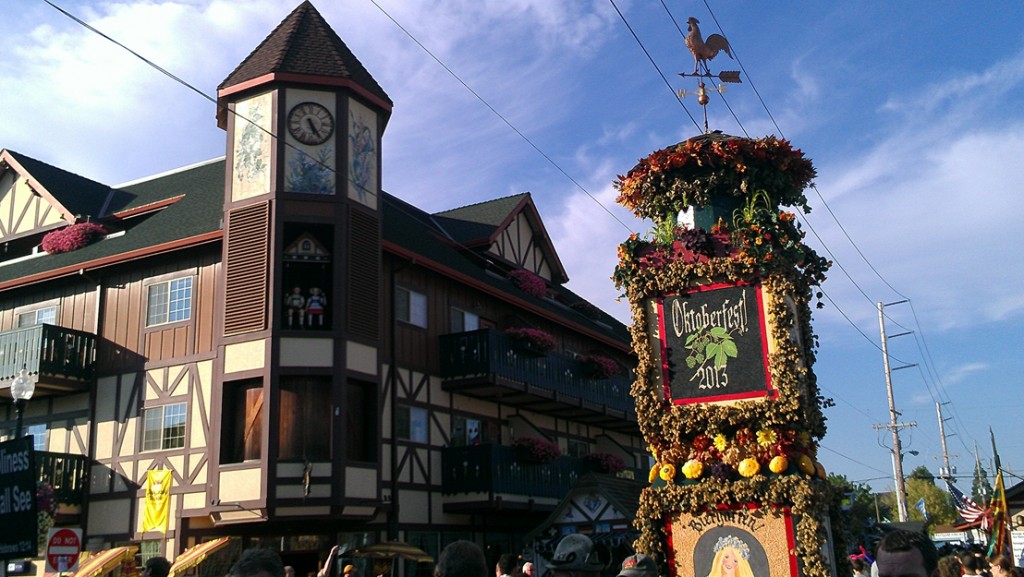
Yes in deed! I made it to Oktober Fest and had way to much fun. The Weingarten was fine, however… the Biergarten was a hands down winner! It felt like we did a non-stop conga until the cows came home! There were lederhosens everywhere (mens attire). There were also some very pretty Bavarian maidens wearing their dirndl dresses. All of this Bavarian regalia reminded me of another important up-and-coming event… Halloween! This is my most favorite time of year. It is the one day that you can be whom ever you want and wear a fantastic outfit – or in Halloween terminology, a costume.
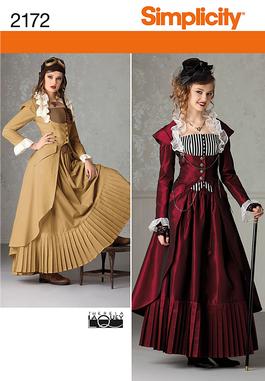
Sewing costumes opens the door to the creative part of my mind and I become so involved in the process. I find myself pouring over details. I think that’s why I have fallen madly in love with steampunk and with the Simplicity 2172 pattern.
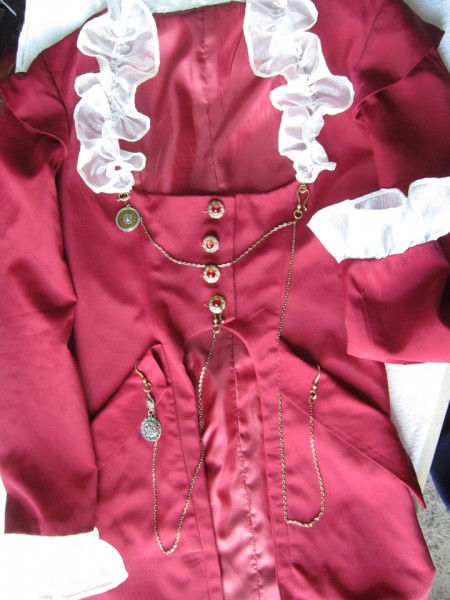
About 1 1/2 years ago I started making this costume, the jacket to be exact. I had planned on wearing it to the 2012 Mardi Gras in New Orleans except that didn’t happen. Well the Mardi Gras part did, but I never wore the jacket. This has turned out okay though because now I can finish this ensemble exactly the way it’s suppose to be!
The fabric I chose was something I have had for over 15 years! No kidding. I don’t even know what the fabric is exactly but when I purchased it from Sprouse Reitz (don’t think they even exist anymore), I was going to use it to make curtains for a camper! Now that’s rocking steampunk philosophy eh … re-invent, recycle, re-use and make it better!
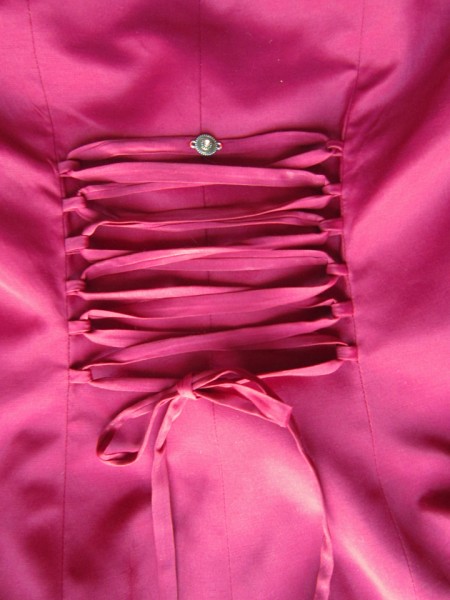
The pattern includes the jacket, a skirt, and a bustier. They are not the easiest garments to make and no matter the skill level, I think it will take some time so I would advise getting started now if this is what you would like to wear for Halloween 2013. Since I made the jacket some time back, I unfortunately can’t offer up many tips. One thing I might say about it though is that the pattern piece that is provided for making the back tie for lacing is not long enough. In my situation, this may have been because I didn’t want the jacket so wide that laces would have to pull tight to fit so I fit the jacket exactly to my back width. I wanted the lace just to be decorative and so I needed a lot more length.
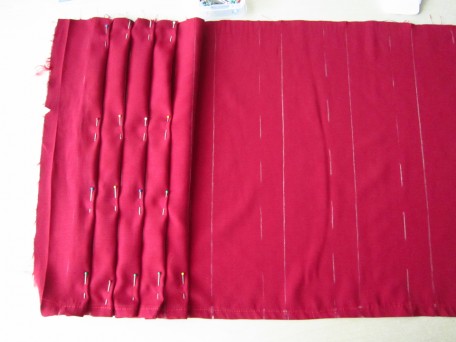
As for the skirt, get ready to do some pleating… LOTS of pleats, 108 pleats to be exact! There are 9 sections that you will have to sew end-to-end and each will hold 12 pleats, the 12th overlapping onto the next section.
TIP: I did not sew all the sections completely together into a ring or circle. Instead, I left one seam open so that I could work on a flat surface which made things a whole lot easier. It’s a little tricky sewing that last seam once you have the pleats finished because there’s a lot of bulk but I still say it’s worth it. It’s totally up to you though. There is no wrong way, just what ever ways works the best for you. I made snips at each pattern marked pleat along the top when cutting out the sections but I didn’t snip on the bottom because you have to sew in the hem before making pleats. The pleats are each 1 inch. Once you start, it doesn’t take long to find your groove!As you can see in the picture, I used chalk. Chalk is your friend!
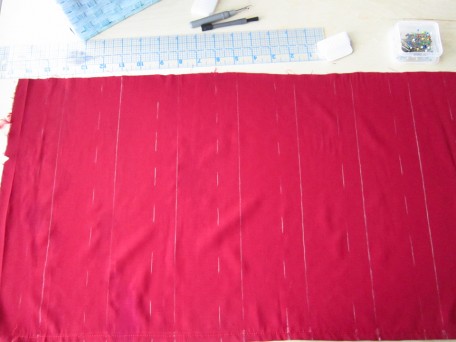
In the picture below, I have started pleating.
When I was done pleating and pinning, I laid the whole “shabang” on my sewing table that fits my sewing machine.
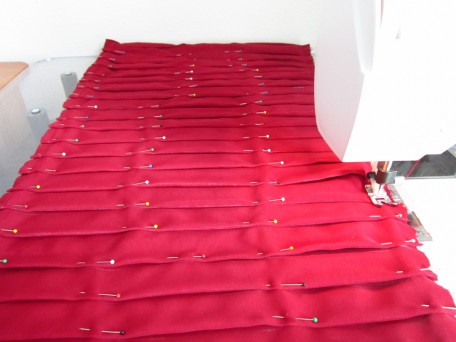
The best thing I can advise is to relax, be patient and realize that when you are done, you will feel like you have done something amazing!
The pattern instructions tell you to iron the pleats in before basting but I decided to baste them first. When I finished with the basting, I laid the pile of pleats gently on my ironing board and section by section, I removed the pins and ironed as I went. The thing that kept flashing in my mind was how much work it would be to iron all these pleats back in if I ever launder the skirt! Maybe I’ll be lucky and the pleats will stay even after a cleaning. Sheesh…given my luck though, this is probably a NOT!
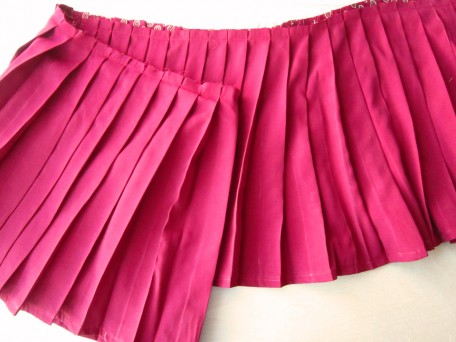
So here they are all finished!
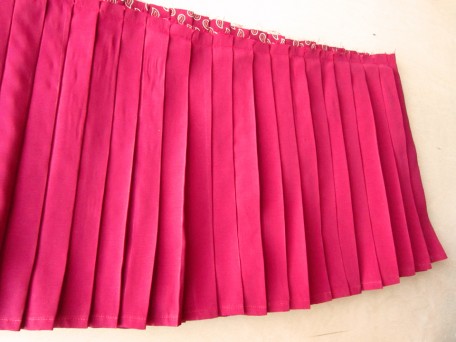
I was so fascinated with the pleats that I kept taking pictures! I know! I”m a dork!
So as to not mess up my nicely pressed pleats, I made the main skirt with the yoke and waist band separately and when they were finished… then I sewed on the pleat section. After I did this, the skirt was finished! I did have to remove a part of one section of pleats however because I shortened the skirt and I didn’t take into account that the width of the skirt would change at the bottom. However, trying to figure how this would play into the length needed of the pleat section would likely have broke my brain!
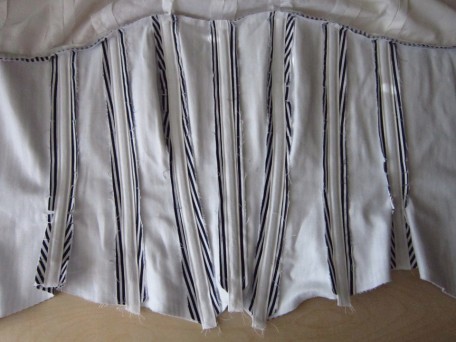
So the next order of business was the bustier. I have made more than a few bustiers and corsets and so happen to have on hand a number of corset making supplies. One of my favorite places to buy all my special goodies is Delicious LLC., Corsetmakingsupplies.com. They have pretty much anything you need. The Simplicity 2172 bustier is a really nice design. The finished front bottom reminds me of a vest and looks really spiffy under the jacket. Instead of interfacing, I used Coutil which is a fabric intended for corsets, etc. For the boning I used spiral steel boning that I purchase by the yard as well as the casing that holds it. You can buy metal ends to cover the boning after you cut it since it is pointy, but I have trouble getting them to stay on so I put glue on the ends instead. Below is a picture of the inside of the bustier after I sewed in my casings and put in the steel boning. I sewed the lining to the top, then trimmed the seam and pressed the lining flat like it would be when finished because I thought it might look better in the end. Alas… in the end I don’t think this was necessary but now I know.
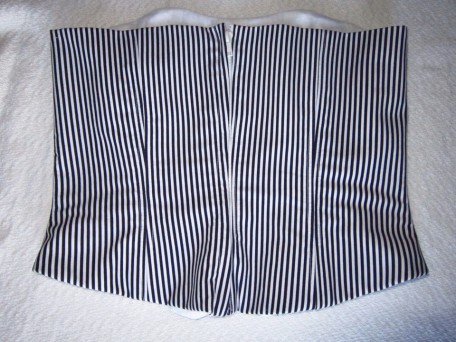
I did change up the way I installed the zipper because I wanted it more hidden though this made things a bit challenging… not to mention that my separating zipper was a MASSIVE white plastic one! (I should have known better!)
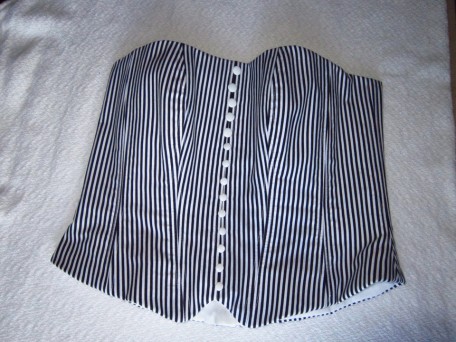
And the front…
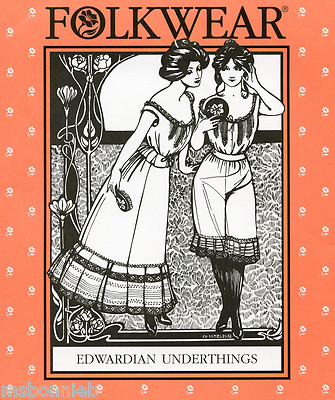
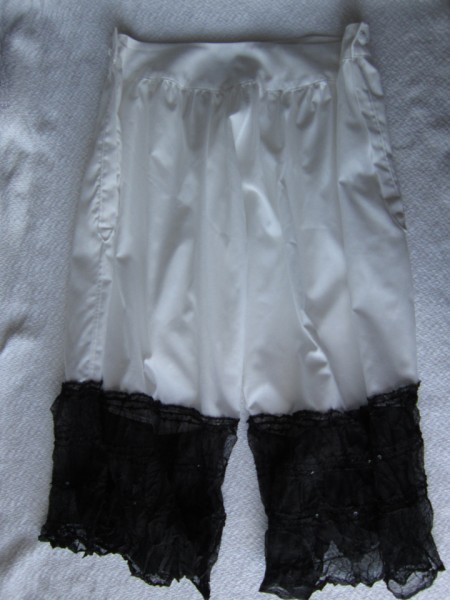
Now… remember how I feel about details. If I am a steampunk lady, then my ensemble will not be complete without accompanying the bustier with drawers! Yes, that’s what they were called. Edwardian drawers to be exact. Maybe you know them by the name “bloomers”. The pattern I used to make my drawers was the Folkwear 203 pattern.
The drawers in this pattern have plackets on each side, similar to long sleeve shirts. So far, I stink at plackets which is why I have been stalling making long sleeve shirts. Also, it is recommended to finish the seams using flat felling. I figured out that if I make a whole bunch of drawers, it might help me with my shirtmaking! Hmmm…
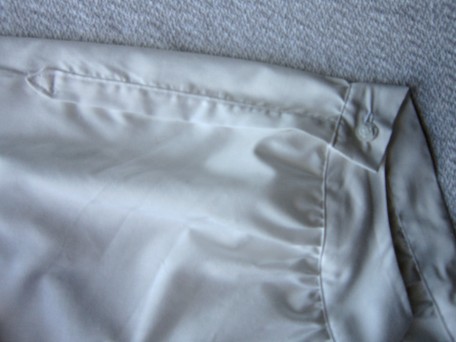
So this is the finished placket on one side. Notice that the back waist band folds over the front waist band (yes, they are separate) and fastens onto the button sewed on the front. The placket with the point is sewn on the back and so is not connected to the front. I am sorry but I forgot to get a picture showing how they open up… Crap!
For the flounce, I decided to use some lacy fabric that I have had FOR-E-VER! The width was not quite what the pattern called for but hey… remember – this is steampunk and so you re-use, re-cycle and re-invent!
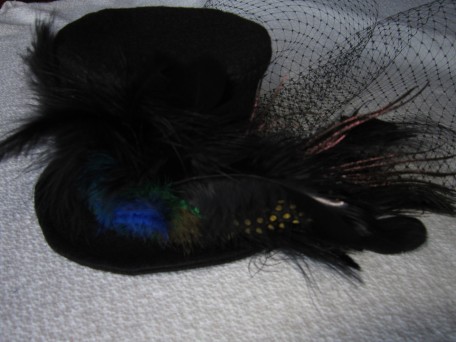
And now, last but not least, the finishing touches… A mini Top-Hat which I am still working out the bugs on… like a way to easily pin it on my head, myself!
Decorative goodies…all the parts I found at a Super JoAnn store on the 60 to 75% discount racks which was so totally awesome!
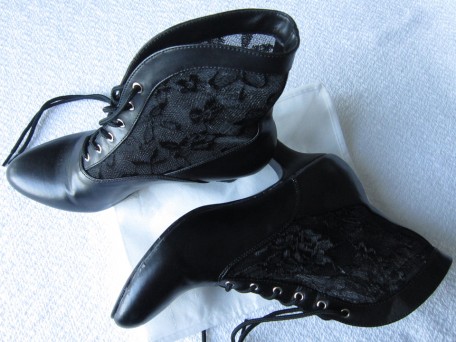
And the perfect shoes! Where did I get them? I’ve seen them on various sites but I purchased mine at Clockwork Couture.
Okay… so now I need to show you the real deal and since I made it all, I guess I will show it all! My pesty spammers are probably going to really give me fits but hey, a girl’s got to do what a girl’s got to do!
So here is my bustier and my drawers…

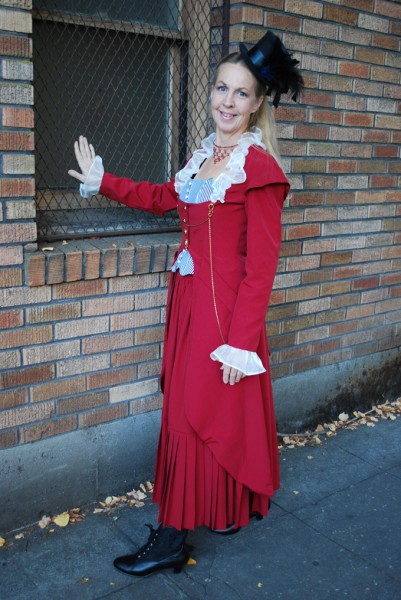
Now for the rest of the ensemble! Mind you I was in a bit of a hurry and so unfortunately forgot my lace fingerless gloves and walking stick which would have made the outfit so complete. Oh well… doodoo happens!
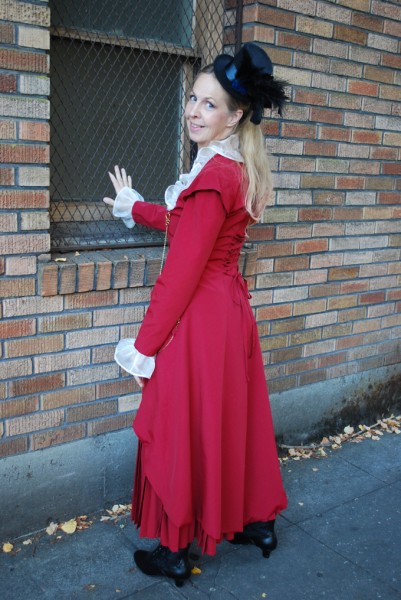
The back of course…
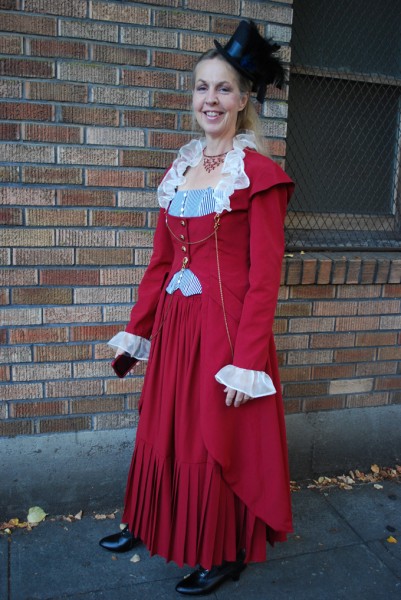
And the only prop I could think of was a phone. It’s not steam powered machinery but it’s sort of techy, I guess!
So there you have it. Simplicity 2172 rocking steampunk. If you decide to make any or all of the pieces in this pattern and you have any questions, please e-mail me or post a comment. I will help you anyway I can.
We have about 6 more weeks before Halloween which means I will be delivering up 6 more costumes for you to view! Be sure and come back to check it out. Next week is mens week! Until then…
Salute! Jessica
About Me
 Portland, Oregon,
 United States
Hi there! I’m Jessica Brandon and I am a clothes-loving sewing artist. When I am not sewing, blogging or shopping for shoes for my creations, I fill in the remainder of my days spending time with my children, playing ice hockey, gardening and making and drinking wine!


Up Coming Projects:
Vogue 1426

Vogue 7881

McCall's 7089

Vogue 8997

Vogue 1431

Vogue 9006

Vogue 8991
