

So I have traversed back and forth across a bridge that connects two arts in the sewing world, dressmaking and shirtmaking and the question is… which do I prefer to make? I’ll have to say it’s a hands down… BOTH! Each satisfies my creative passion and both help me to develop more skills to stuff in my “tool box”. Not to mention that it’s just awesomely cool to also know how to make mens clothes!
In the last several weeks, I have been hard at work (when I’m not elsewhere like Blues Festivals, smacking pucks around at the rink or working in my yard trying to keep my herbs, vegetables and flowers alive through this ongoing hot spell) designing a shirt pattern for my loveable beer connoisseur and sewing a glamor dress for my adorable pencil. Today I am going to share these tales with you! Sorry about the length. I know blog articles should be short, sweet, to-the-point, and not novels! However, if you meet me in person, the first thing you will learn is that I love to talk to people. Yes, I am a social butterfly 🙂
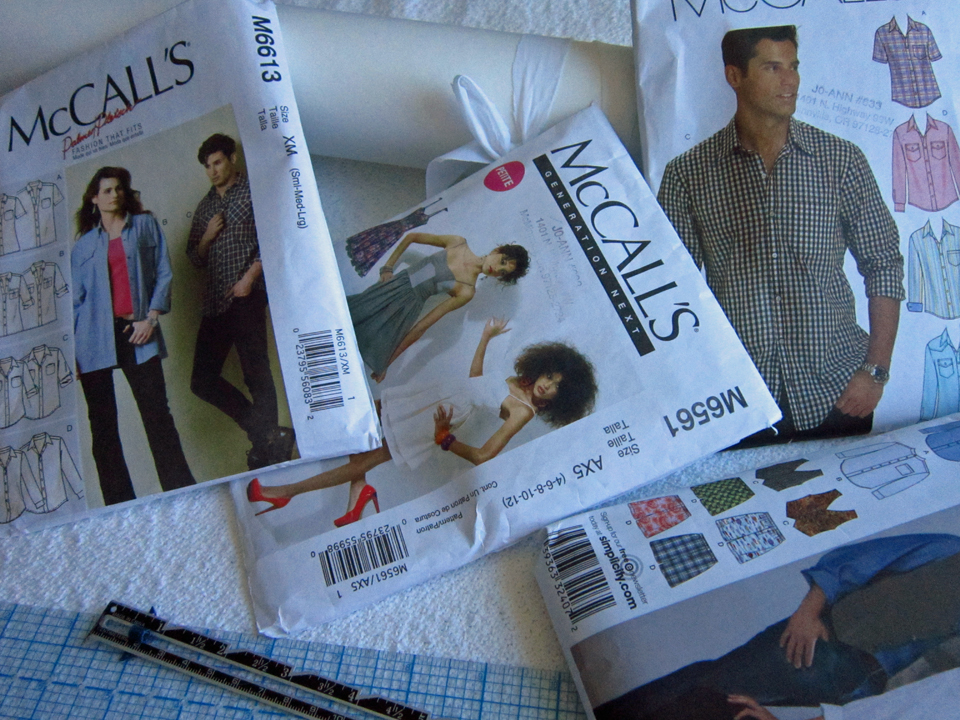
I’ll start my tale with the glamor dress. The pattern is McCall’s 6561.

McCall’s 6561
I’ve made this dress before in white embroidered cotton and lined it with cotton silk. It has a 10 piece bodice that I had to totally re-design for my daughter because she was smaller than a 4 but a bit bustier. There is a post here at Sewlikeinparis, Pattern Review McCalls 6561 with more details and pictures but in short, while it’s not horribly difficult, it is a bit time consuming to make.
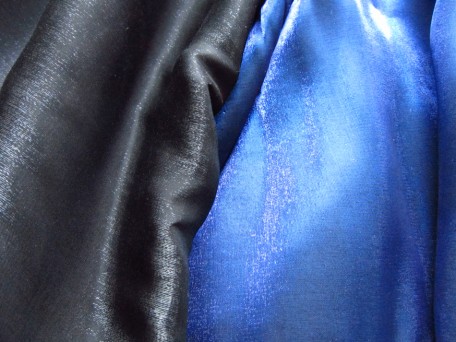
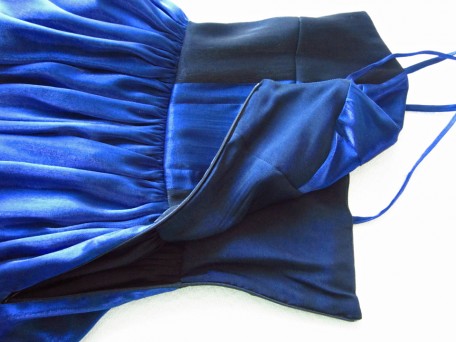
The fabric I used this time is shimmer satin in black and royal blue.
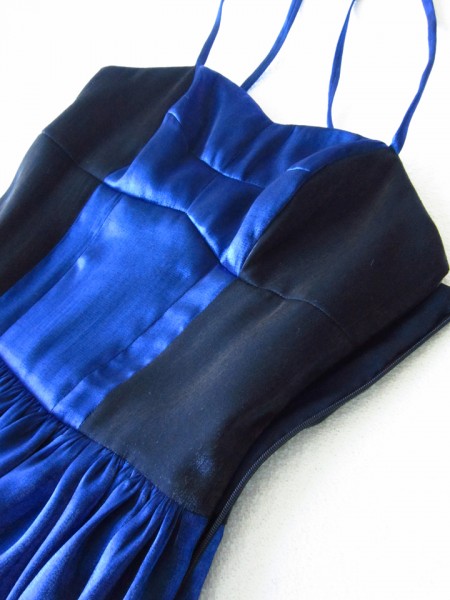
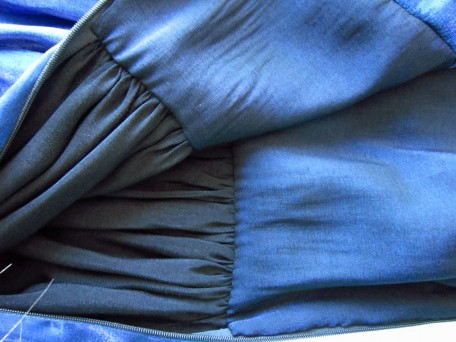
The pattern provides instructions for which pieces of the bodice should be cut from the fabric or the contrast fabric but we ditched those and my daughter marked the muslin bodice with her desired color scheme. This is the bodice front finished.
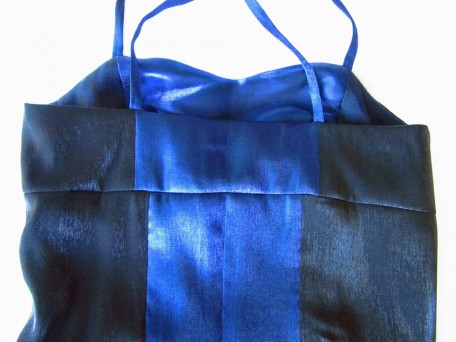
And the view of the back…
The dress has two gathered skirts, the instructions tell you to attach one to the bodice and one to the bodice lining. My daughter didn’t like the feel of the two separate skirts so I attached both to the main bodice this time. I didn’t sew the side seam and put in the zipper until after I had sewn both skirts to the bodice. There was a lot of basting going on.

Next, I installed the zipper first, then sewed the side seams. To be on the safe side, I decided that before going any further, I would make the straps and attach them so my daughter could try it on. OOOOh, it seemed a bit too snug for my liking but she felt it would be just fine. With hesitation, I went ahead and applied the lining and did the finish work.
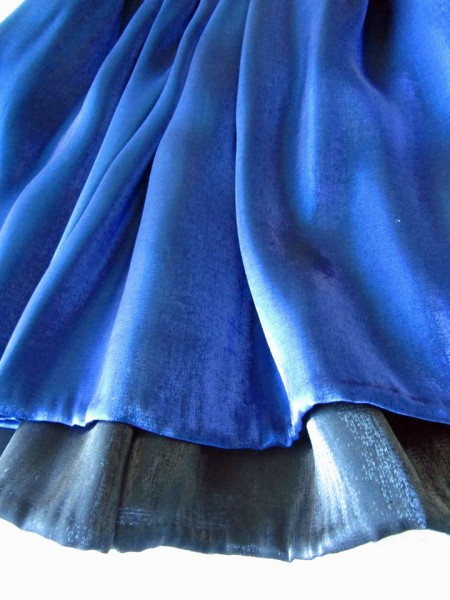
This is the bottom of the dress with the layered skirts, one being a little longer than the other.
So yesterday was the official photoshoot for the McCall’s 6561 glamor dress but guess what? My pretty little pencil…

had at some point very recently, turned into a fine point Sharpie!
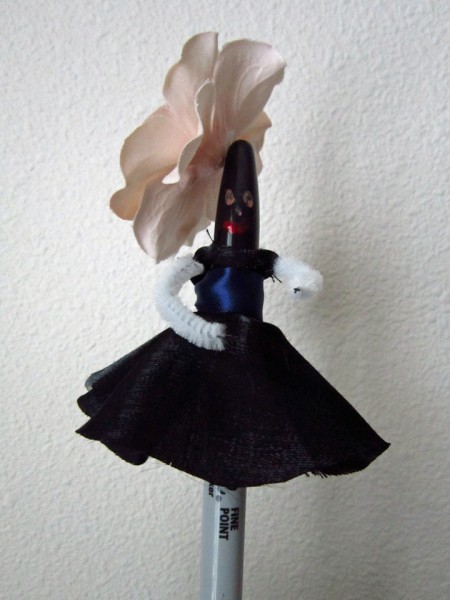
Yep, you got it… the glamor dress did not fit! Not even close! Because of this, there are no pictures to share this gorgeous little number with you because there is NO body that can fit into it. I had to go downstairs for a drink… of water, and when I went back to my room I found the dress hanging on my closet door frame. This is a nonverbal form of communication that as a mother I have learned to understand. My daughter is saying, “if you want me to wear this dress, you can fix it if you want, but I don’t want it in my closet taking up space if I can’t wear it.” I love my lovely fine point Sharpie very much and so believe it or not, there will be no more words and I will return to the fabric store in search of more matching fabric for a new bodice. I will see this experience as an opportunity for me to get better at alterations! (even though I really HATE altering anything!)
So, I bet you are wondering how the shirtmaking went huh? It too was quite an adventure. I have designed a final pattern which is a melting pot of three patterns, a draping, and a number of additional features that I discovered after studying one of my son’s better well-made RTW (ready-to-wear) shirts. It was after 3 muslins, an official attempt at shirt #1 which was an epic fail and my son’s fading hope that he would ever get a shirt when my bull headed determination saved the day and I finally figured it out! The next day after the celebration 🙂 , my son and I went to the fabric store and he chose this fabric.
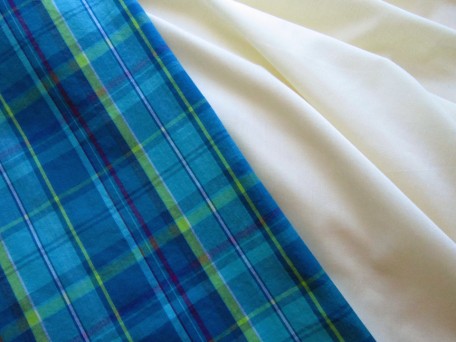
It is 100% cotton plaid and the pale yellow is broadcloth which will be the contrasting neck stand (band). I think my son has figured out the magnitude of his good fortune because he picked out some additional fabric as well for his next shirt!
Cutting shirt pieces out in plaid fabric, I think, is an art of its own! The 1st shirt that was a bomb took me all day to cut out because of the matching game I was trying to play with all the horizontal and vertical lines. It wasn’t too long before I figured out that the more pieces you had, the harder it was to match things up! Therefore, I devised a method through my pattern design that made things much easier. I drafted two separate pattern pieces, one for the right front and one for the left front. Each piece includes enough yardage at center front that will fold over itself several layers, creating an interfaced placket for the buttons and buttonholes. Mind you, folding over the right side that holds the buttons is pretty easy, but it was the left side that holds the buttonholes where I got a bit creative. Ultimately you fold the center fabric edge backwards, right side to right side, then forwards and then under 3/8 inch, allowing for a 1/8 inch overhang of the left side over the right side when lapped and wide enough for 1/4 inch top-stitching along both edges. And on another note, if sewing on only one pocket, that goes on the left and good luck with that matching! Argh!!!!!
So many details… and this is only the beginning. I find myself feeling a little overwhelmed right now explaining since it was just yesterday when I finished the shirt. Maybe we’ll just look at some more pictures for now. Pictures that I could take!
This is the collar and neck stand.
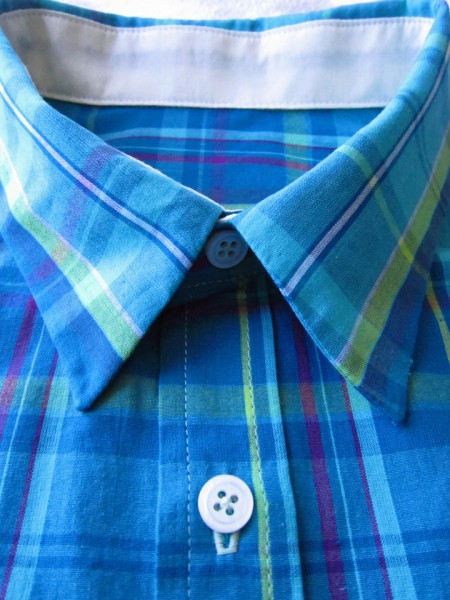
I don’t have any specialized shirtmaking tools yet… like a point presser clapper for collar edges but I was satisfied with what I did. Holy crap! Just realized when looking at this picture that I didn’t top-stitch the collar yet! I am going to have to sneak it out of my son’s room and do that ASAP!
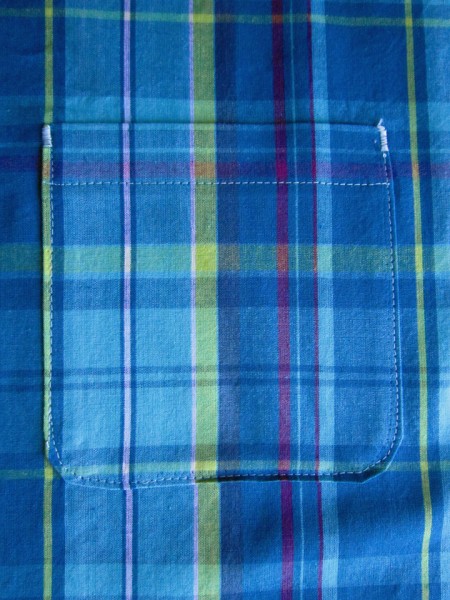
Pockets are not really traditional in high quality mens shirts but… with sportier shirts they are considered okay. I found it a bit challenging to match up all the lines so I decided to try first with one pocket. And… with an attempt to show off, I decided to go with a rounded bottom and while I didn’t do half bad, I think I am in need of some more practice!

Closer view of pocket…
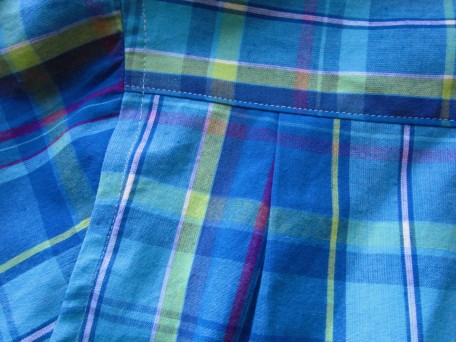
I like the knife pleats I used in this one but with the next shirt, I am going to do box pleats instead which are done exactly at center point below the yoke and see which my son likes better. I also felled the seams on the inside around the armscyes. That was a dangerous time during the sewing of this shirt! That’s all I am going to say about that.
Speaking of felling seams… because the author of “Shirtmaking”, David Page Coffin recommended doing them using a foot rather than by hand, I heeded his advice and went and purchased one for my sewing machine.
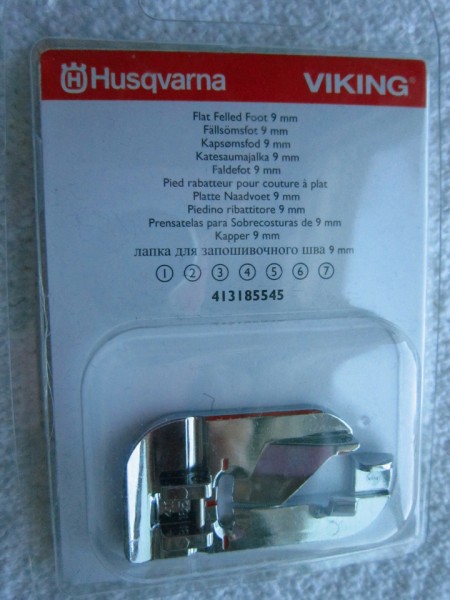
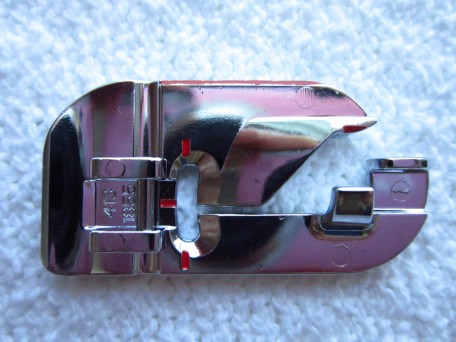
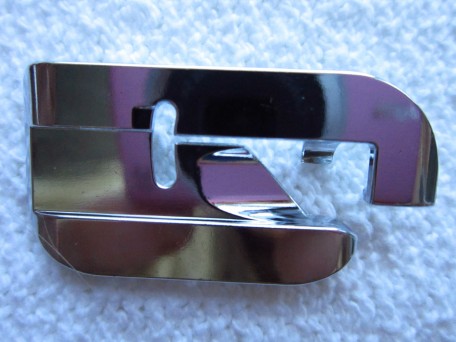
I’ve concluded that if I did nothing but flat-fell seams every time I sewed, then I might eventually become a master flat felled seam sewer when using my felling foot! However, because I am really hating that damn foot right now, I don’t have much hope!
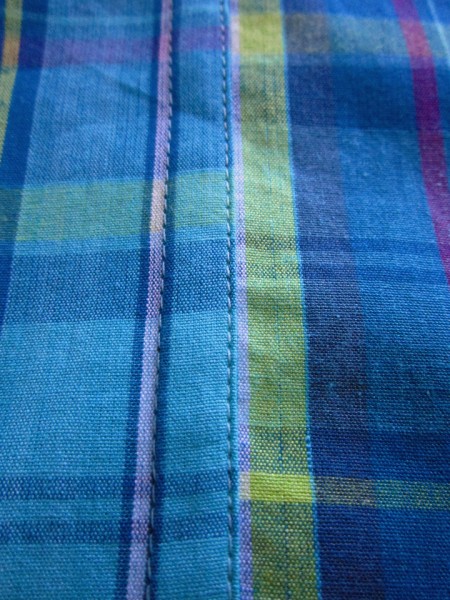
Ahem…. I did eventually succeed at flat-felling the side seams using the felling foot (It’s almost time to raid the wine rack!) I sewed the wrong sides of the shirt together and then flat felled the seam allowance. I will re-visit flat-felling for you in another post and explain it more in detail when I am over it!
Finally, you have to hem the shirt using a rolled hem. I did NOT use a foot for this (even though I have one). I have a technique that works well for me and so I stayed with it.
Step 1:
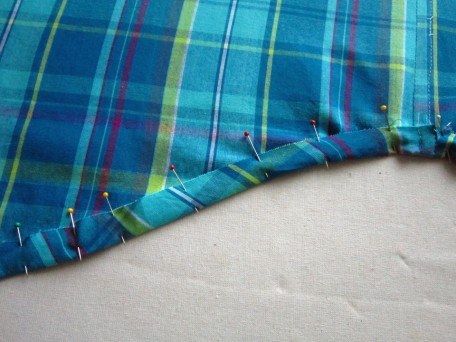
First – I fold up the hem 5/8″ and pin.
Step 2:
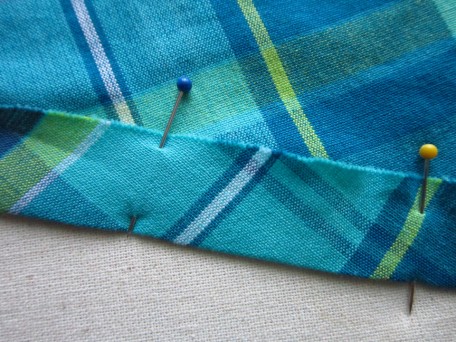
Next, I press, just setting the iron flat against the edge of the folded hem, going slowly and doing it section by section.
Step 3:
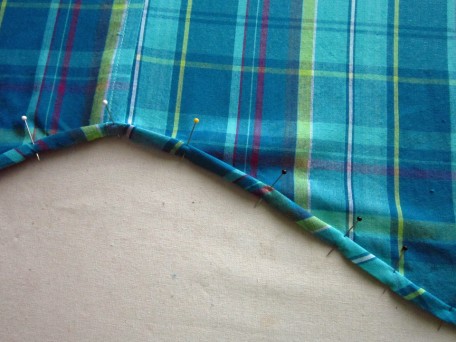
I fold the fabric over and under with the edge touching the inside bottom of the fold and pin again.
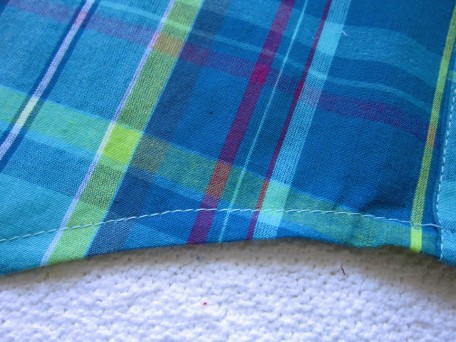
After step 3, I sew a 1/4″ seam along the bottom, then press again and this is the final look.
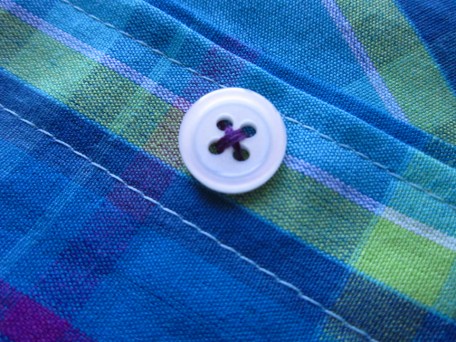
Of course, as a thoughtful addition I sewed on an extra button!
So the grand finale, my son with a hind sight view!

Being that he is sort of bashful, after some coercion and a bit of bribery, I got him to sit on a stool and smile!

To get this cheezy grin, he was thinking of his older brother who in a few hours will be off to a rally race competition in California. My son, Dylan, is a rally race driver with a passion for rally racing like I do for sewing… and obviously a personality that makes Jared smile!
Salute! Jessica
4 Comments
Leave a Reply to jessebrandon Cancel reply
About Me
 Portland, Oregon,
 United States
Hi there! I’m Jessica Brandon and I am a clothes-loving sewing artist. When I am not sewing, blogging or shopping for shoes for my creations, I fill in the remainder of my days spending time with my children, playing ice hockey, gardening and making and drinking wine!


Up Coming Projects:
Vogue 1426

Vogue 7881

McCall's 7089

Vogue 8997

Vogue 1431

Vogue 9006

Vogue 8991

Quick and easy way to hem a curved hem on a shirt or blouse is to first serge the raw edge with a three thread overlock. This makes the edge easy to fold twice and topstitch. Take care at the start and finish to keep the ends flush.
Hi John!
Thank you for the tip. It’s been a little while since I’ve made shirts for my sons so I can’t remember why I wouldn’t have done what you’ve suggested. I’ve been getting “I need a new Mom-shirt” hints so I will certainly try out your technique! Do you do a lot of tailoring? I’m a little weak in that department and know I could use some wisdom!
Thank you for visiting my site. It’s good to know there is some interest in my madness!
Take care – Jessica
David Page Coffin
Some learning experiences for you! Glad you stayed with them both. Would you believe I have actually never sewn a real dress shirt for a man? Some day…
You should give it a whirl… One thing pretty cool is that you don’t have to mess with bust dart fittings! AND you get lots of practice top stitching!