Okay… so you are probably wondering where I have been THIS time! Remember in my last post when I signed off with “Look out 2014, here I come”? Well… I think I was the one that should have been feeling a little worried! It started last Wednesday when THEY who think they can predict weather actually got it right this time, predicting that an abundance of snow was heading straight our way. All kinds of snow came falling out of the sky on us. We are super good with rain, most of us don’t even use umbrellas which makes us true Oregonians! We understand rain and know how to work with it… but snow?!! … now that’s a whole other story! And I have come to the conclusion that home builders here in this state don’t know ANYTHING about snow either because without a second thought, they build driveways everywhere just like mine! “Shuttle launches” that give you the feeling you are laying on your back and ready to blast off when you sit down in the car and so steep that when it snows, you can’t get in or out of your driveway… for days!
But the snow was really the least of my worries because I had a bigger problem. Thursday morning right after the snow hit, I decided I better finish up my son’s taxes and that was when another event also happened… my computer gave up on me… it keeled over and died… crashed… dropped dead… bit the big one… I didn’t even get the blue screen of death… just blackness! “Awe Crap” was not exactly what I said but I will spare you from that rant!
For the next three days while I was held prisoner in my home because I couldn’t get out of my driveway, I did my best to research new computers on my phone…this was like… like… like sewing clothes for a thimble!
It was my good fortune though that Sunday afternoon, a friend with a truck helped me immensely by taking me to a computer store where I was able to replace my poor old Dell with a new sleek and sassy Toshiba so I could get back here to Sewlikeinparis and talk to you!
Believe it or not, I actually did do some sewing during the snow storm. I dug through some left over fabric from past sewing projects and decided to try my hand at making a pull over sweater and a jeans skirt. While neither I felt were masterpieces, they both turned out nice enough that I have already worn them and they are now in the laundry.
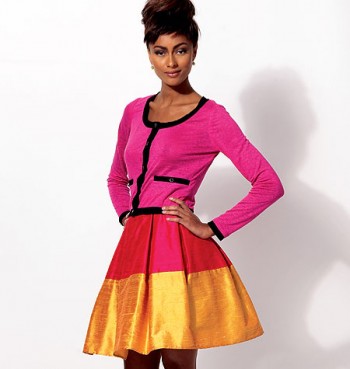
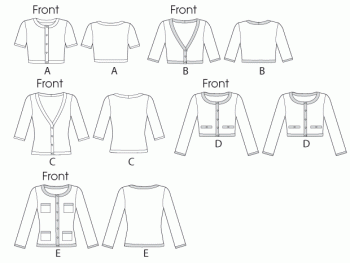
For the sweater, I used McCall’s 6708 only I made a whole lot of changes!
I didn’t want a cardigan… I wanted a pullover so I cut my front on the fold of the fabric after I calculated how much width I needed to take out. To do this I layered pattern pieces for style E over style A because I wanted the body of the sweater to be longer but I wanted the higher neck of style A. There was not enough fabric for long sleeves so I went with short sleeves instead.
Sewing it together took me all of ten minutes. It was easy! Of course there was still the question of what to use for the binding around the neck, sleeves and bottom. I had some black ribbing, a little too heavy for this fabric, but since this was an experiment, why not! I used the same band pieces that came with the pattern, cut them out of my black ribbing and just stitched the ends together with a 5/8″ seam. I wasn’t sure how it was going to turn out but hey… I was winging it! The wine may have had something to do with the winging at this point!
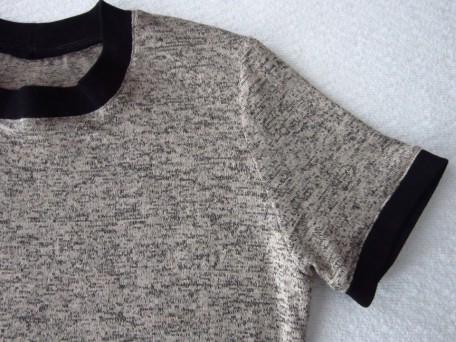
Here is a finished sleeve.
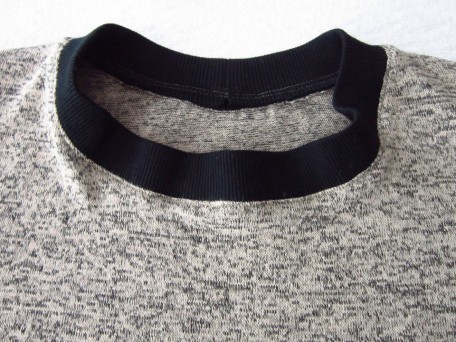
This is a close-up of the neck. I wasn’t real happy with how it turned out. I think maybe the band needs to be smaller. I thought about ripping out the seam and trying again, but I find it rather frustrating trying to remove seams from knit fabric! I put it on to see if it looked stupid and it really didn’t so I decided for sure to leave it alone. On all my bands, I top-stitched right next to the ribbing on the outside in order to keep the bands from rolling and this held them in place nicely; then I trimmed the extra fabric off.
Note for the future: I will cut the pattern pieces with a 3/8 inch seam allowance instead of 5/8 inches and then I won’t have to worry about cutting it off and it will also have a nicer more even finish.
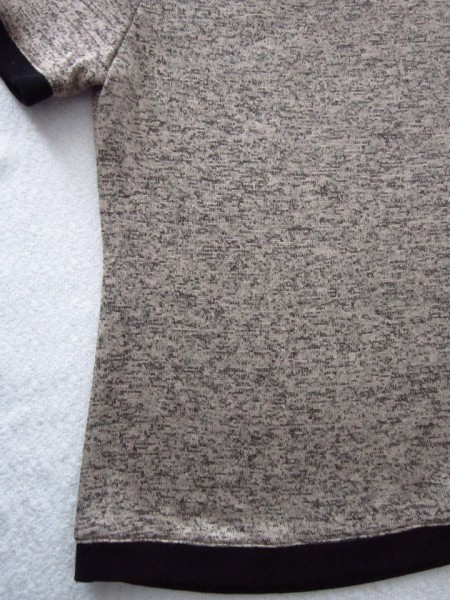
It was debatable as to whether to put a band on the bottom or not… for whatever reason the band won so I put it on!
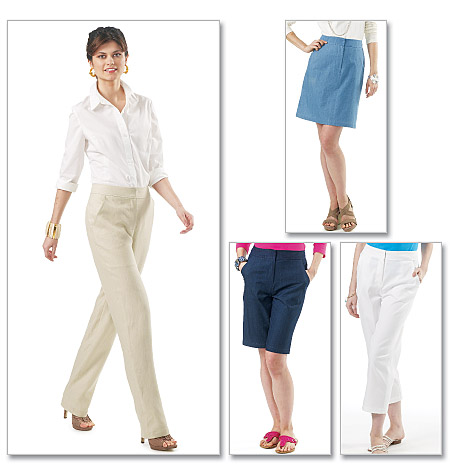
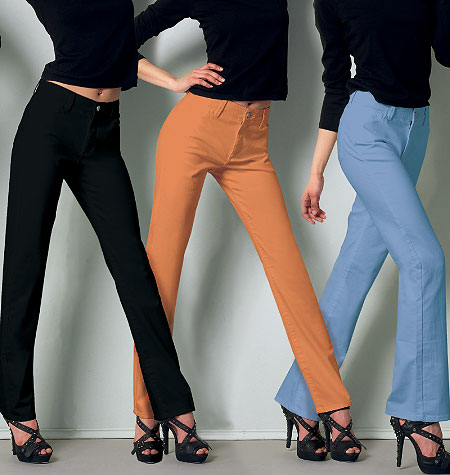
For the skirt, I actually started with McCalls 6361
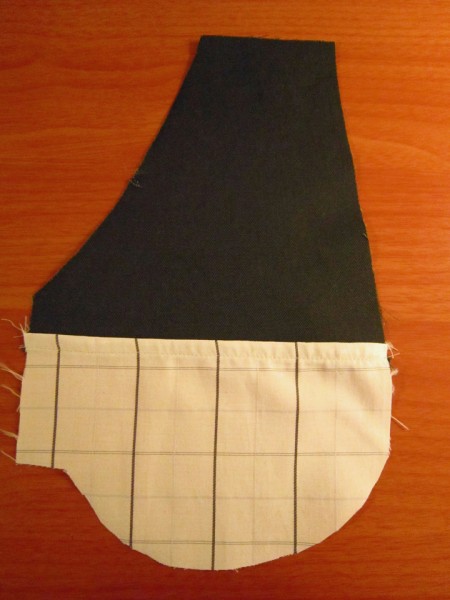
It’s actually a very nice skirt design though it didn’t have a back yoke like I was after that you see on a traditional jeans skirt. But hey, this was a trial run so I wasn’t too concerned. You start with stitching on the pockets and since I was in experimental mode, I decided to try making the lower half out of different fabric. In jeans the pocket itself is often made from muslin but for my test run I decided to use some cotton shirting.
Following this, I had to stitch the pockets on the outer fronts, right side to right side and then I followed the pattern tip and additionally stitched on twill tape that I centered over the seamlines.
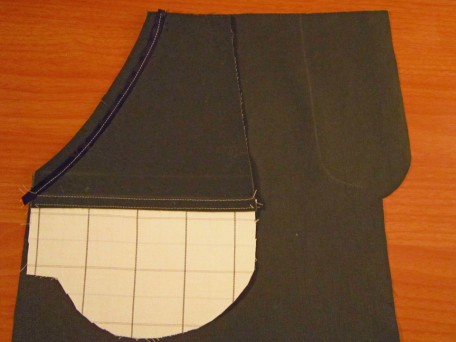 This picture shows the inside of the right side of the skirt
When you flip them back over to the inside, it looks like this.
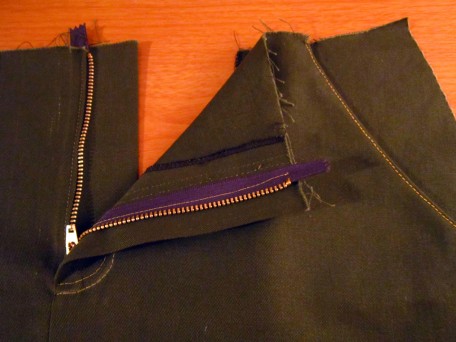
Just before the zipper stage, I switched to McCalls 6610
and dug out the right fly and fly facing pattern pieces so I could have a more jeans look zipper that McCall’s 6361 didn’t.
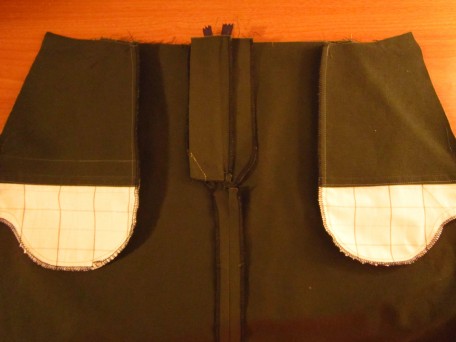
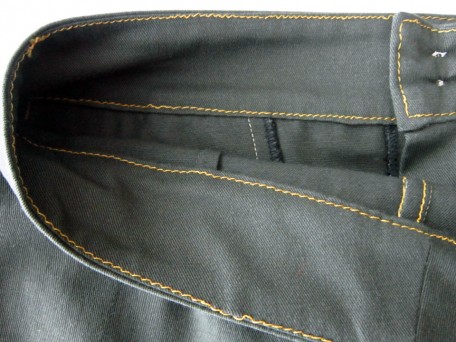
This is on the inside after I had finished with the pockets and the zipper installation. It’s not a very good picture, but you can see the inside lower part of the pockets and the fly facing that goes behind the zipper.
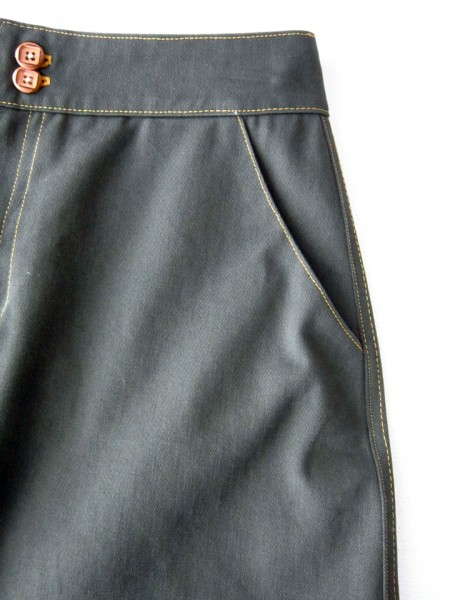
I top stitched all my seams with Jeans thread and boy was that a nightmare. My machine does not like to sew with it. I played with my tension a lot! I found that I needed to have it between 8 and 9 with a little extra pressure on the foot and definitely a 5.0 stitch length. Even with these adjustments, it was iffy! I pulled out what seemed like yards and yards of thread over and over, trying to get it right. Even remembered to change the sewing machine needle to a jeans needle though it didn’t seem to help that much. If the top thread was too loose, it felt really scratchy on the underside! If you look at the seams here in the waistband, you can see that they are not consistently the same.
The top thread of the stitch looked good most of the time which really fooled me because I would just keep sewing along thinking that I finally had it and then… I would look underneath and it looked like crap!
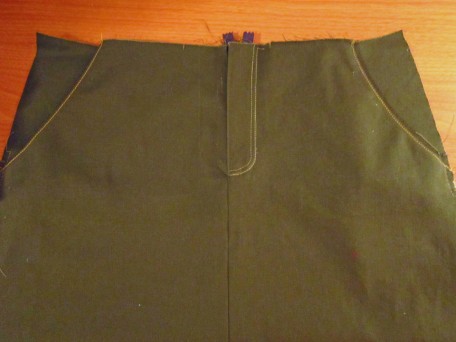
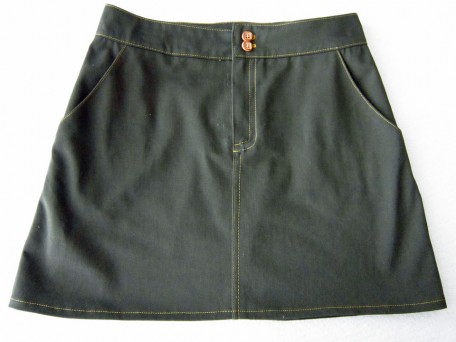
This is the front of the skirt after I finished it.
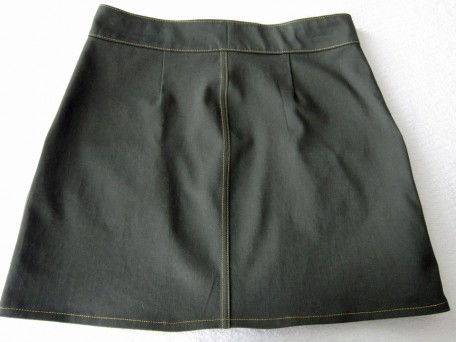
And this is the back without a yoke.
Sew there it is… Sweaters and skirts and snow! I don’t seem to have it in me this week to do the Ta-Da thing so I’m ducking out on the photo shoot! But I am thrilled to be back here on my blog talking to you about sewing. I am presently working on a new sewing project that I will share with you soon. You know… I’ve learned several valuable things in the last week…1) I can make a sweater, 2) it’s good to sometimes believe the weatherman may be right and go grocery shopping early on and 3) there is absolutely no way that I will ever conform to doing all my blogging from my phone! I love my new computer and large touch screen and hopefully it will stay with me for a while so I can keep coming back! À tout à l’heure ! ( See you soon!)
Salute! Jessica


 Portland, Oregon,


