

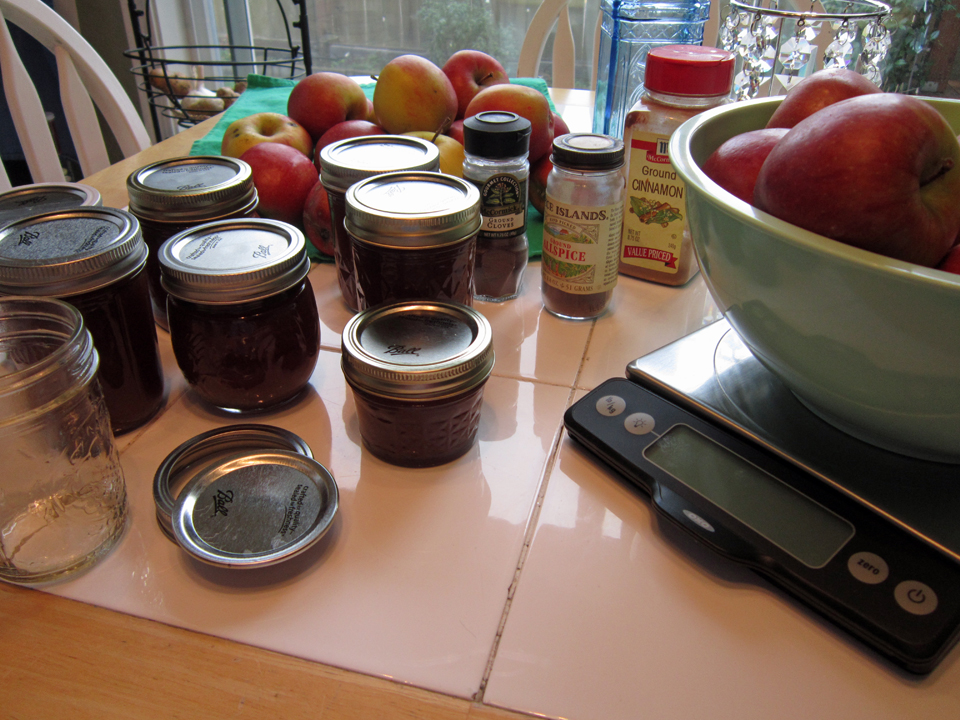
I bet you’ve been wondering where I’ve been huh?! Well… besides finishing up making wine, I just started on another mission… apple butter and applesauce! Several of the family favs so they are necessary items for the pantry. To complete the juggling act I have also been sewing… and sewing… and sewing on the same damn project! Don’t get me wrong, I am really excited about the project I chose and I can’t wait to wear it but… well, let’s start at the beginning.
The pattern I chose for this project is Fashion Star McCall’s 6760. I love the dress but I feel totally charmed by the jump suit. Yeah I know – jump suits haven’t been cool for a long time – not since Diana Rigg rocked them in the original Avengers T.V. show.
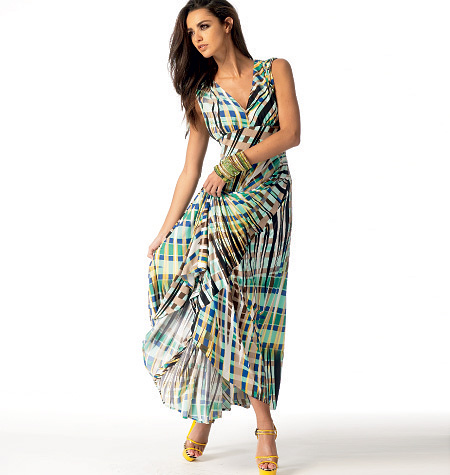

I’ve seen a few in clothing catalogs recently but with skinny legs. I can wear skinny jeans, have five pair of them, different colors, several in prints but truthfully, I have to be in just the right mood to wear them, which is most of the time NOT.
The pattern calls for Georgette, Jersey or Crepe de Chine fabric. The jump suit looks gorgeous in what appears to me to be Royal Blue and I considered this but then decided that I would go classic black because the holiday season is right around the corner and I needed something elegant to wear.
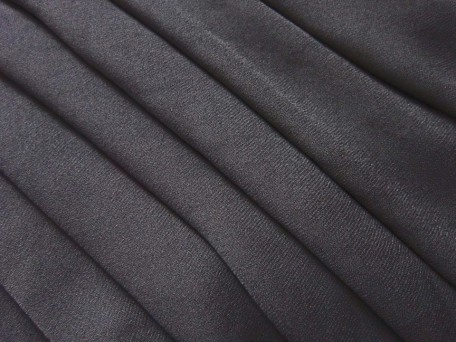
I found several Jersey fabrics on-line that I really wanted to buy but without being able to see and touch the fabric, I couldn’t bring myself to clicking the pay the “Your Total” amount key for 3 yards at $16.99 plus shipping! Since I go to Beaverton frequently, I decided that a Mill Ends Fabric Store visit was in order. I imagined a row of black jersey somewhere in the finer fashion fabrics section. WRONG. There was nada, zip, zilch, zero! I was in a total awe crap mood when I then stumbled across some black Rayon. I struggled with this notion because while Rayon drapes so beautifully, it is a wrinkle magnet! After about another half hour of wandering, I finally threw my fate to the wind and decided that I would make my jump suit out of Rayon!
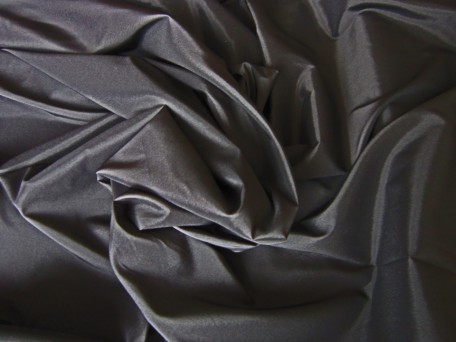
For my lining, I wanted something matte and that would hang similar to the Rayon so I ended up with a slightly stretchy 60 inch matte “lining fabric”. Yep, that’s what it was called and so I don’t know exactly what it is but it complimented the black Rayon so beautifully that I decided not to argue about it and purchased it as well.
Now that I had my fabric, I was ready to make a muslin for my fitting. I didn’t cut the entire leg pieces, just a shorty version. I’ve gotten very adept at making muslins; I go through lots of muslin fabric. But… this is not because I am smart… this is because I learned the hard way by making too many garments that flopped! Anyways, one of the things I quickly discovered was that the design of the back bodice was going to be a problem. While it was really stylish with it open clear down to the top of the high and wide waist band, it was going to show my bra strap where it hooks. There was no way I was going to give my female cupcakes air time so I decided to create an insert just high enough that it would cover the strap of the bra I would be wearing!
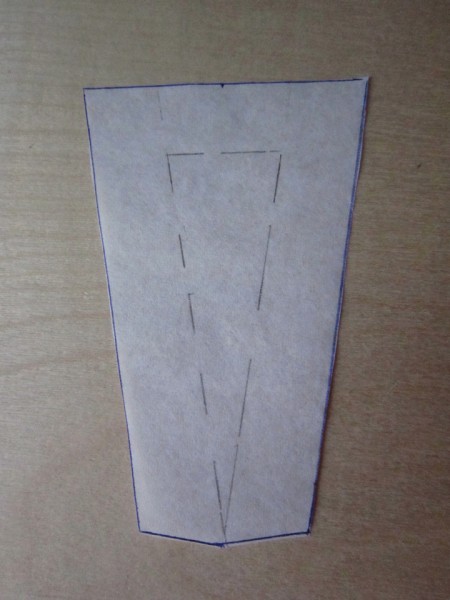
My designed insert was to be 1 1/4 inches wide, 3 inches long and tapering to nothing at the bottom. It had 5/8 seam allowances around it. Somehow I ended up with extra width on the bottom, 1/4 inch to be exact which actually worked out quite well. This is a picture of the pattern piece I drew up.
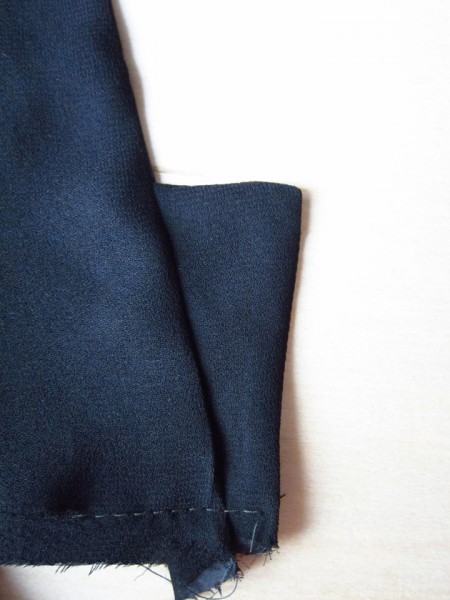
Using my new insert pattern piece, I cut three, one from the Rayon and two from the lining fabric. I sandwiched the rayon piece between the two lining pieces and sewed top, bottom and one side. There was some planning here because when I turned it right-side out, I wanted the rayon to be on the outside with the raw selvages open on the left side. Then I laid my insert face down, selvages flush with those of the left bodice back, 5/8 inches up from the top center back edge of the waist band. Now I was ready to sew the lining to the bodice per the instructions on the pattern which would enclose the selvages of my insert and voila. Here it is.
So why did it take me so long to make this garment? Well there were actually two reasons. The first… I chose Rayon.
I wanted flow-y and drape-y but I knew that it would cost me, more than just the purchase. Now that I look back, I had to really take my time cutting out my pieces but with the sewing, it went better than I expected. I just had to take my time and be one with the fabric! Time! That’s the part I need to reiterate! I couldn’t plow through the sewing process the way I usually do, I had to be patient. EWWWW! And I didn’t sip wine while I was sewing because I had to stay keen and alert, not relaxed! I think that’s why it took me so long though. I should have been MORE relaxed! Note to self: Drink more wine while sewing!
Reason 2) I don’t know about all of you but I have concluded that sewing with black fabric, black thread, black lining and black interfacing sucks! You can’t see! At least that was what I struggled with. Everything was the same color and so… black! I love to wear it but I don’t like sewing it. One thing for sure, I definitely need to improve on the lighting in my sewing area. Majorly!
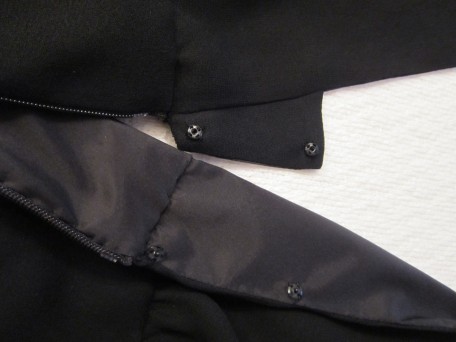
Here is the finished insert that has two small BLACK snaps.
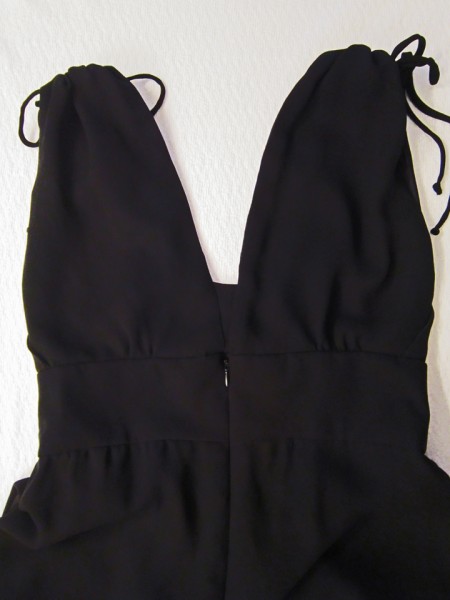
Here is a fuller view that includes the upper back.
This is an inside view with the invisible zipper down in the back.
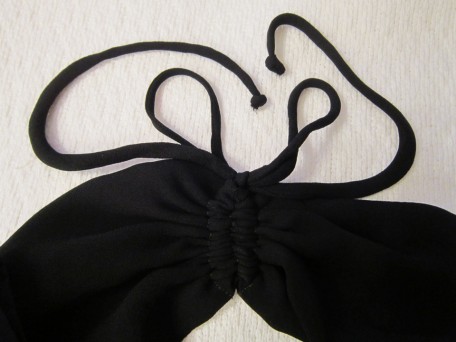
The shoulders gather with ties that you make sewing long one inch strips folded in half lengthwise. I hate making these when you are asked to sew the ends closed and turn inside out from the center. I decided to do it my way and knotted the ends. It may not look quite as finished but I rather like it and that’s what counts right?
The pattern instructions also had you top-stitch all of the bodice as well as the waist band and hem. I am usually pretty good at top-stitching but I wasn’t liking the results I was getting sewing with Rayon. I also thought the bodice looked more elegant by not doing this given the fabric I chose. My daughter concurred so I was happy with my decision!
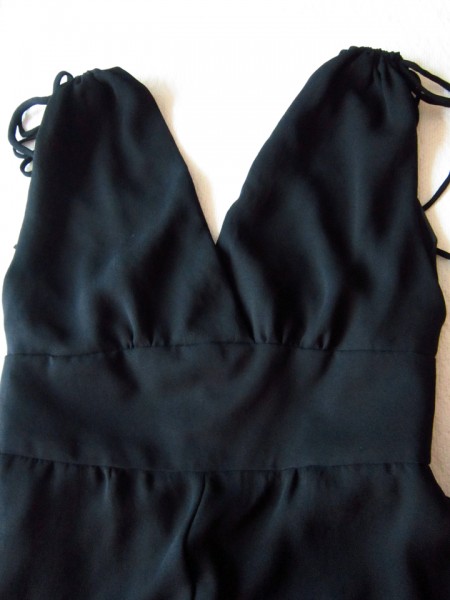
I tried to get a nice close up shot of the front bodice but it was kind of difficult because the Rayon was so slippery. This is the best I could do.
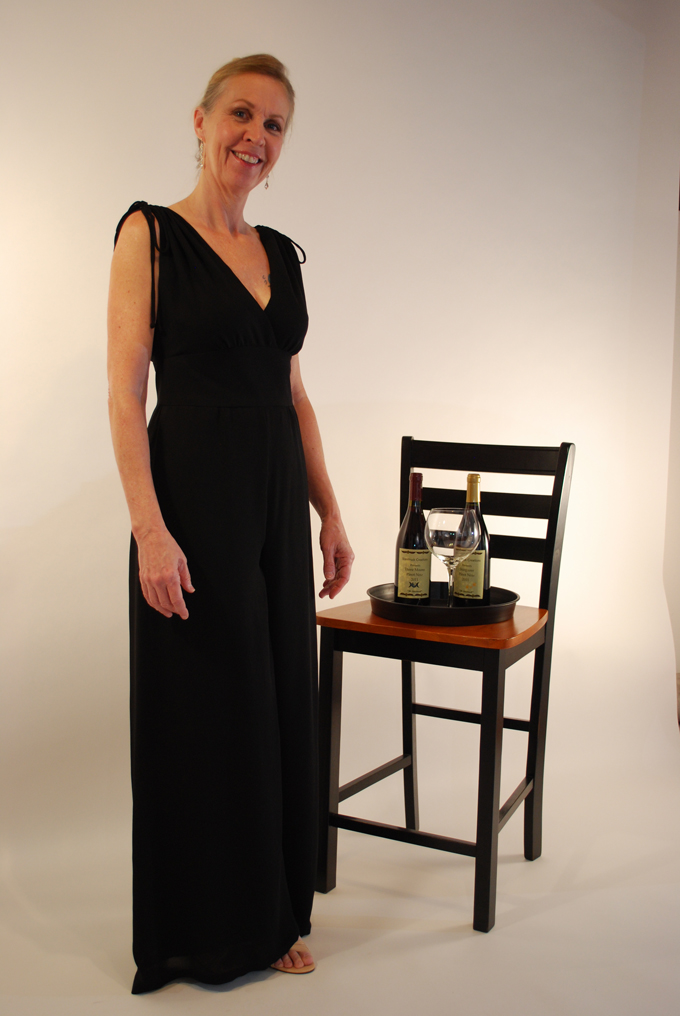
I guess it’s time for show & tell… my new jump suit!
This is the back…
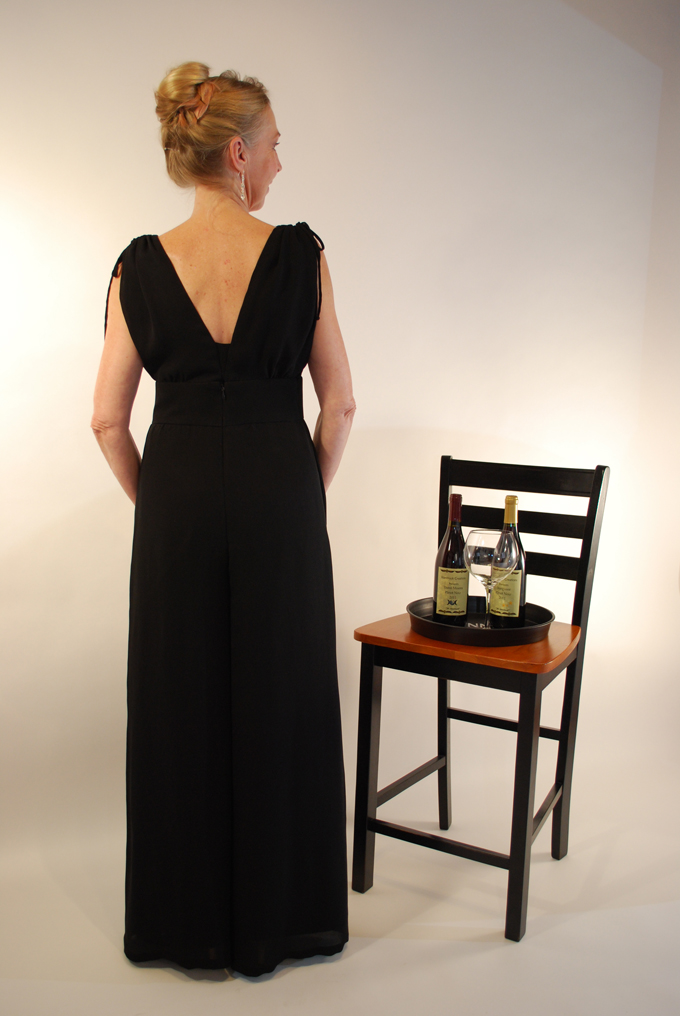
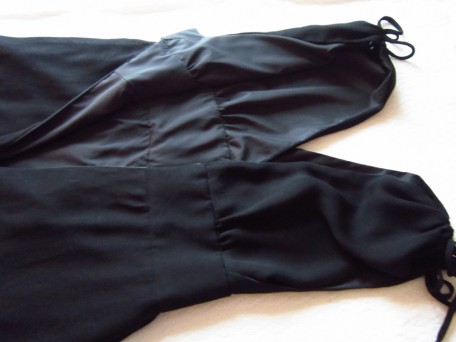
Gotta show the legs!

And… I got brave and gave my glamorous jump suit “pockets”.

It is actually quite comfortable. The real test however will be sitting in it. If there are going to be wrinkles, I think that’s when it will happen. I’ll have to get back to you on that! Until next post…
Salute! Jessica
2 Comments
Leave a Reply to jessebrandon Cancel reply
About Me
 Portland, Oregon,
 United States
Hi there! I’m Jessica Brandon and I am a clothes-loving sewing artist. When I am not sewing, blogging or shopping for shoes for my creations, I fill in the remainder of my days spending time with my children, playing ice hockey, gardening and making and drinking wine!


Up Coming Projects:
Vogue 1426

Vogue 7881

McCall's 7089

Vogue 8997

Vogue 1431

Vogue 9006

Vogue 8991

Beautiful result! I’m thinking about making more casual version in black rayon challis. Yours is very elegant
Thank you Michelle! Would love to see a picture of yours when you finish!