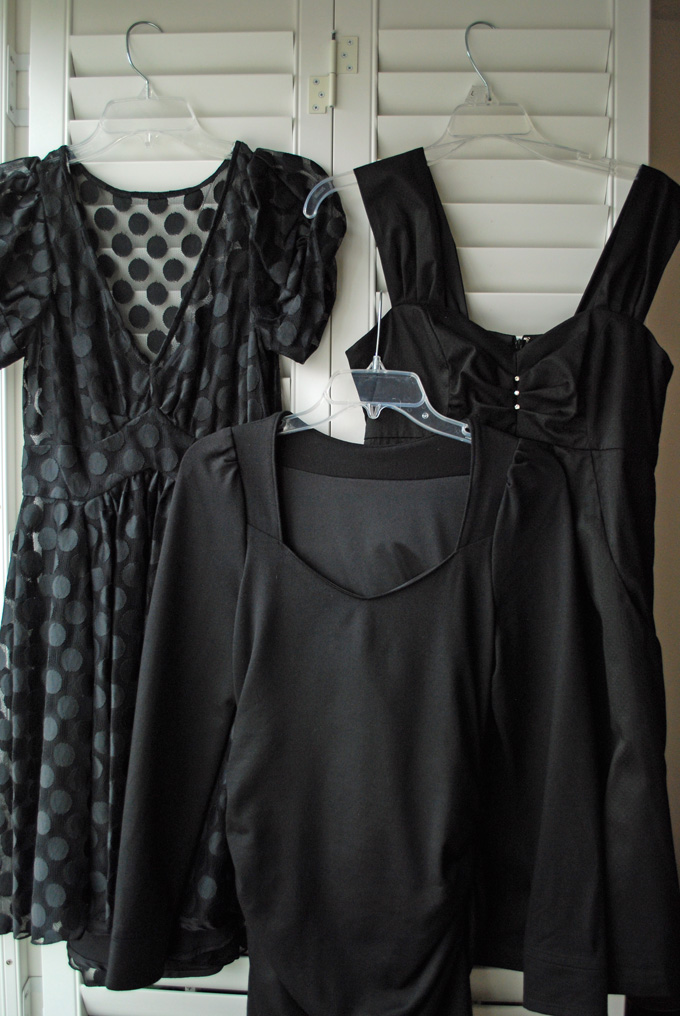
The beginning of my collection of LBD’s
For the last several months, it feels like time boarded a jet that’s flying at mach speed with absolutely no definite destination! The holidays are screaming their way in and right now, I have utterly no idea about anything! Well… I do know one thing. I’m still in “little black dress” mode which is really perfect for the up and coming holiday season!
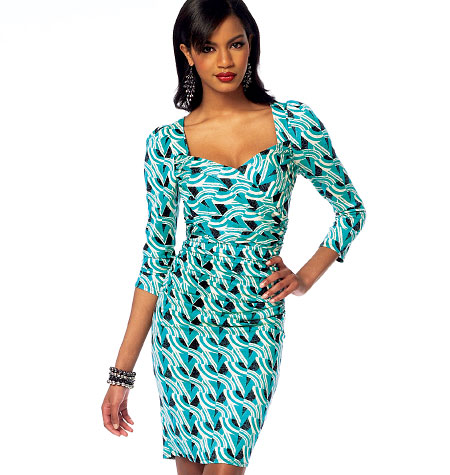
There is something about black that I just love! Black shoes, black coats, black leather jackets, black underwear… maybe I shouldn’t have mentioned that last one… Anyway — black dresses are just way cool to wear so I just keep making them. And the good news that comes out of this ongoing extravaganza is that my eyes are getting better adapted to seeing the black thread in the black fabric! So then, what of the latest LBD or the little black dress? It came about from the McCall’s 6801 pattern.
I think you could call this a “wiggle” dress. I like the fabric of the one on the pattern envelope but I felt certain that it would look stunning in black. I found some beautiful knit at Mill Ends in Beaverton, Oregon but that was probably the first mistake I made. I wanted a heavy enough knit that It would compliment my derriere and other things, rather than illuminate the weaknesses that I don’t think I want to talk about anymore! Ahem… so that mistake I said I made; well, I think the fabric was too heavy for the design of this dress. It started off not too bad, but I think the disaster happened after I finished the step where you sew in the two drapes (strips of fabric) that crisscross over the bust. When I went to try the dress on, I looked like the Michelin man! In simple terms, I looked like a big black blob! Somewhere in all the folds was me!
 *All rights belong to Michelin
I speak the truth even though I have no picture to prove it. I was very disappointed to say the least. In sort of a fury, I took the damn dress off, rolled it in a ball, threw it on my work table in my sewing room and poured myself a glass of wine and sat down to watch a show on Netflix. By the second glass of wine I had decided that I could make some sort of a top out of my “little black flop”!
After a week of stewing, I got to thinking… maybe I can still make the dress… I just had to let go of the idea of having those cool drapes across the bust. AND, the dress is shown on the pattern envelope without drapes. Why didn’t I notice that before! Anyways, did I mention that the bust of the dress does not drop as sharp in a V in the front as on the pattern envelope. My only assumption is that the model has big… Nevermind!
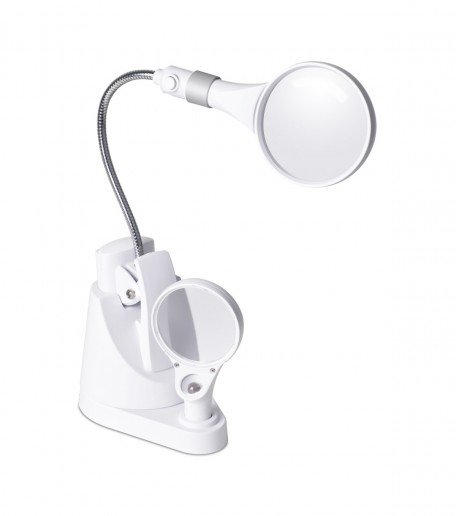
It took me a day to remove all the stitching. Try pulling black thread stitches out of black stretchy knit fabric! Thank goodness for my Ottlite Magnifier Lamp I got at JoAnn Fabric Store. Mind you, I did not drink wine while doing this! I ended up with only a few little holes (with wine I’m pretty sure there would have been more). Also, because I’m still learning to fit when sewing knits, fortunately the dress was a little big so my new seams would land beyond them! Yeah! Finally I felt like I was winning this battle!
The next day, I turned on my sewing machine, sat down and once again began to create a little black wiggle dress. I didn’t tear apart the lining, just left it the size that it was. After a few calculations I figured out that I needed to make the bust and shoulders a little smaller so I made adjustments on the pattern pieces and then laid them over the dress front and back pieces and removed the extra fabric. Fortunately I still had a little fabric left as well as those damn drapes so I was able to cut out a new yoke front and back neck facing pieces. Now I was ready to start sewing!
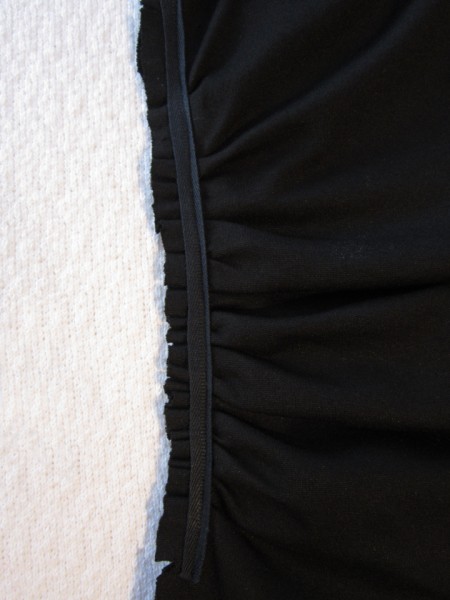
The pattern instructions say to pin a strip of seam binding to the side seam allowances, one for each side, after marking them to match notches on the front and back fabric pieces. They ensure that the gathers in the front and back are equal in length and match. Yes, it sounds confusing and yes, it is sort of a pain, but if you make this dress, when you get to this step, you’ll understand. Besides acting as guides, these strips are a definite plus for holding all the gathers and making the seam more sturdy and stable. I used a good quality black twill and was happy with the results.
Here is what the side gathers look like on the inside.
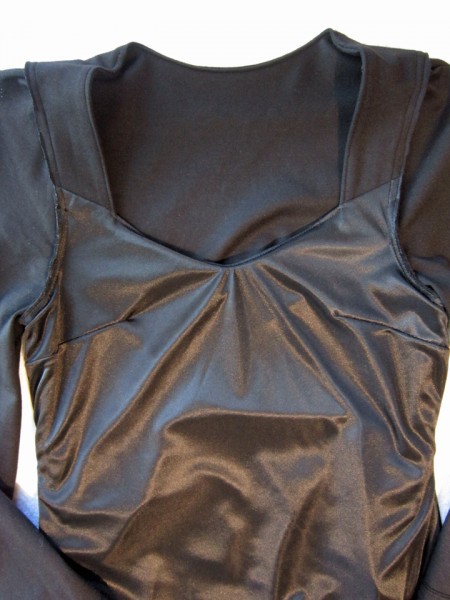
As I mentioned earlier, the lining I left intact just as it originally was. Here’s how it looks on the inside in the bodice area. Tricot catches all the light so it looks like it’s glowing!
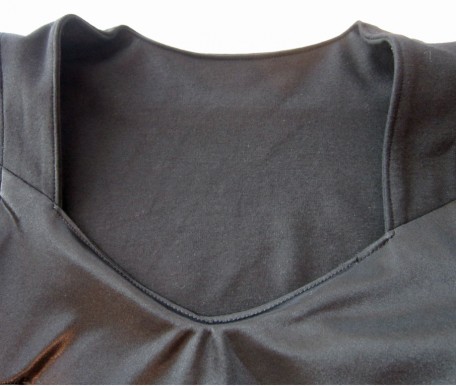
The outside neck, like I mentioned earlier, is not a plunge like it looks on the pattern envelope.
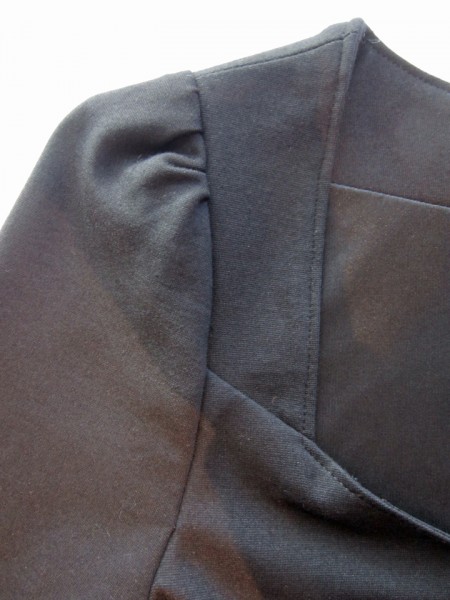
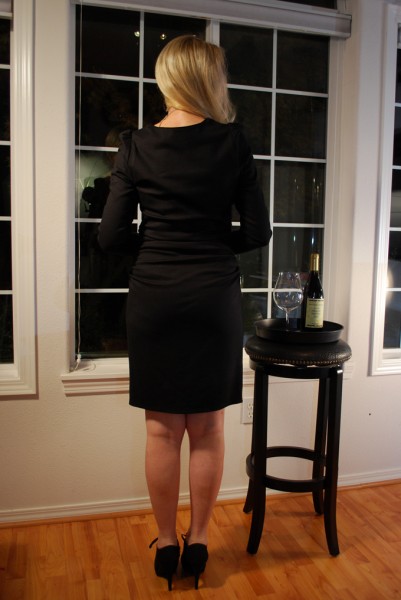
The shoulders of the sleeves are gathered and a little poofy. I wasn’t sure if I would like it but when I wore it to a Wine & Cheese pairing party recently, they were one of the features of the dress that I got compliments on so I decided they were totally cool!
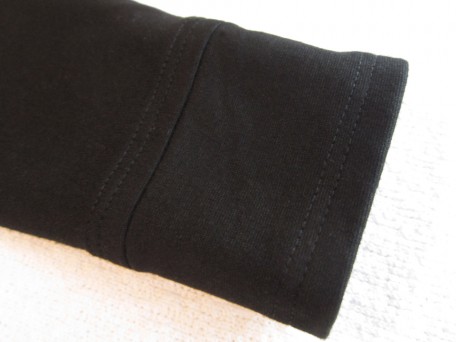
Sleeves on most garments tend to be a bit long for my arms so I reduced the length 1″ inch. Shouldn’t have done that! I ended up with sleeves shorter than I expected! However, even if I hadn’t shortened them, I wouldn’t have got the length I wanted which was long! So… I made cuffs!
So here it is!
See! The fabric is thick enough to pull off the derriere look!
This dress is very comfortable to wear so I am really happy that I didn’t give up and make a top out of it! Once again, I’ve had another lesson in patience!
Take care and have a wonderful Thanksgiving! Until next post…
Salut! Jessica




 Portland, Oregon,


