

So if anyone asked me what I did over the weekend that was fun, I would tell them I drafted a fitted waist seam bodice block that fits! At this point the yawning would start! There are those of us in this world however, who know how rewarding AND challenging this kind of project is. During the holiday season this last year, I started drafting the bodice block, got sick and stayed sick for a while, then things got busy, actually more like turned into chaos, so didn’t finish it – until of course this last weekend!
I was intending on drafting a pant block. Why you ask? What about Vogue 1051 or the Silhouette 3008 pattern. NOT – Big epic fail! I know how you are suppose to fit pants, but… maybe I just stink at it! I don’t know – but it was at this point that I decided to not be a sewing artist for a little while, and instead be a wine taster. After several glasses of wine to gloss over the nasty feelings of defeat, I remembered the big gun I had packed away and decided to bring it out.
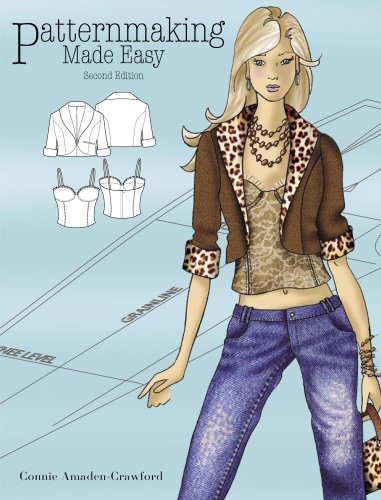
About a year ago, I purchased this book. “Patternmaking Made Easy”, the second edition, by Connie Amaden-Crawford.
No – I am not going to school and learning fashion design. Wish I was but it’s just not financially possible for me at this time. That’s okay though because I happen to be one of those people that enjoys figuring things out on my own, even when it sometimes requires beating my head against the wall! Uhem…moving right along. This book is intended for the designer student and covers oodles of things regarding flat pattern design, is pretty straight forward, most of the time, so certainly worth it to have for my personal library.
Anyways, a light went off in my mind, possibly a symptom resulting from banging my head, and I got to thinking that maybe if I drafted a pant block and then compared it to the pattern pieces, I would be able to see what’s going on. But…here I am, finishing the one-dart bodice block I had started. No worries though, next I will draft pants!
In order to draft a block, you need a number of measurements relative to the specific block you are drafting. For the bodice, most of them I was able to do myself, though for several I had to fudge a little.
These two rulers are also pretty nifty to have:

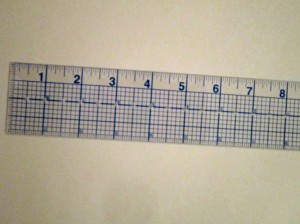
I bought this ruler at JoAnn Fabrics not very long ago. Couldn’t find it on their web site though…weird. This s a picture of mine. It is 2 x 18 inches. It’s not real thick which I liked because then my lines all land right on the mark!
In the third chapter of “Patternmaking Made Easy”, step-by-step directions are provided to assist you in drafting your block and this is where you will need to plug in those handy-dandy measurements. Sample ones are given in parenthesis that can be used as a trial run and I noticed that most of them were a bit more than mine, EXCEPT for the bust point. Mine was an inch lower! I was not a happy camper! You know what this means! It means gravity is winning!
When you are finished, it is then suggested that you cut out the drafted blocks and convert the single darts to two darts, also clearly explained, that way you can check to make sure that the front and back are in balance with one another and with the crossgrain.
Drafting blocks, while not difficult takes a bit of time, especially when you are a newbie like me. But I think it is well worth the time to at least try this because you get a better understanding of why patterns are the way they are. And why the bust points are TOO HIGH!
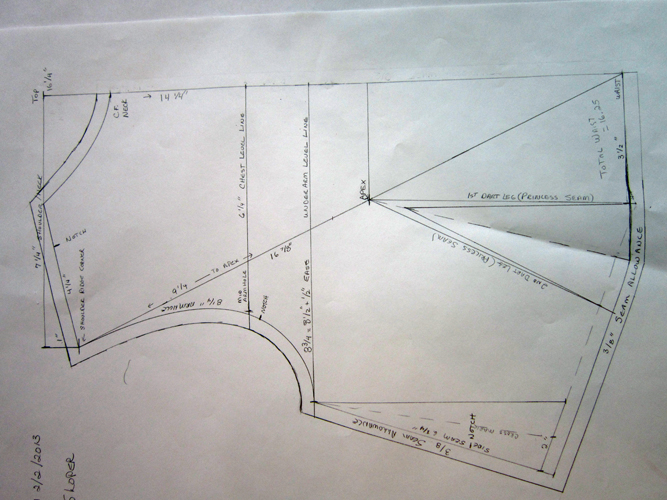
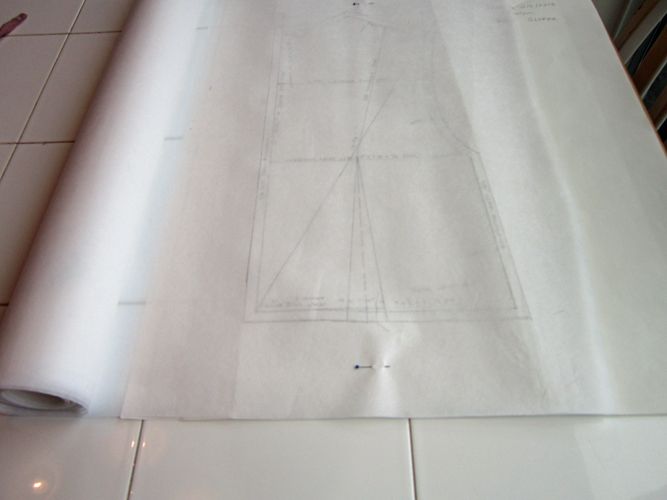
So this is the finished front…
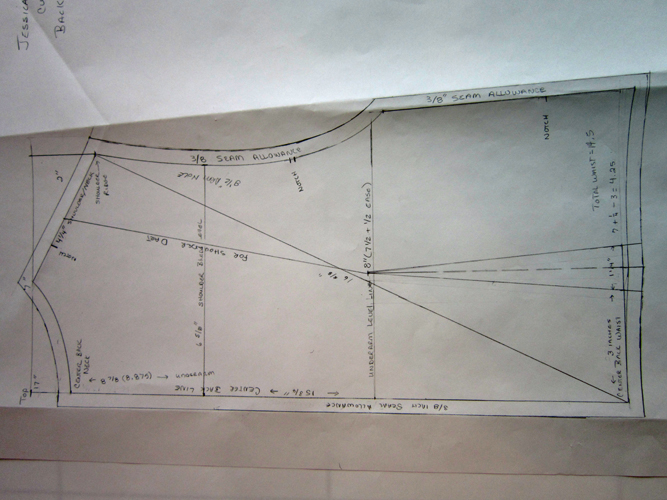
And this is the back….
BTW, when I checked my drafts for balance, I decided to do an extra step and traced copies of the originals so I didn’t have to cut them up.
When I was done checking for errors which I felt pretty sure weren’t there, fingers secretly crossed, I decided to go for it. Next I made notches where I wanted them, added seam allowances and then traced the drafts using a tracing cloth in order to make official pattern pieces for comparison or whatever else I would need them for. The tracing cloth I purchased at JoAnn Fabrics. It is 45 inches wide, is actually called “Crafts & Home Décor-Tracing Cloth” and is $2.49 a yard. I recently purchased 5 yards and then rolled it up on a scrap piece of plastic gridding that is used for needle point.
This is a picture showing the tracing cloth…it’s pretty easy to see through.
Holding onto my newly revived confidence, I then charged on to using my custom made pattern pieces to make a bodice muslin. And guess what? It fits! This is Moi!

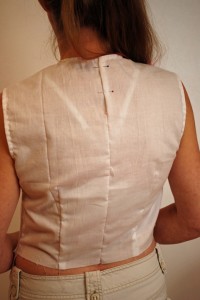
I sewed a zipper in the side so I didn’t have to mess with straight pin stabbing ordeals except now that side looks sort of ruffelee! Is that a word? Oh yes, my seam allowance is 3/8 inches. Trying this out as a new method. It is suppose to eliminate the trimming of seams. One thing for sure though, I better be sure of fit before cutting any pieces out in my fashion fabric since there is little room for minor adjustments! Okay then…I think it’s wine-thirty! Salut!
2 Comments
Leave a Reply to jessebrandon Cancel reply
About Me
 Portland, Oregon,
 United States
Hi there! I’m Jessica Brandon and I am a clothes-loving sewing artist. When I am not sewing, blogging or shopping for shoes for my creations, I fill in the remainder of my days spending time with my children, playing ice hockey, gardening and making and drinking wine!


Up Coming Projects:
Vogue 1426

Vogue 7881

McCall's 7089

Vogue 8997

Vogue 1431

Vogue 9006

Vogue 8991

Just a quick question.
I usually use Armstrong or Aldrich for my drafts, but decide to give Crawford a test run.
I got stuck at the basic bodice, specifically the front bodice step 13 (the side seam)
the instruction get you to measure from bottom of arm plate to waist – fair enough
the part that I have an issue with is the minus 1 1/2″, then subtract another 1/2″ after angling out the seam 2″. This makes the side seam way too short, especially when you draft it from the side seam cross-mark established at step 8.
Your side seam appear perfect. I can adjust my draft at the sloper stage of course, but it seems to defeat the whole flat pattern making concept. Might as well drape.
Just a thought….
Hi Michael! Sorry I’m late in getting back to you but just finished end of the season hockey play-offs last night so have been on the ice for several days. Oh and yes…we won the championship!
I’m so glad you are asking about Step 13 in the instructions for drafting the basic bodice block in Connie Amaden-Crawford’s book. I have been sitting all morning drafting the darn thing over and over because I needed to refresh my mind…February of 2013 was when I did the draft and my brain apparently doesn’t recall well that far back! So guess what? I hate step 13! I don’t think I understood it back then either, especially the issue with the minus 1 1/2″, and the subtracting of another 1/2″ after angling out the seam 2″. I think I did then what I did this morning; I relied on what I do understand… the front waist width has to be wide enough to include the width of the dart, keeping in mind that this width is 1/2 of the total front. Then there is also the position of the princess seam to consider. So now the short of it…my original bodice draft that I posted about was actually my own way of drafting after disregarding step 13!
There may be an easy explanation of step 13 but unfortunately, there seems to be no way to post questions like ours on Ms. Amaden-Crawford’s website. I have to admit I’m a bit frustrated because I paid $93.00 for the book and a little support would be nice. I do agree that draping is an option, but I find it helpful having blocks because they are great when working with already developed patterns during the fitting process. I’m sorry that I haven’t answered your question but at least you know that you are not alone! If you every get privy to some help regarding this, please let me know!
Jessica