"Fashion is not something that exists in dresses only. Fashion is in the sky, in the street;
Fashion has to do with ideas, the way we live, what is happening." - Coco Chanel"
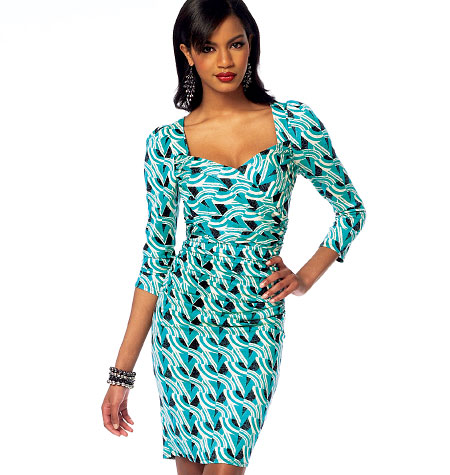
McCalls 6801 Little Black Dress
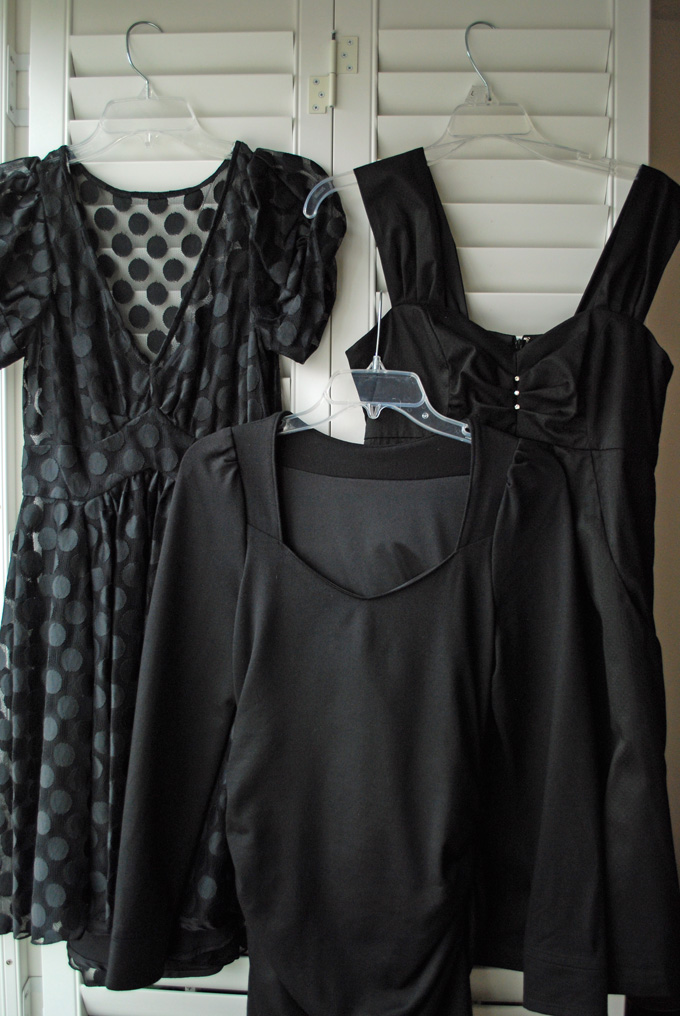
The beginning of my collection of LBD’s
For the last several months, it feels like time boarded a jet that’s flying at mach speed with absolutely no definite destination! The holidays are screaming their way in and right now, I have utterly no idea about anything! Well… I do know one thing. I’m still in “little black dress” mode which is really perfect for the up and coming holiday season!
There is something about black that I just love! Black shoes, black coats, black leather jackets, black underwear… maybe I shouldn’t have mentioned that last one… Anyway — black dresses are just way cool to wear so I just keep making them. And the good news that comes out of this ongoing extravaganza is that my eyes are getting better adapted to seeing the black thread in the black fabric! So then, what of the latest LBD or the little black dress? It came about from the McCall’s 6801 pattern.
I think you could call this a “wiggle” dress. I like the fabric of the one on the pattern envelope but I felt certain that it would look stunning in black. I found some beautiful knit at Mill Ends in Beaverton, Oregon but that was probably the first mistake I made. I wanted a heavy enough knit that It would compliment my derriere and other things, rather than illuminate the weaknesses that I don’t think I want to talk about anymore! Ahem… so that mistake I said I made; well, I think the fabric was too heavy for the design of this dress. It started off not too bad, but I think the disaster happened after I finished the step where you sew in the two drapes (strips of fabric) that crisscross over the bust. When I went to try the dress on, I looked like the Michelin man! In simple terms, I looked like a big black blob! Somewhere in all the folds was me!
 *All rights belong to Michelin
I speak the truth even though I have no picture to prove it. I was very disappointed to say the least. In sort of a fury, I took the damn dress off, rolled it in a ball, threw it on my work table in my sewing room and poured myself a glass of wine and sat down to watch a show on Netflix. By the second glass of wine I had decided that I could make some sort of a top out of my “little black flop”!
After a week of stewing, I got to thinking… maybe I can still make the dress… I just had to let go of the idea of having those cool drapes across the bust. AND, the dress is shown on the pattern envelope without drapes. Why didn’t I notice that before! Anyways, did I mention that the bust of the dress does not drop as sharp in a V in the front as on the pattern envelope. My only assumption is that the model has big… Nevermind!
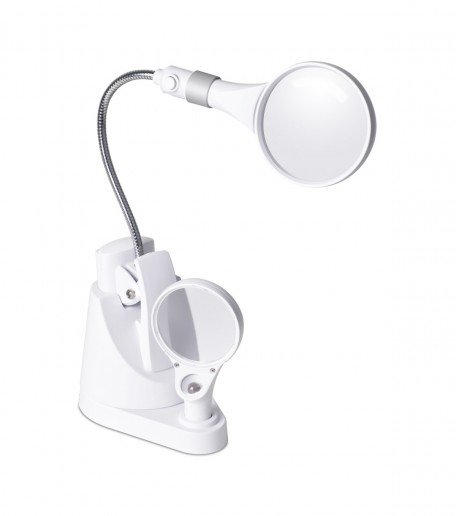
It took me a day to remove all the stitching. Try pulling black thread stitches out of black stretchy knit fabric! Thank goodness for my Ottlite Magnifier Lamp I got at JoAnn Fabric Store. Mind you, I did not drink wine while doing this! I ended up with only a few little holes (with wine I’m pretty sure there would have been more). Also, because I’m still learning to fit when sewing knits, fortunately the dress was a little big so my new seams would land beyond them! Yeah! Finally I felt like I was winning this battle!
The next day, I turned on my sewing machine, sat down and once again began to create a little black wiggle dress. I didn’t tear apart the lining, just left it the size that it was. After a few calculations I figured out that I needed to make the bust and shoulders a little smaller so I made adjustments on the pattern pieces and then laid them over the dress front and back pieces and removed the extra fabric. Fortunately I still had a little fabric left as well as those damn drapes so I was able to cut out a new yoke front and back neck facing pieces. Now I was ready to start sewing!
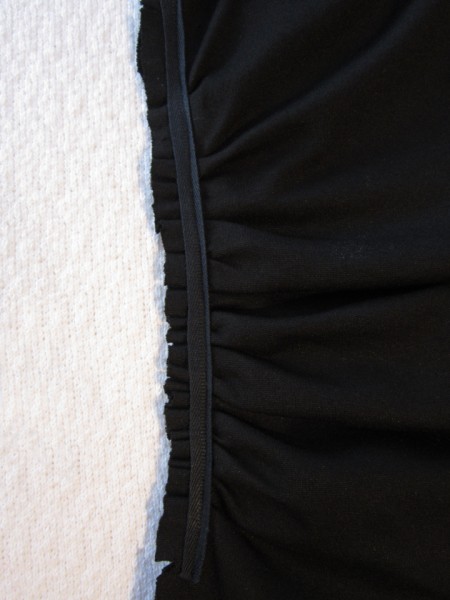
The pattern instructions say to pin a strip of seam binding to the side seam allowances, one for each side, after marking them to match notches on the front and back fabric pieces. They ensure that the gathers in the front and back are equal in length and match. Yes, it sounds confusing and yes, it is sort of a pain, but if you make this dress, when you get to this step, you’ll understand. Besides acting as guides, these strips are a definite plus for holding all the gathers and making the seam more sturdy and stable. I used a good quality black twill and was happy with the results.
Here is what the side gathers look like on the inside.
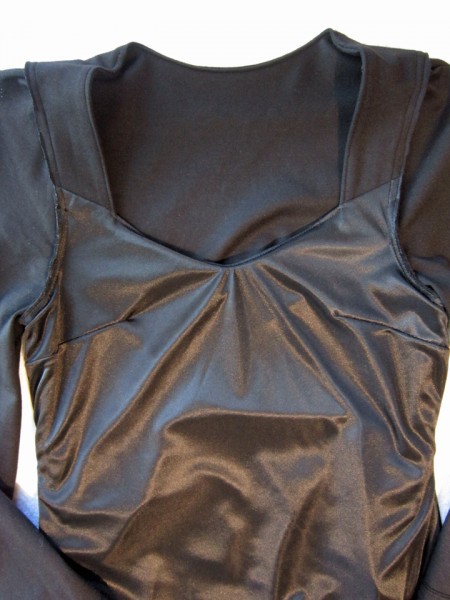
As I mentioned earlier, the lining I left intact just as it originally was. Here’s how it looks on the inside in the bodice area. Tricot catches all the light so it looks like it’s glowing!
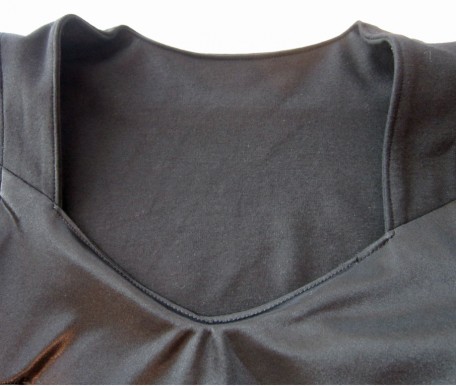
The outside neck, like I mentioned earlier, is not a plunge like it looks on the pattern envelope.
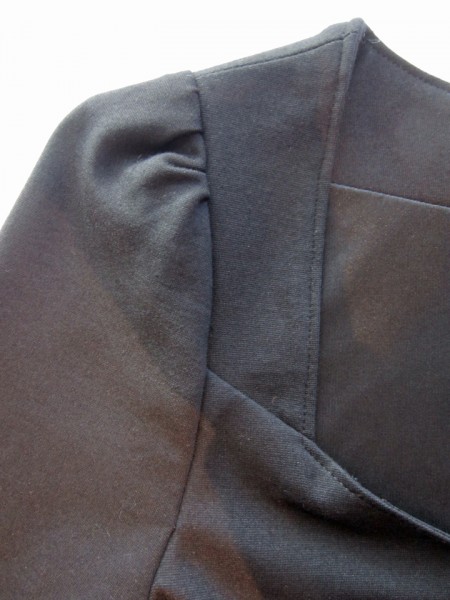
The shoulders of the sleeves are gathered and a little poofy. I wasn’t sure if I would like it but when I wore it to a Wine & Cheese pairing party recently, they were one of the features of the dress that I got compliments on so I decided they were totally cool!
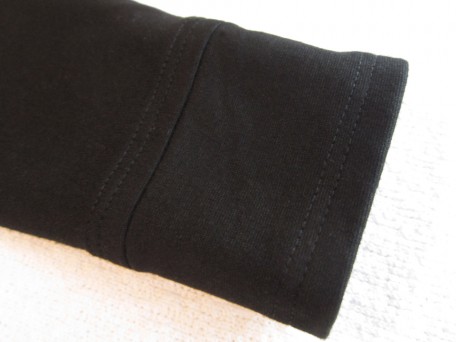
Sleeves on most garments tend to be a bit long for my arms so I reduced the length 1″ inch. Shouldn’t have done that! I ended up with sleeves shorter than I expected! However, even if I hadn’t shortened them, I wouldn’t have got the length I wanted which was long! So… I made cuffs!
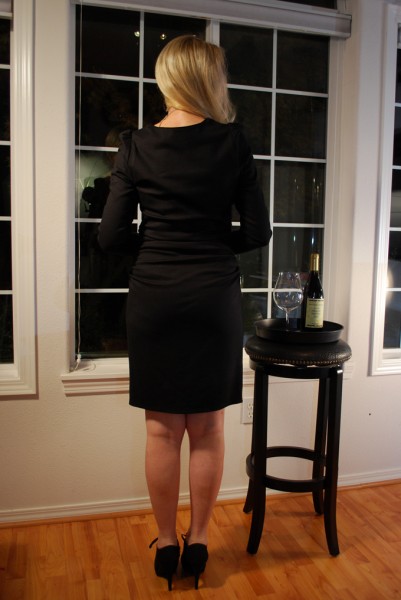
So here it is!
See! The fabric is thick enough to pull off the derriere look!
This dress is very comfortable to wear so I am really happy that I didn’t give up and make a top out of it! Once again, I’ve had another lesson in patience!
Take care and have a wonderful Thanksgiving! Until next post…
Salut! Jessica
Read MoreTricked So No Treat Part 1
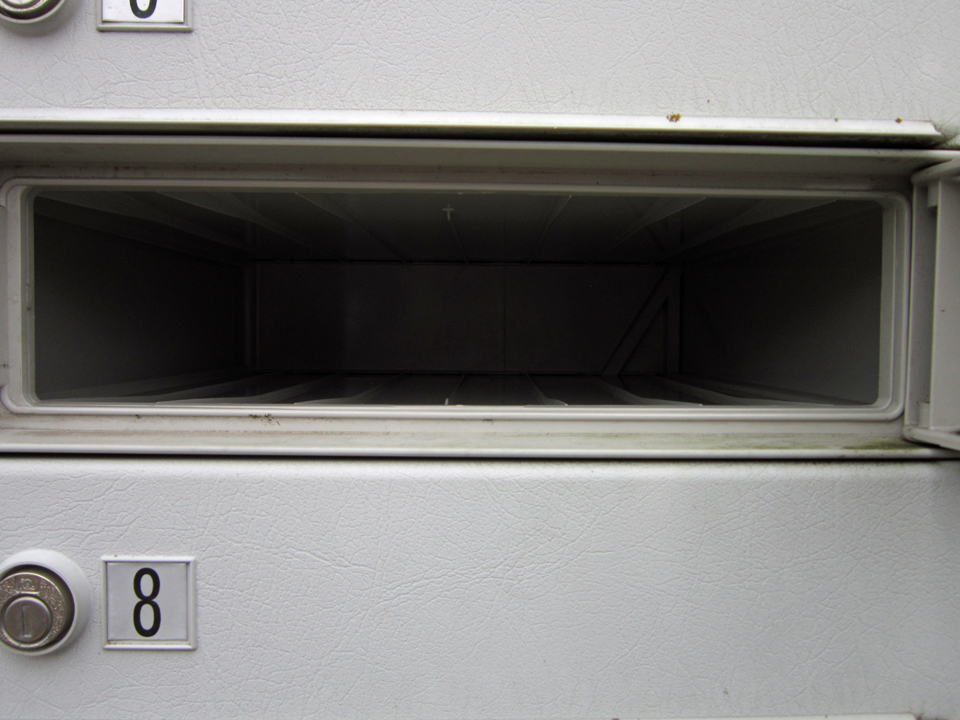
Why, you ask, is the above picture a snapshot of an empty mail box? Well there is an answer! The short version… ordered 8 yards of trim for the Halloween costume I was making to share with you in this post but it never came! Boo-Boos do happen (pun intended!) … have made at least a few of my own, so rather than blame the business I ordered the trim from, I decided to not spend energy on ranting about the fact that I don’t have a finished costume for this article one day before the big “Trick Or Treat” event and instead, share what I have got done so far in a Part 1 with a Part 2 to follow. And what will I wear for the party tomorrow? Well… I finally have a reason to justify the dozens of costumes I have, stored in boxes and containers and stuffed everywhere in my house…they are my back up plan for when something like this happens!
**Note to self: You just ranted!
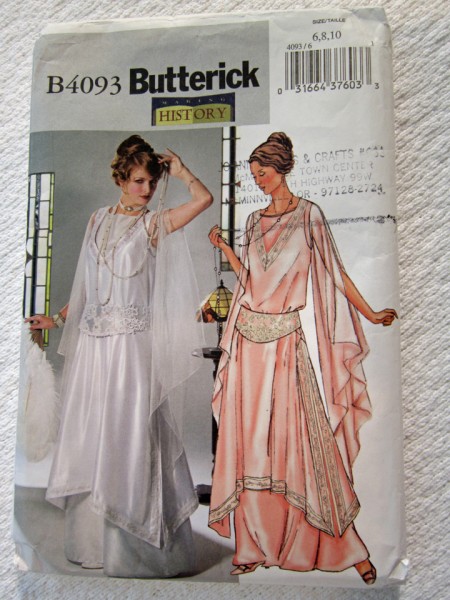
Okay, moving right along. So… the costume I’ve been working on is an historical period garment. The pattern is Butterick 4093 that was available in 2003. Unfortunately being that it was 11 years ago, this pattern is no longer available.
I don’t remember what my thoughts were when I bought the pattern, maybe I just thought it was pretty, but here in 2014 with Downton Abbey being so popular, it seemed like the time to break it out.
For my fabric, I chose Chiffon for the gown. It is the perfect texture and color for the tunic that fits over it made from Crepe Back Satin but unfortunately because of it’s thinness and low neck-line of the tunic, an additional under layer is gonna be needed! This was a total “OH CRAP” moment. I never thought about it when choosing my fabric.
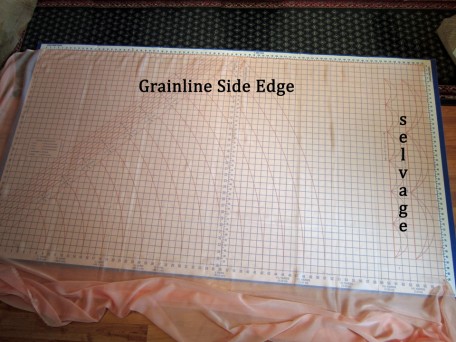
I worked out a system for cutting my pieces out of the chiffon. I laid a cutting board that you can buy at Jo-Ann Fabrics on the floor and then pinned one grainline side edge onto the cutting board. I used lots of pins spaced about 2 inches apart. I next gently pulled the fabric to pull out the wrinkles and make it smooth across to the opposite side leaving the remaining fabric lying off the board and on the floor. Then I pinned alternately, the selvage along the end and the fabric laying over the opposite edge of the cutting board, continuously smoothing and working with the grainline so my finished gown would hang properly when wearing it. Because this fabric is very thin and light, I think it’s really important to pay attention to what it does when you are pulling on it. It’s not hard, but you do have to be patient!
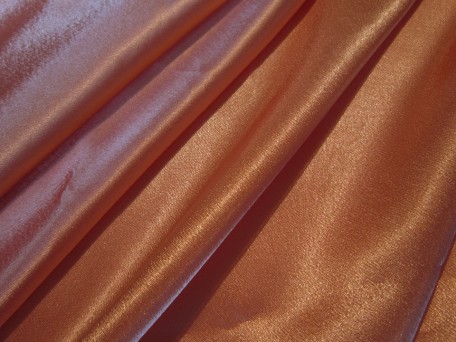
Cutting my pieces from the Crepe Back Satin went a little quicker because the fabric is heavier though it was slippery so I used my pinning technique that I used for the chiffon. I did get bold and cut my pieces on the fold! Risky but it worked out! Below is a picture of the fabric.
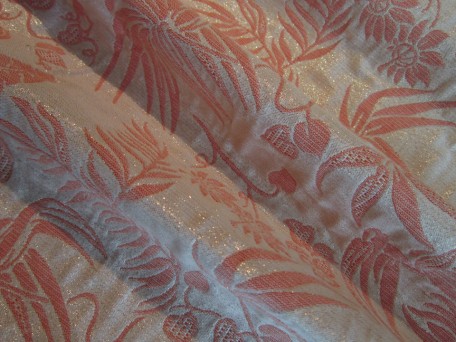
There is a third piece to this costume, a girdle, and for it I chose a gold Brocade embroidered with colored thread that looked perfect next to my Chiffon and Crepe Back Satin.
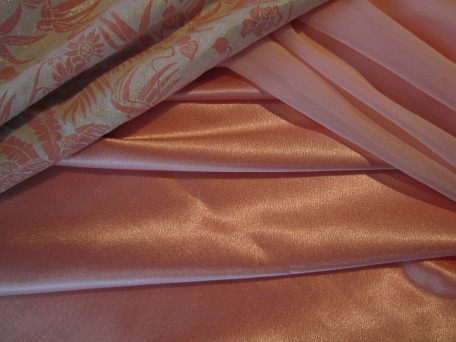
Here is a mix-up of the three. See… they look good together!
Hey, I’m stretching this out so this posting has something interesting in it. It’s not my fault!
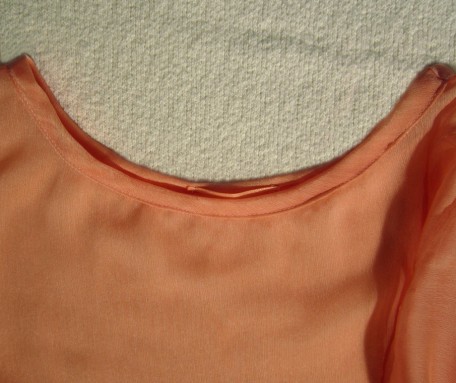
The gown I made first because I thought it would be the biggest challenge due to the sheerness of the fabric. Surprisingly it actually went quite well. I did make my own bias tape and used the same Chiffon for it.
The sleeves are sleeves, but not sleeves! They are connected for about two inches down past the point at the end of the shoulder, but from there to the hem they are open.
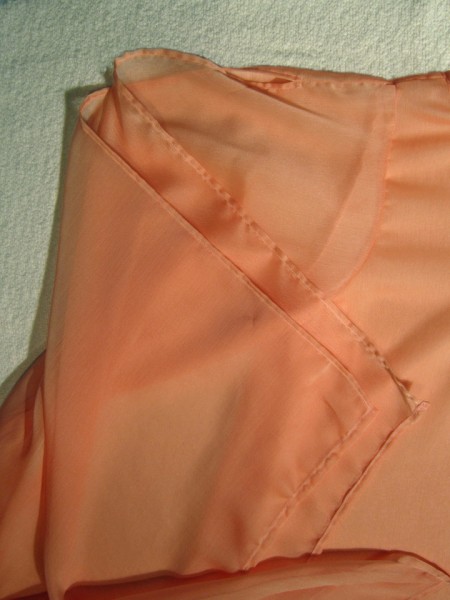
The tunic I found to be a little more of a challenge than the gown. It was like sewing… uh.. I hate to say it… “snot” because it sounds gross but it’s the best analogy! Once again, patience was my best tool of defense! Believe it or not, I changed absolutely nothing and followed the pattern instructions exactly when I made the tunic! And I might add that it went very smoothly.
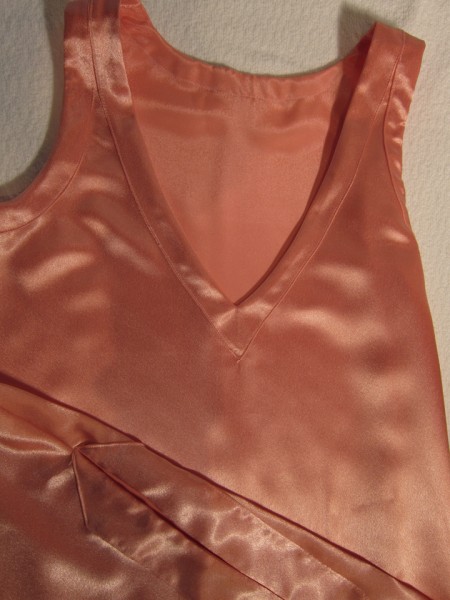 The two folds towards the bottom of the picture looking like a “V” pointing dowards are actually one of the sides. I just folded it upwards into the picture.
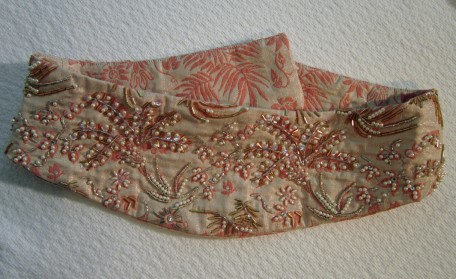
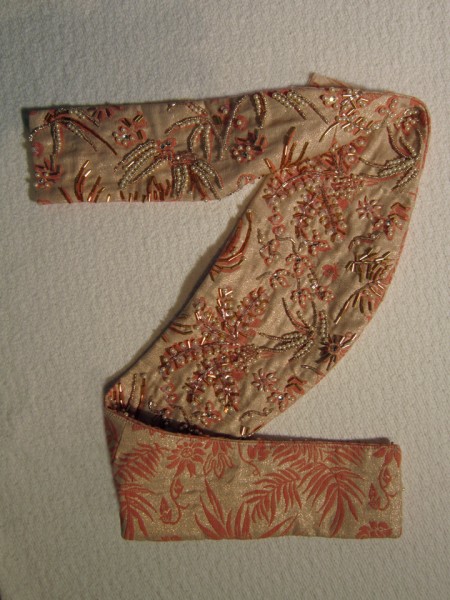
When I finished sewing the tunic, this is when the production line shut down. I needed trim, 8 yards of it to be exact, and I faithfully checked my mailbox every day thinking that it would be there because I ordered it!. Several of those days I even made my son go check the mail for me in rain that was pouring down in buckets… (well I wasn’t going out there!). But alas, no trim. While stuck in stand-by, waiting for the missing package, I figured it was the perfect time to finish the girdle. Hey – that’s what it’s called! There is really nothing to it. There is a front panel and 2 back panels that fasten in the middle of the back, and then it is faced to enclose the seams. This part of the costume I have been chipping away at for a while because I have been sewing beading on it. More specifically, pearls, bugle beads, sequins, and glass beads as well as gluing on Swarovski crystals. It has been a work in progress but it is done.
It is actually very sparkly and bling-y but I was having trouble with my lighting today so it is what it is!
Good news! My trim has been shipped so when it arrives and I get it sewn onto my tunic, my ensemble will be ready to share! Until then, have a fun Halloween, stay safe, stay warm and here in Oregon, stay dry!
Salut! Jessica
Read More



 Portland, Oregon,


