"Fashion is not something that exists in dresses only. Fashion is in the sky, in the street;
Fashion has to do with ideas, the way we live, what is happening." - Coco Chanel"
Pattern Review Simplicity 1797
SPRING IS HERE! But…I live in Oregon and — well let’s just say that we Oregonians are still planning our wardrobes for that mildly warm sunny spring weather that will actually be here when it’s almost summer. However, I am not complaining…much. This is actually a good thing because it means that I have a little more time for sewing projects that include those pretty summer dresses that I envision myself wearing to parties, the Blues Festival, wine tasting, birthday parties, or just because!
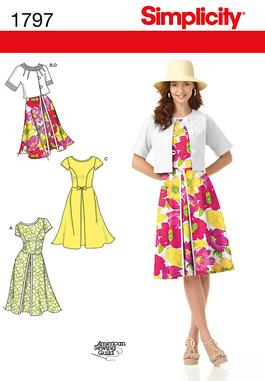
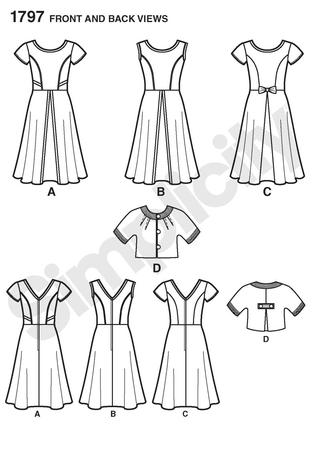
Since we are on the subject of dresses, I believe it’s time to talk about Simplicity 1797. I decided to make this dress for several reasons. The obvious one of course is that it’s cute! I really liked the sample displayed on the pattern envelope and so I purchased it when it came out last year. Somehow it ended up in my future project stack of patterns and…I sort of forgot about it. Then last month when I was reading the American Sewing Guild Newsletter I made a discovery. A national sewing contest is just getting underway and to participate, you can sew one or all of the patterns from a a selected list and the Simplicity 1797 is on that list! The grand prize and 2nd reason to make this dress…a Babylock! I was so excited that I think I drooled on the newsletter.
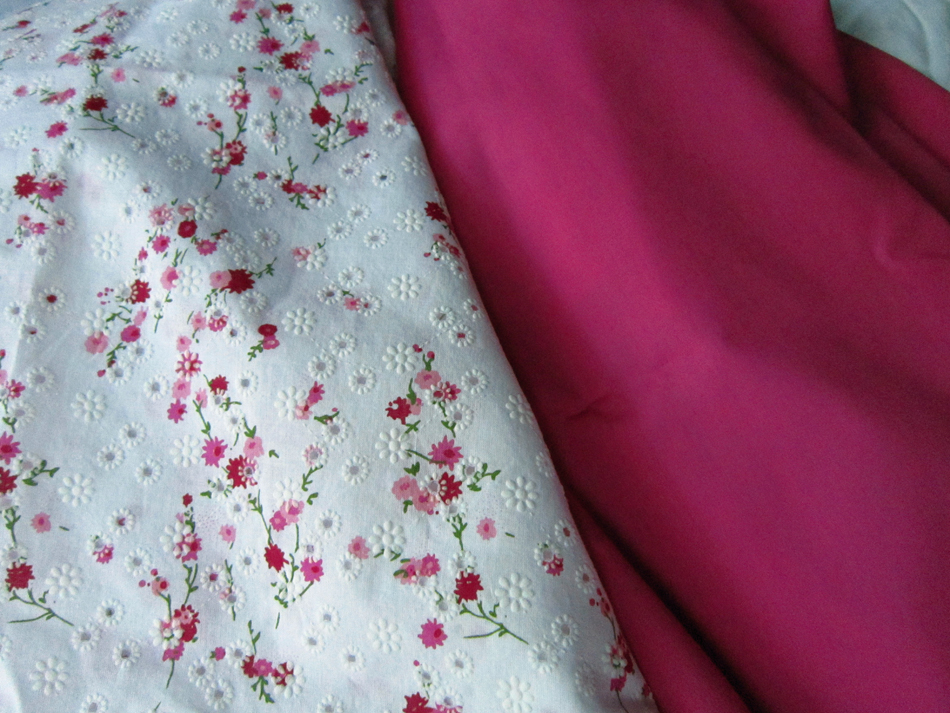
My plan was to make this dress from a special designer fabric that I purchased, but I wanted to do a test run first so I chose a floral eyelet that I found in the local fabric store’s linen section along with a pretty rose-red cotton for the piping. The eyelet was regularly $12.99 a yard but with the 30% discount that I noted, I figured what the hey, I can handle this. Keep in mind that during this time my phone was ring-a-ding-dinging text messages from two of my kids. When I left the cutting counter it turns out the fabric was not on sale! I was already late for meeting my son at a local pub for lunch so with as much calm collective-ness I could muster, I purchased my NOT-ON-SALE fabric and left in a dash!
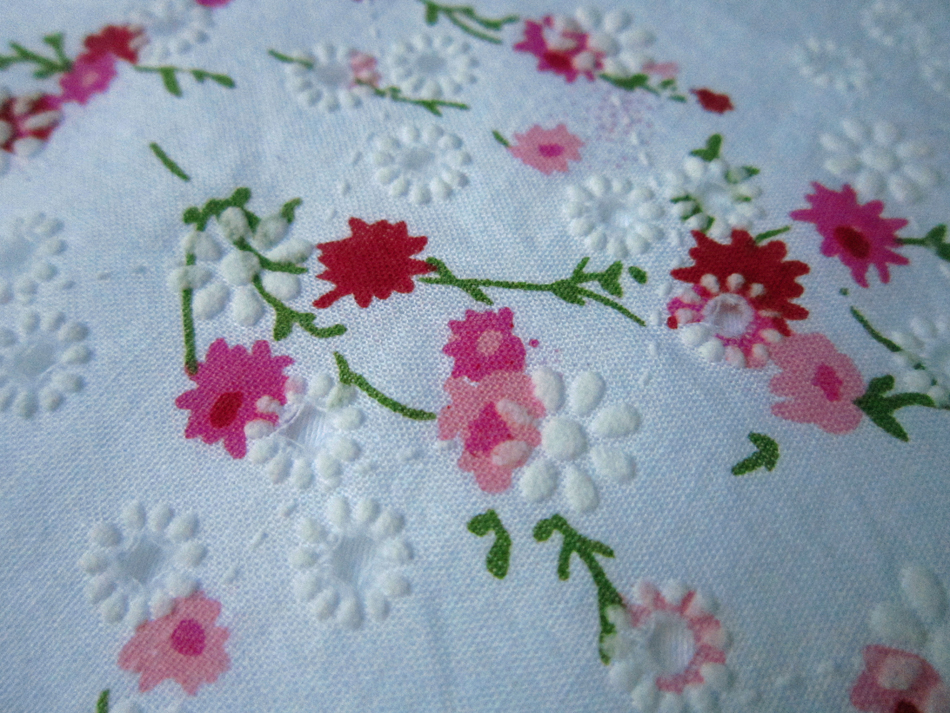
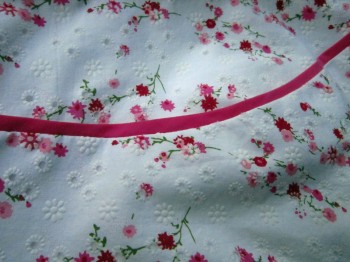
Later, when I got home and started looking at my eyelet, I realized that it was not embroidered threads in pretty flower patterns but rather glued on rubber stuff that looked like eyelet. Sort of flocked, but not! All I could do at this point was hope that this wasn’t a tell-tale sign of what was to come!
I went ahead and pre-shrunk the fabric (if rubber can shrink) reminding myself that it was suppose to be a test-run. By this point I was a little irritated and so I just threw the fabric in the washing machine and then the dryer. Turned out fine so off I went to iron it. That was when I hit the next speed bump! I couldn’t iron it on the right side. Okay I said to myself, “self, don’t let this fabric beat you!” And I didn’t. I ironed it on the wrong side which worked out fine… until it was time to press seams. But I would not lose this battle either so I broke out the press-cloth ammo! During all the frenzy in a room full of colorful expletives, my daughter came in to see what was going on and her only comment…”that’s pretty fabric”. At that moment I swear I saw the eyelet blowing a raspberry at me!
© Copyright Richard West and licensed for reuse under this Creative Commons Licence
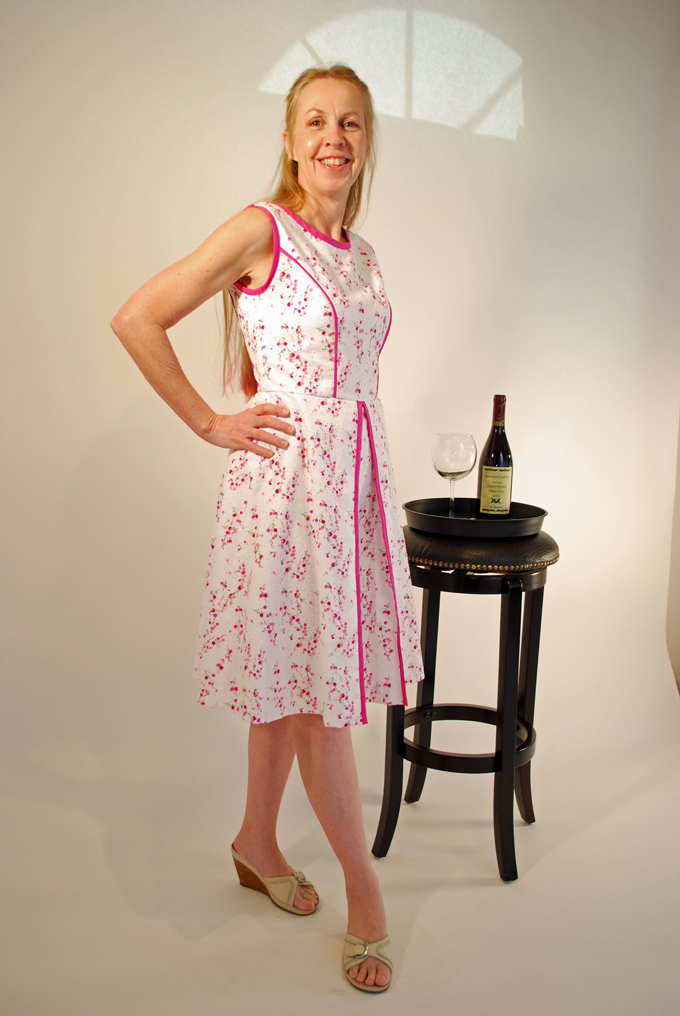
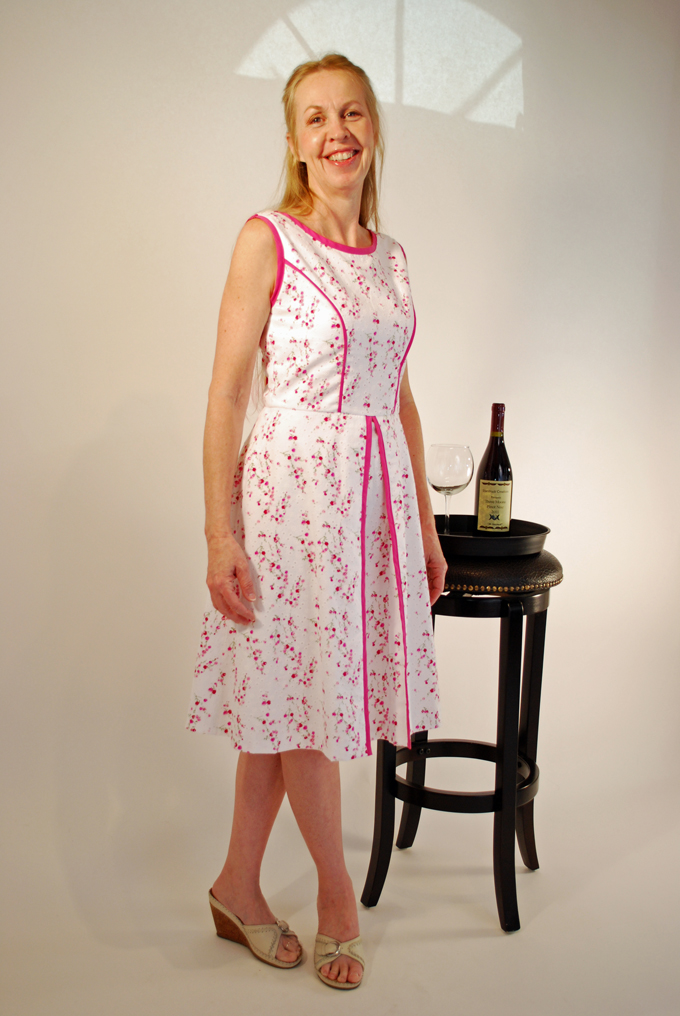
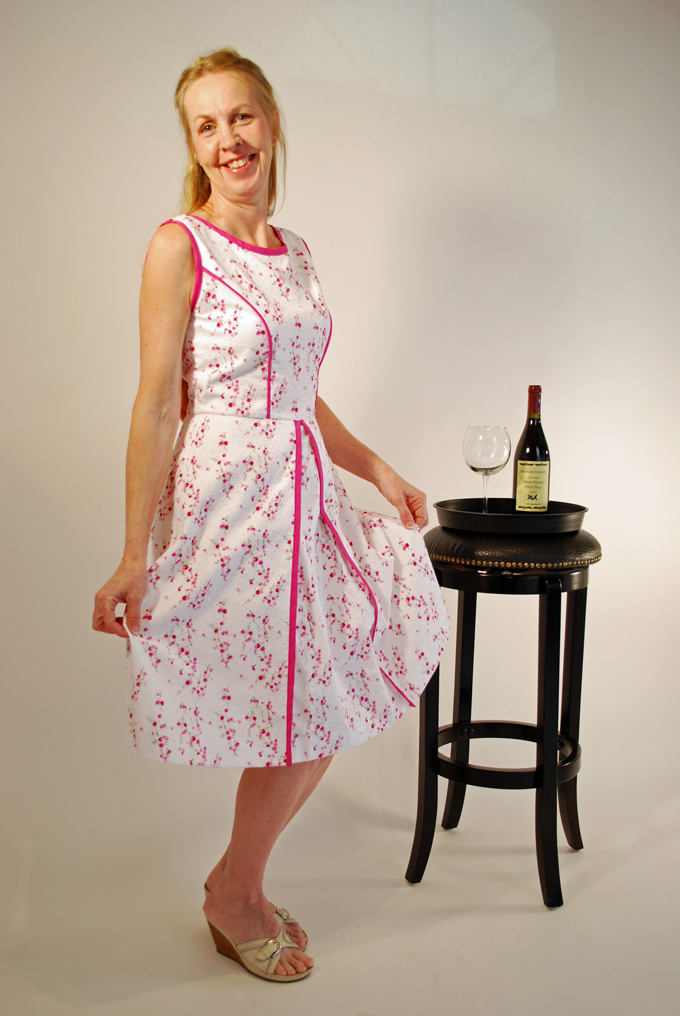
Moving along…I had already made a muslin before I purchased my rubber fabric. With only a few adjustments I was able to find my desired fit; the usual size 8 grading to a size 12 at the waist (yes, I am the shape of a triangle) so I was ready to go. I made style B. I love the look of the little jacket that goes with it and plan on making it with some beautiful white boucle I purchased recently.
The instructions were pretty easy to follow. I left out the pockets because of my previous side-seam pocket ordeal with the floral silk fabric dress that I had to re-do because of the big butt scenario but we won’t go there! I’m sure it would be fine in this dress, but my trauma has not quite passed yet.
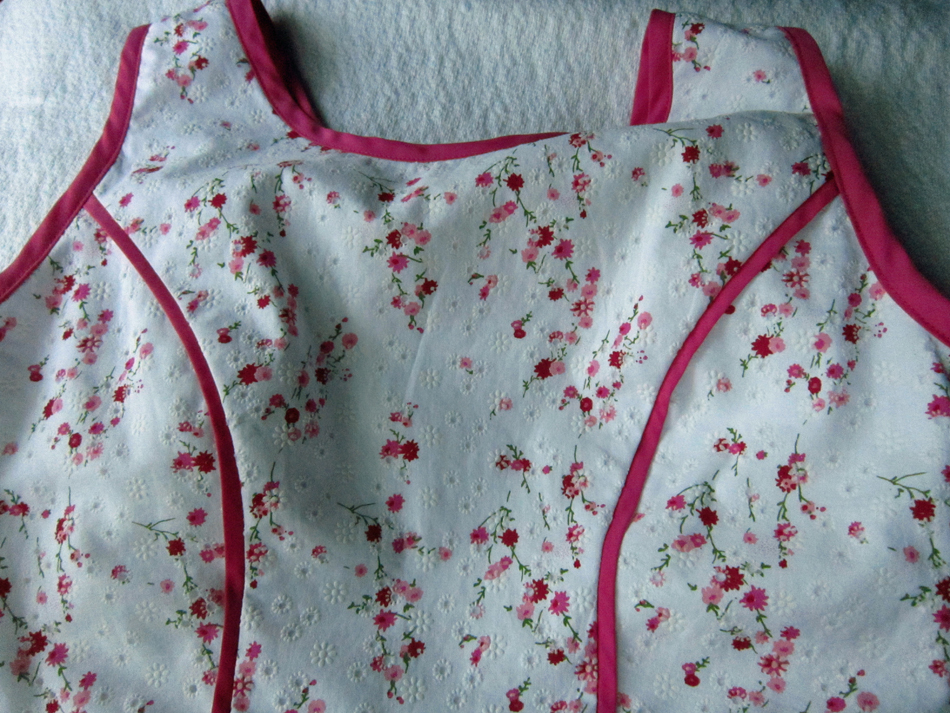
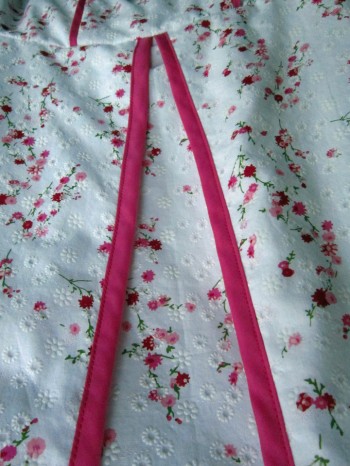
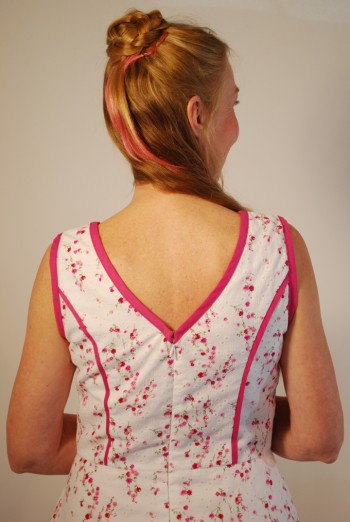
I chose to do the piping which was 2 inch strips of fabric folded in half length-wise. The instructions asked you to baste the strips to the bodice and skirt with raw ends together before actually sewing the bodice and skirt sections to one another permanently. The width allowed for a 5/8 seam and 3/8 for trim. I thought it was fun to apply so no problems here.
The only thing that I found difficult was when I was applying the fabric bands around the neck and arm holes. The first part was easy. You simply pinned the binding to the neck and sleeve edges and then stitched a 3/8 inch seam. It was the next step that got me. You were to fold the edge of the binding to the inside, pin and then stitch on the outside in the the groove of the seams. The fabric was not cooperating at all. And…being to fussy, I finally ended up sewing along the top along the inner finished edge catching the underside of the band with it. I don’t know if this is when it happened but the shoulders and bust area seemed to grow a bit larger. My muslin fit so well, so I am not sure what happened, but hey…with that extra space, there is always room for the Wonder Bra!
Well…this is it!
I don’t know if I will make the dress again though I still plan on making the jacket. I think the dress pattern is great but due to the fabric issues, I kind of lost some of the wind in my sails on this project. I will definitely submit a picture to the American Sewing Guild contest. It is totally a long shot but… winning a new Babylock to replace my dinosaur serger would be stupendous!
Well, time to go and enjoy a beautiful overcast day in this pretty springtime dress. Where am I going? My daughter and I are going shopping for shoes! Then go have lunch and with a glass of wine for me at the Cheesecake Factory!
Salut! Jessica
Read MorePattern Review McCalls 6708
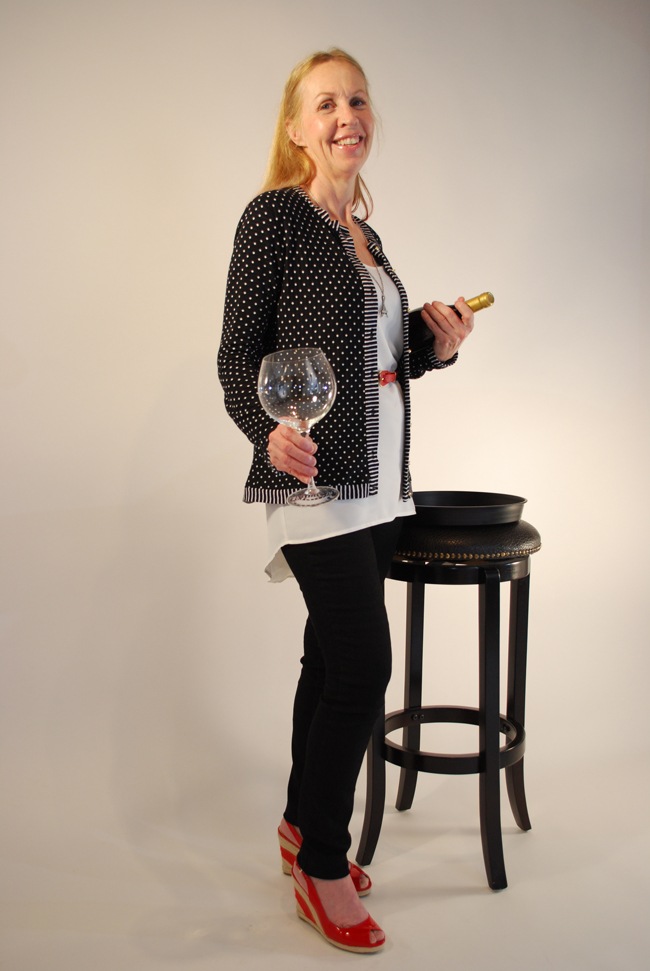
I’ll start by saying… I love sweaters! The weird thing though is that I don’t have very many, however that’s going to change because I just figured out that I can sew them! Up until now, I never dared to consider making these wonderful little wardrobe necessities. I figured sewing knits would be an experience from hell and happily chose to never go there. Then after spending some time with some wonderful women in ASG (American Sewing Guild), a door has opened and knit fabric has hit the fan so to speak! I won’t say that I am totally comfortable sewing knits now but my confidence is growing, especially after making the McCalls 6708 sweater.
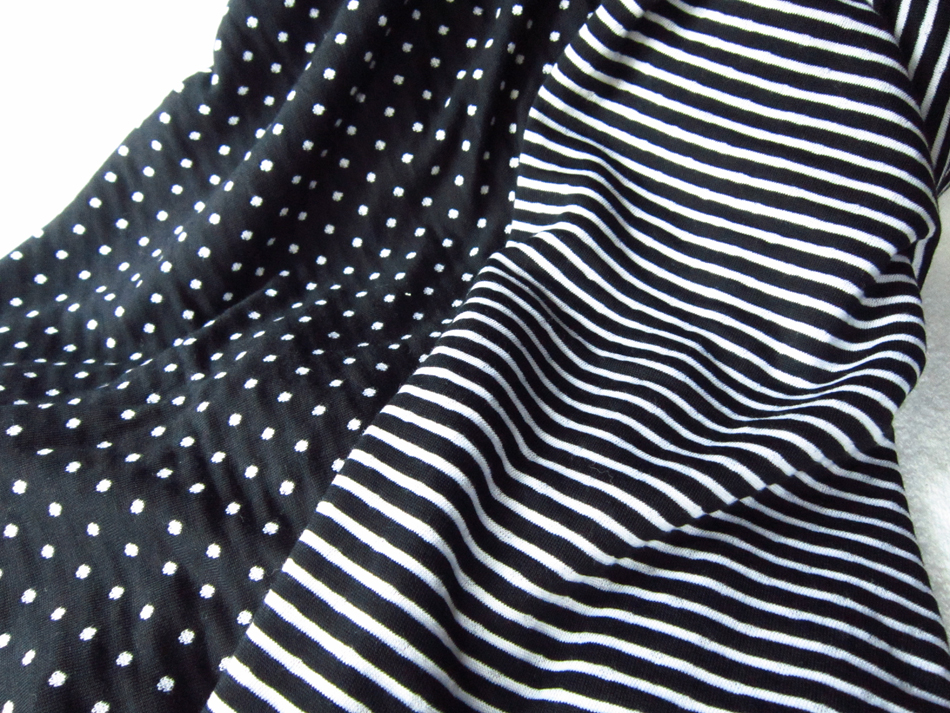
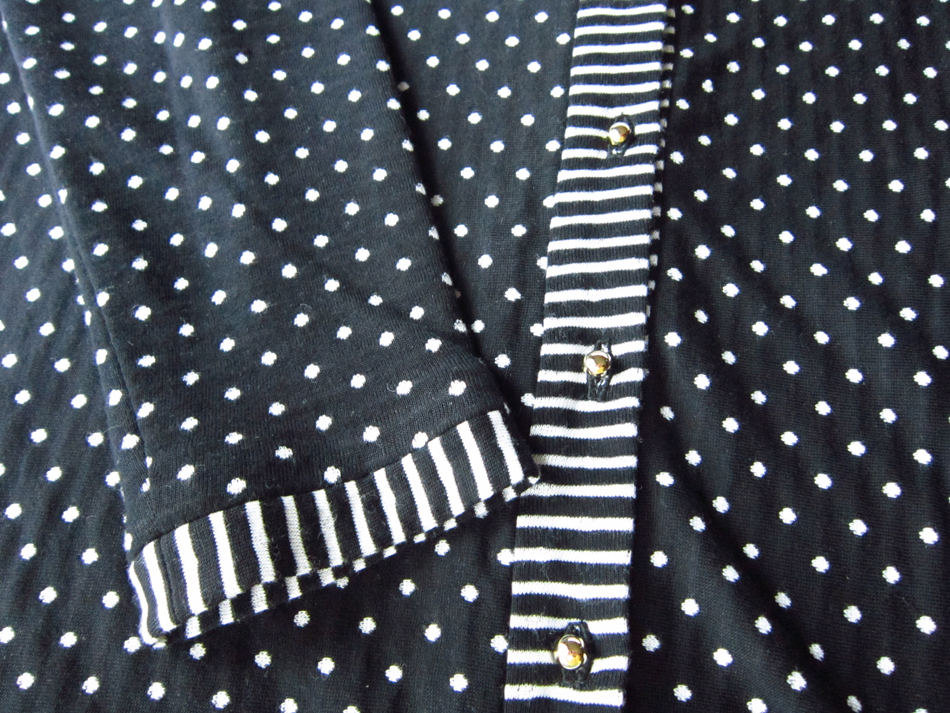
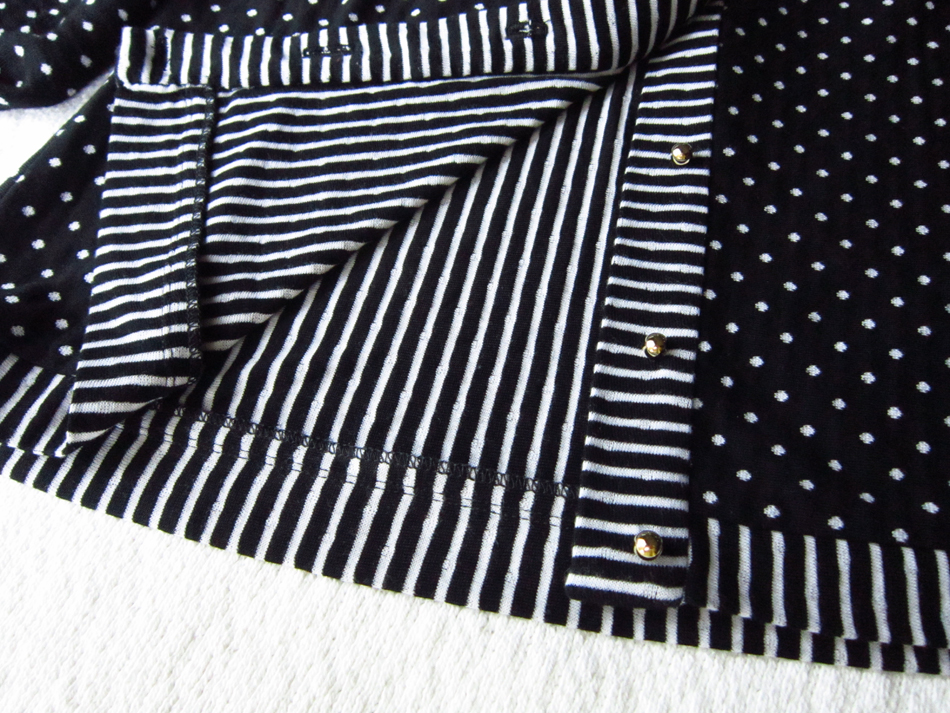
For the fabric I chose a double-ply knit, black and white stripes on one side with small polka-dot like markings on the other.
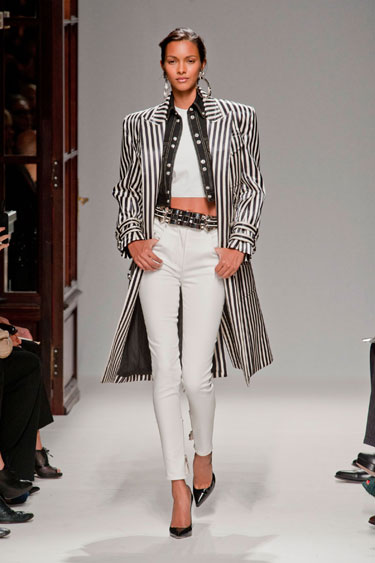
My inspiration for this fabric came from the Spring 2013 Ready-to-Wear Fashion Show number by Balmain which drew me in and renewed my interest in the black and white theme, and especially stripes.
Photo: Monica Feudi/Feudiguaineri.com http://www.style.com/fashionshows/review/S2013RTW-BALMAIN/
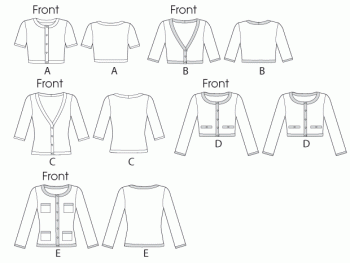
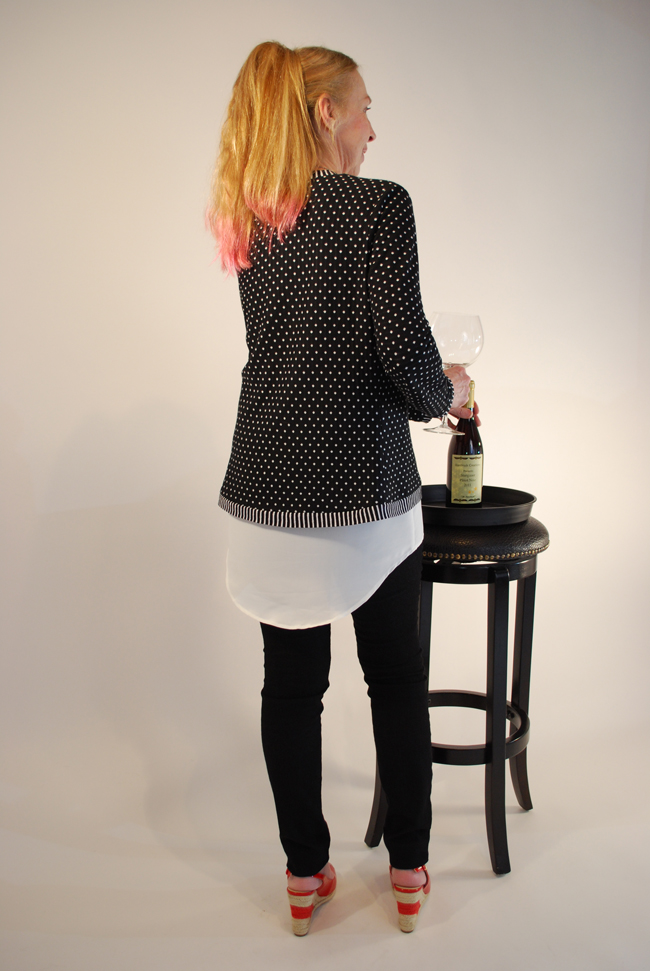
The sweater I made was a mash-up. I wanted the neckline of A and the length of the bodice and sleeves of E. It wasn’t difficult at all. By overlapping the front A tissue piece over front E tissue worked perfectly. I used the back pattern piece for E. Long sleeves were not a problem either since both sleeves come as one tissue.
For size, here again I chose small based upon the circumference of the bust provided on the pattern for that size. I didn’t make a “knit” muslin. I do like adventure and given that there would be some stretchy going on, I decided to throw caution out the window and just sew!
The instructions were very clear and quite easy to follow. Double-stitched seams were suggested for most of the construction. For this I used a twin-needle, a 3.5 mm. stitch and my standard sewing foot. It wasn’t called for but I decided to serge all the edges that would be exposed to make a nice finish.
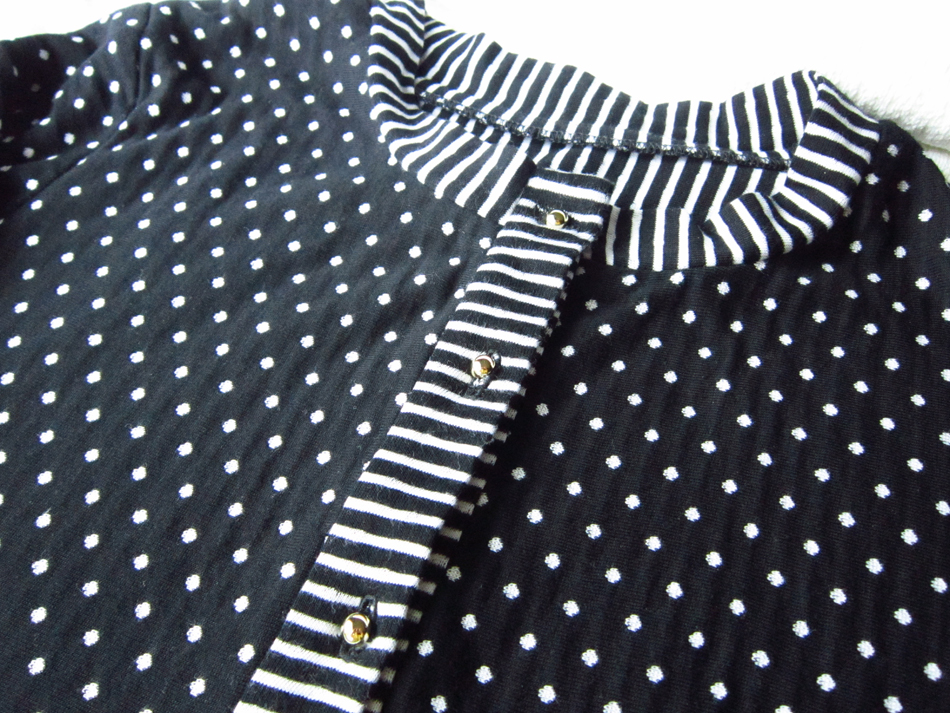
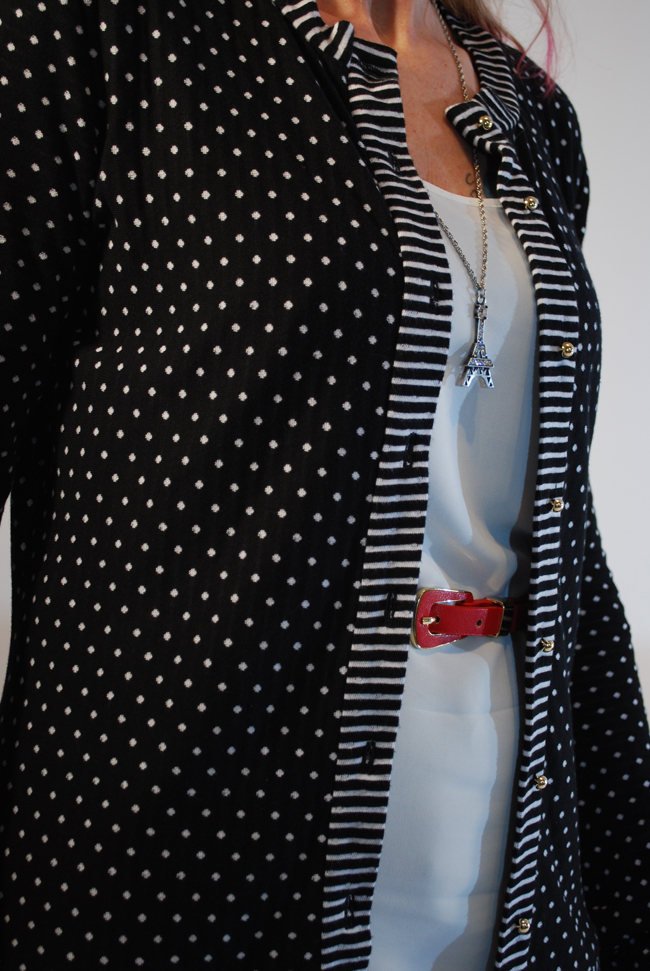
I was fascinated with the knit that I used because it was double-sided and not too thin. It seems that thin fabric is the norm in store bought garments these days and doesn’t last long but I will save that for another rant! Due to my stripe inspiration, for some fun and to make it interesting, I decided to use the opposite side of the fabric for the neck, front and bottom bands.
All the bands fortunately turned out pretty good, but because of the method of construction with the neck band and my double-ply not-too-thin fabric, it was a real pain in the… derriere to get the finish I wanted. The thickest area was where the top and bottom buttons go. It doesn’t help that I tend to be a perfectionist, sometimes very problematic for me!
As a side note, always up for a challenge, I decided to cut out the sleeves and bands cross-grain so I could have the stripes in the direction that they are as well as to utilize the fabric and eliminate waste. There were no problems with doing this and I have a chunk of fabric left, for what I don’t know, yet…
So…here it is
I have to say, I really like the way knit responds when a seam is sewn in it and I love how it feels to the touch – oh so soft. It is pleasurable to sew! I’m still a bit skittish when it comes to doing buttonholes. It’s a real pain to remove all the threads when the buttonhole is a total bomb and requires a do-over! Moving right along… yes I’m discovering that sewing knits can be a pretty fun thing to do, and that’s why I plan on sewing this sweater again. However, I would like to try and figure out another method for applying the neck band…I need to put on my thinking cap. If you have any suggestions, I would love to hear them. Until then…it’s off to go wine tasting!
Salut! Jessica
Read More


 Portland, Oregon,


