"Fashion is not something that exists in dresses only. Fashion is in the sky, in the street;
Fashion has to do with ideas, the way we live, what is happening." - Coco Chanel"
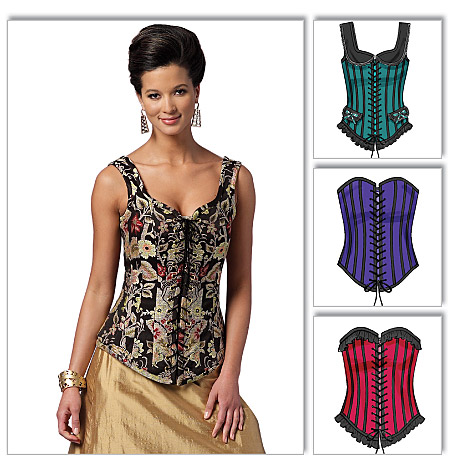
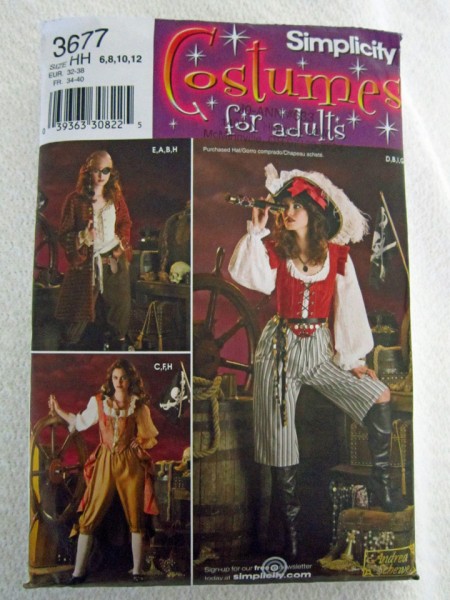
Butterick 5662 with Simplicity 3677 For a Pirate
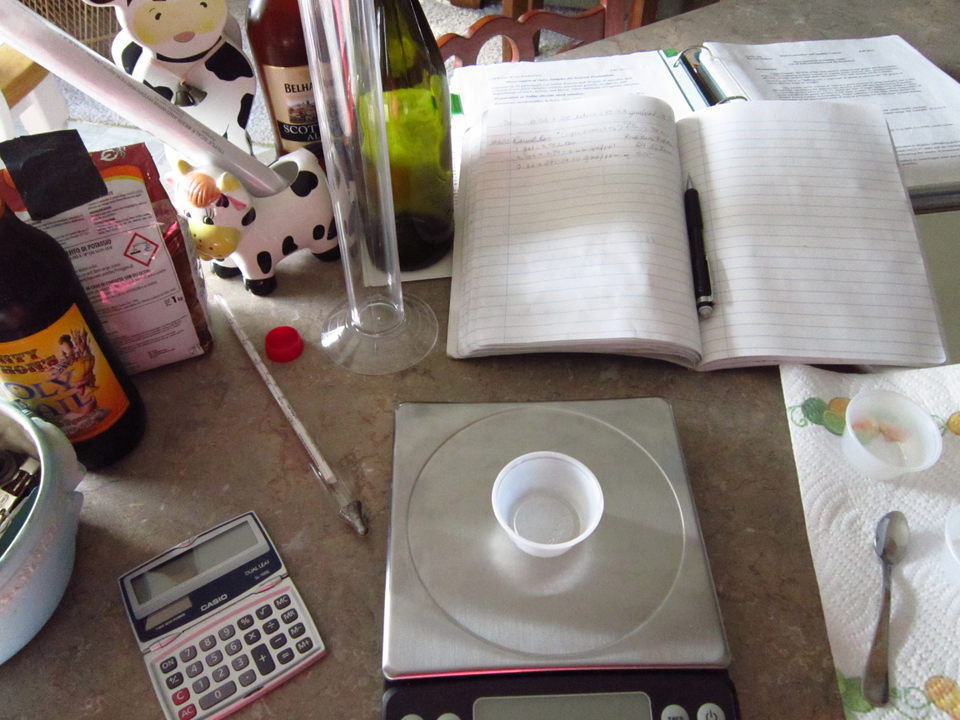
What you see above is a few of the tools of winemaking. Yep! It’s that time of year. I get to make believe that I am a genius chemist while brewing up my wine (Einstein would roll his eyes!). Tonight the first batch of grape juice gets inoculated and fermentation begins. For the next few weeks, my son Jared and I will be spending time taking temperature readings, punching down the popping up grapes, doing lots of taste tests and drinking a bit of wine and beer in the process! Certainly a good reason to love the fall season, but not the only reason! Besides the winemaking harvesting mash-up that occurs, there is also the cherished evening where everyone dresses up in all sorts of sorts, Halloween!
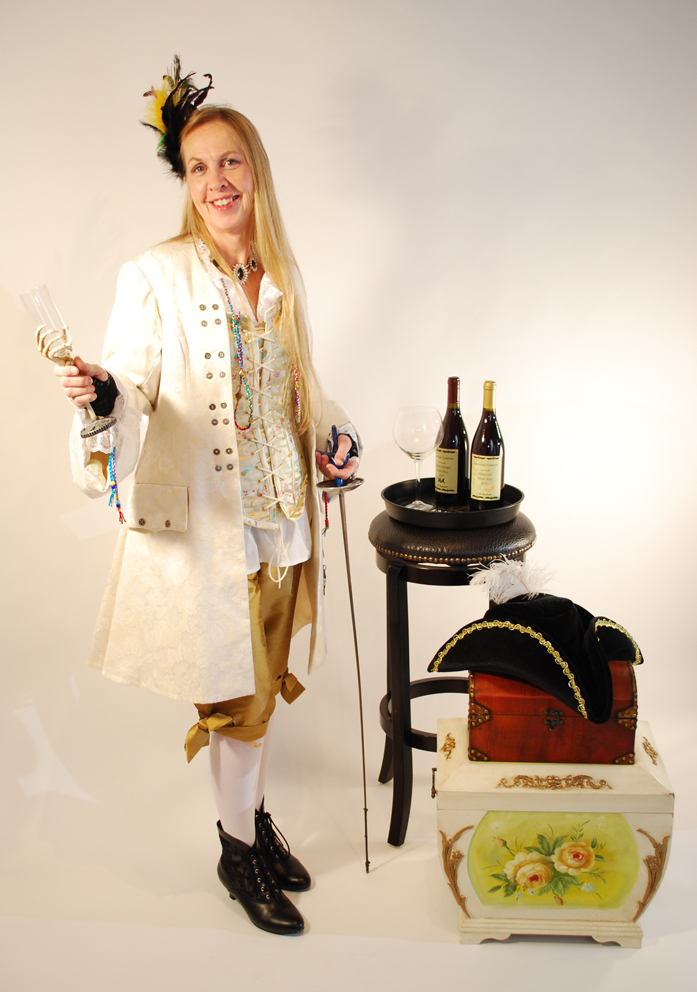
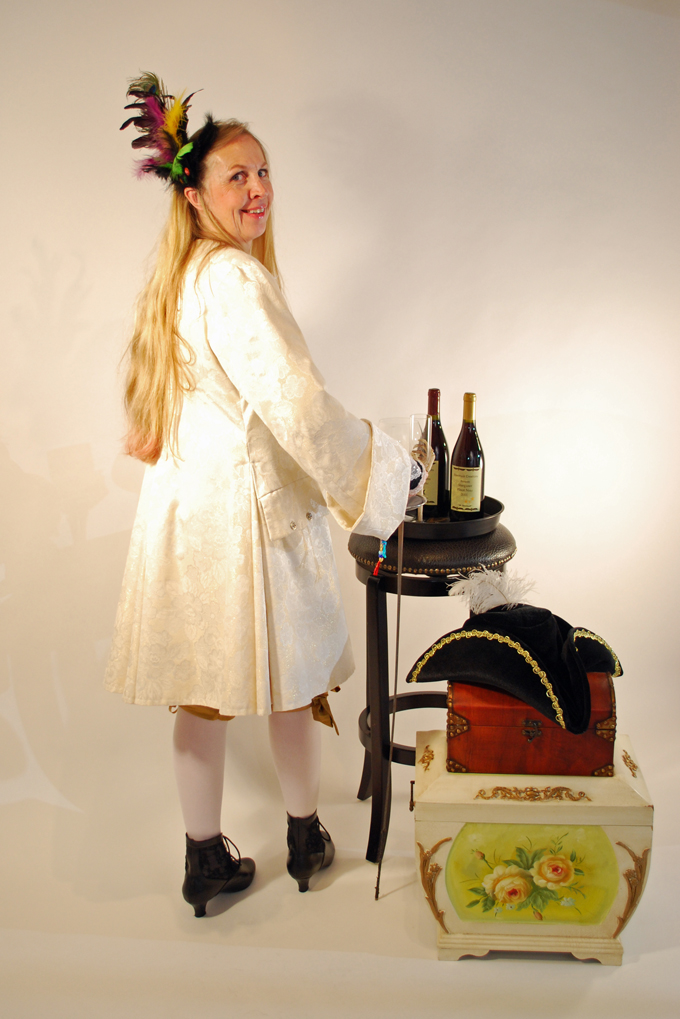
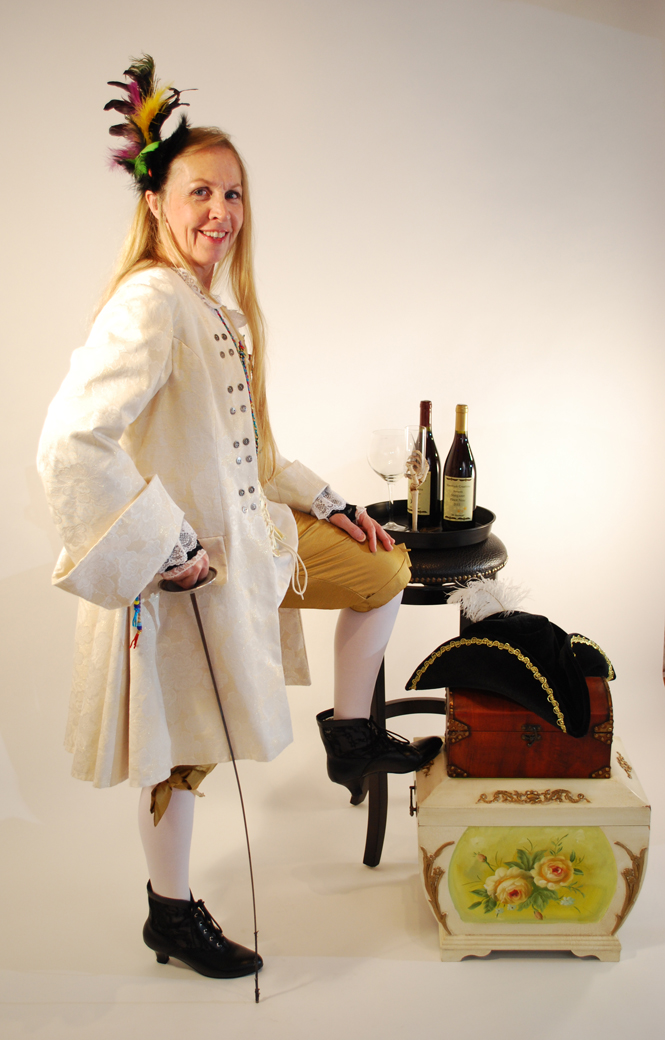
Yes… it is creeping up fast and I have got to stay on task and do what I said I was going to do. So… this week’s featured costume is my interpretation of a sassy fancy Victorian pirate! It’s made up of 3 different patterns and a few accessory purchases. I think we will start with the Butterick 5662 pattern.
Corsets are a always a good topic for discussion among women. It’s quite entertaining to listen to! Some women absolutely hate the whole idea of them and have a bazillion reasons for why. Then there are those of us, myself included, who have a fascination with them. Why? Well… they are feminine, pretty, and just too cool to not like!
Before we go any further, I should clear up any confusion you may have. In brief, a corset is designed to cinch in or narrow the waist and the bustier, a more modern style, is intended to boost the bust! For me, I really have no interest in the squeezing or boosting part because I just want to feel comfortable. This is certainly do-able with this pattern.
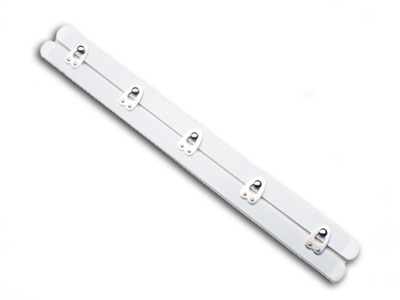
I should also mention that the true traditional corset would use spiral steel boning and either strong cord for lacing or a busk. With regards to the boning, I have used the plastic featherlight boning and it just doesn’t have what it takes like the spiral steel does. As for corset closures, I have tried metal grommets, metal eyelets, creating eyelets by using an attachment for my sewing machine or using a busk such as this one from Corsetmakingsupplies.com.
All of these work but if you apply grommets or metal eyelets and don’t install them properly with the required pliers, they can snag your lacings. (Yes, I have learned this first hand 🙁 ) Corsetmakingsupplies.com does offer grommets that install quite nicely and they do also carry spiral steel boning, cording and lots of other goodies too!
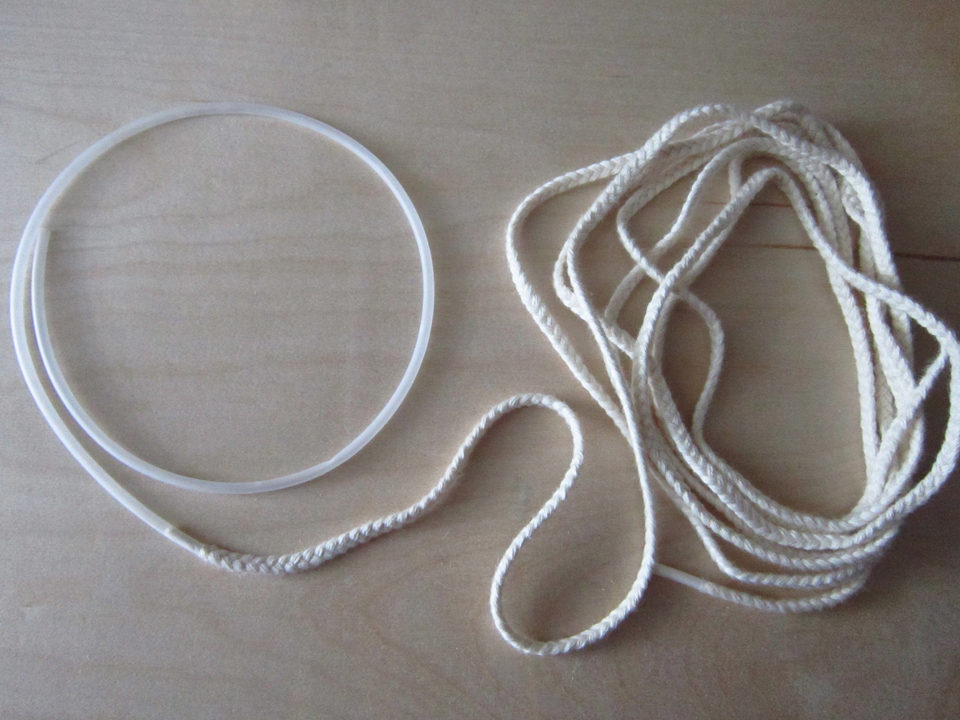
I will buy strong cording by the yard from a fabric store and then cover the tips with shrinkable corset lace tipping which is nothing more than skinny plastic tubing that you melt onto the ends of the cord (another tidbit at Corsetmakingsupplies).
Last but not least, a traditional corset would be made of or at least under-faced between the outside fabric and lining with Coutil. My source for this is Tutu.com.
The Butterick 5662 pattern can be made as a traditional corset using any of the things I just mentioned but you can certainly make it out of whatever you choose. Be prepared however when doing this pattern because if you follow the instructions exactly, you will be making your own boning casings which you sew on the outside! My advice if you want it – get yourself a Clover Bias Tape Maker (range in sizes 1/4 to 2 inches) and will make things easier, especially when pressing your biased cut strips for the casing.
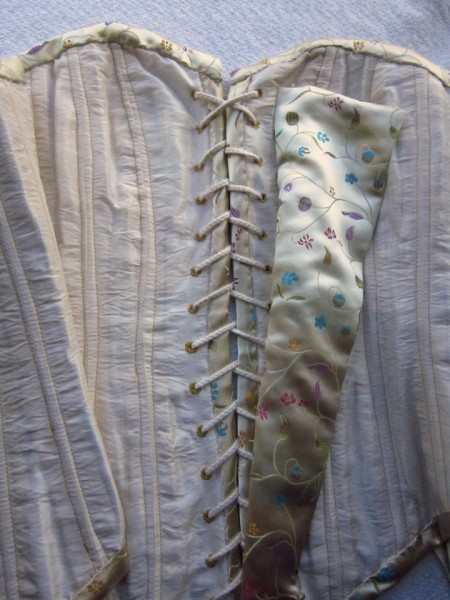
This is my corset with a view of the inside of the front so you can see how the extension or flap is sewn so that it lies under the cording. I should say that there is a proper way to lace the cording and when you look at my picture… it is NOT done properly!
It ties in both the front and back which is nifty so there is an extension or flap for the back lacing as well.
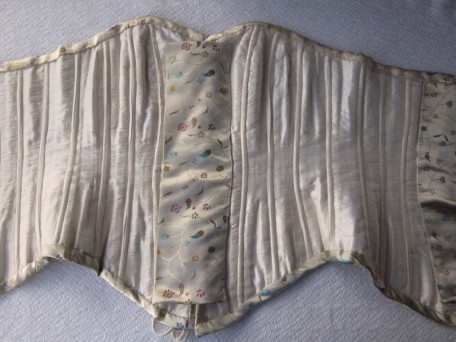
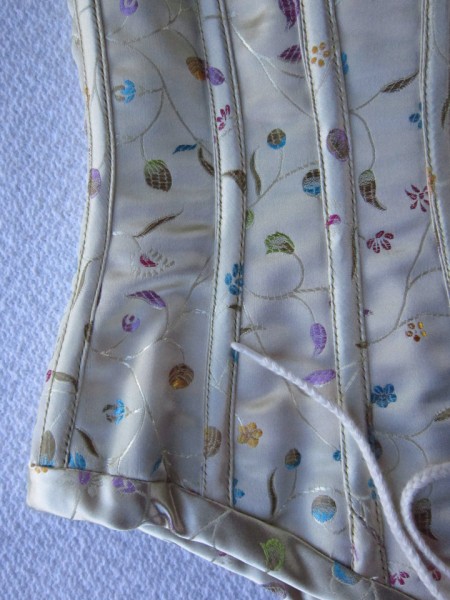
I made the casings from the same outer fabric of the corset, a brocade.
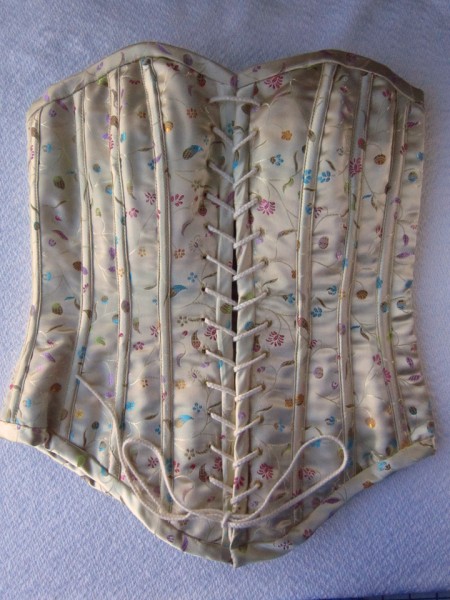
The front of the corset.
Then there is the Simplicity 3677 coat and pants that we have to talk about!
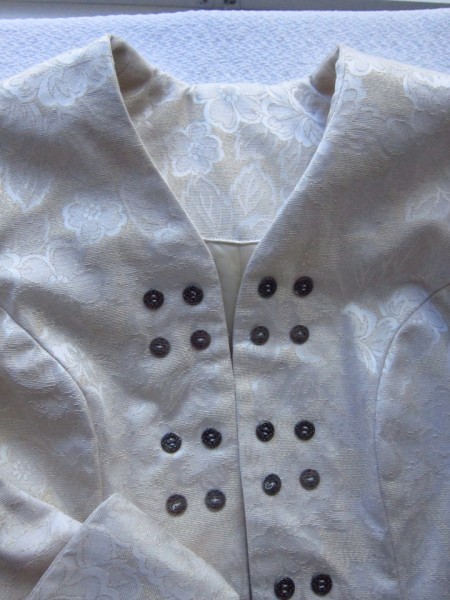
The coat in the top left corner grabbed my attention and I knew immediately what fabric I was going to use.. a bargain special from the Red Tag section at JoAnn fabric store that I purchased and stuffed away several years ago! It’s sort of a brocade but sort of not. Likely it is a drapery material that has gold metallic embroidery. Being that I am “Queen of Lining”, I lined it in Ambiance or Bamberg though I kind of complicated it more than necessary when working around the godet in the back. It all worked out though.
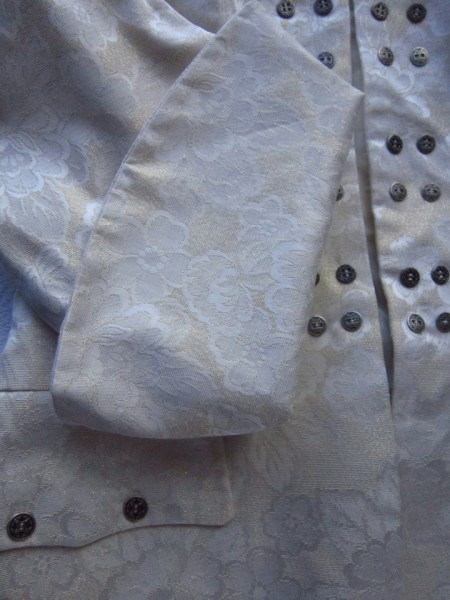
The sleeves are way to cool! I love the big cuffs. I would so like to just wear this coat with everyday wear. The pattern gives instructions for adding a flap as shown in the picture but I went one step further and also installed pockets. Hey! I needed a place to stash candy!
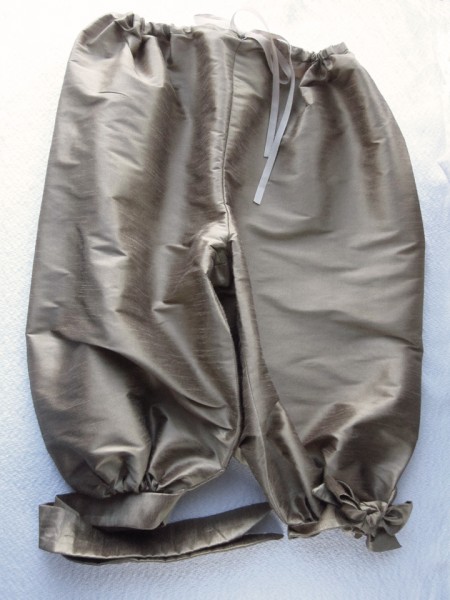
I saw the pants in my mind so clearly under the coat, in gold… I always have such big visions that sometimes send me landing on my butt! Once again I ended up with none other than drapery fabric I think! The cardboard bolt label had silk printed on it… what kind of silk I know not!
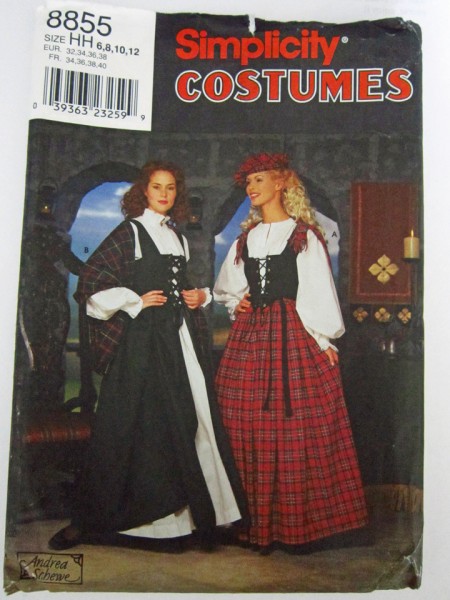
There is the matter of a “doilie shirt”, a name my son Dylan has dubbed them because of his dislike of the ruffles they have. Making mine was sort of a process. I started with making the top from the Simplicity 8855 pattern. Unfortunately it’s no longer available, even in the out of print section of the Simplicity web site though I have seen it offered at various on-line web shops.
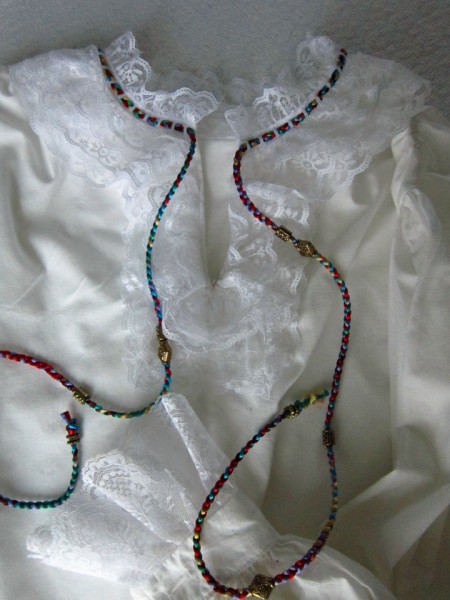
It was simple looking and went with the skirt and vest that I also made. However… I needed a pirate shirt so I liberated it from the rest of the outfit and converted it to a “doilie shirt”. I went a bit nuts sewing ruffles all around the neck! Then I decided that it needed color so I dug through my craft drawers and found cording and baubles!
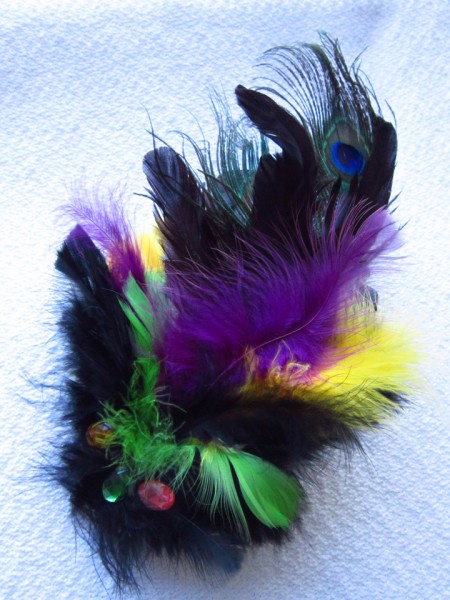
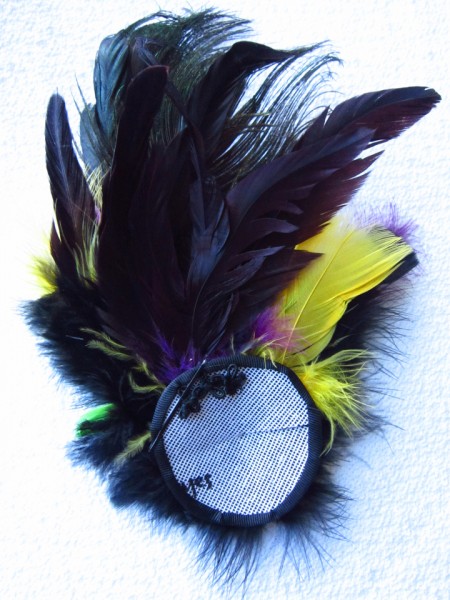
Keeping in mind that my costume is a sassy fancy Victorian pirate, I decided I needed some additional panache so I created a fascinator.
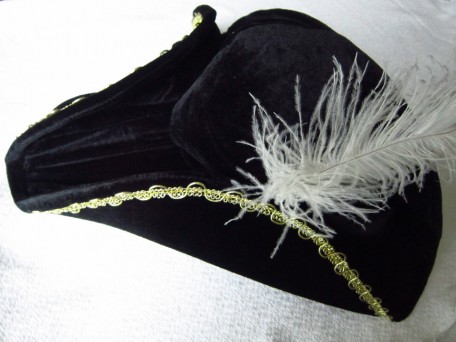
And of course a tricorne for good measure though I did not make this but ordered it from the internets!
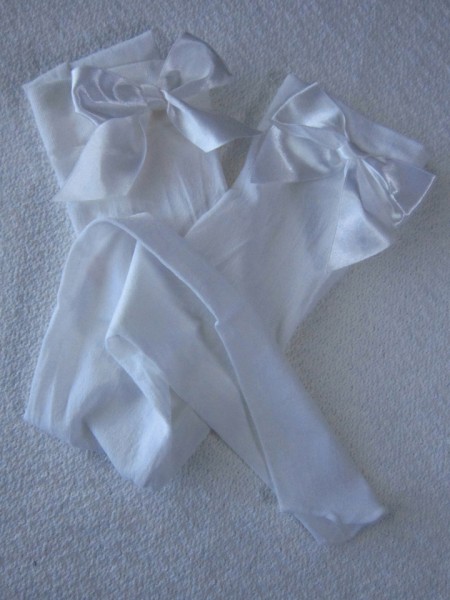
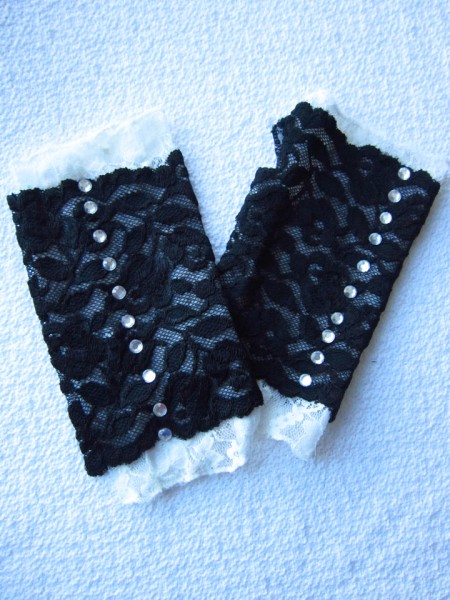
There is the stockings and gloves that I just had to have! Compliments of Icing and Claire’s respectively though I do not see them on either on-line web site. I purchased them last year so that is probably why.
So here the sassy fancy Victorian pirate in all her shiz!
The coat has a godet in the center back.
I guess that wraps up this post. For next week I think we will roll the clock back even a little further and try out some renaissance wear! Until then… Adieu! It’s now time to get back to work on our wine!!
Salute! Jessica
Read MoreButterick 4891 Bonaparte Style
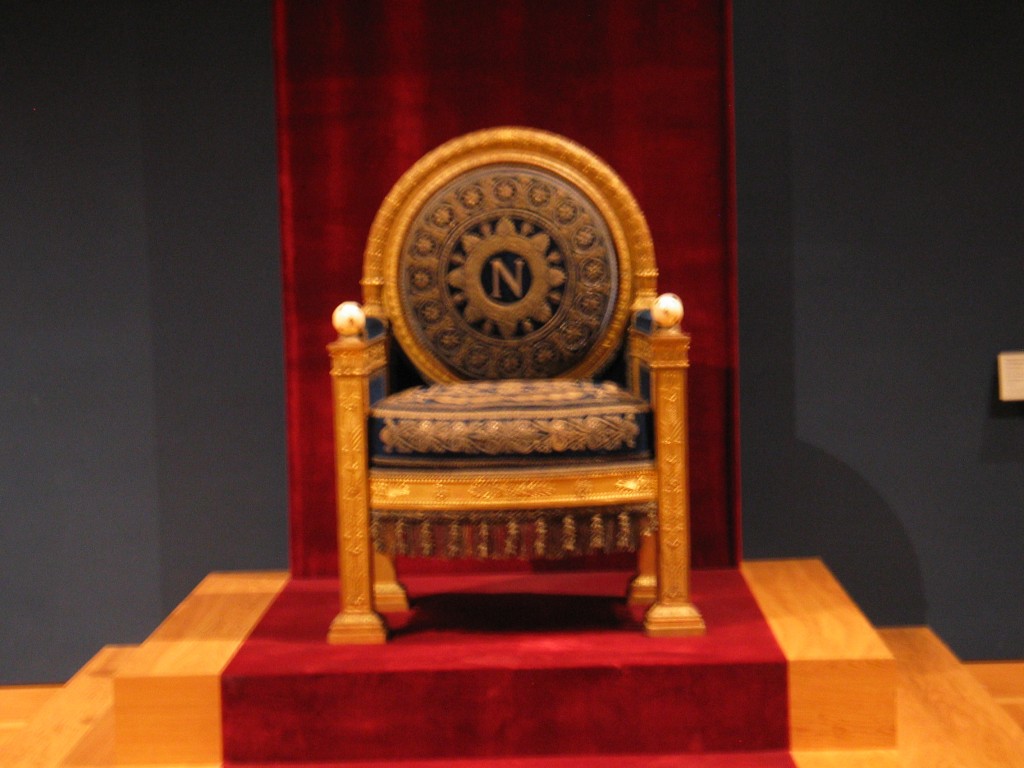
Napoleon Bonaparte’s throne
I think most everyone knows who Napoleon Bonaparte is and what you see in the picture above is his throne displayed in the Louve in Paris, France. There is an entire apartment within the Louve dedicated to all things Napoleon and it is breathtaking to see. My son, Jared, loves history and so it was a given that during our last visit to France that we had to visit the Louve and most definitely not miss this!
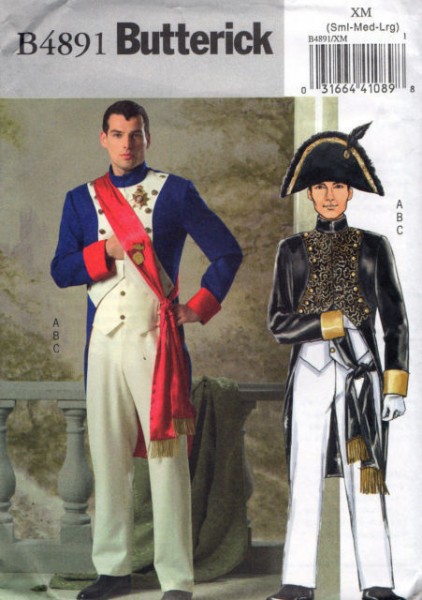
There is lots to read about Napoleon, lots of history, lots of tidbits which makes him interesting enough to style a costume after… such as the Butterick 4891 pattern.
I thought this would be a fun pattern and costume to share with you and so included it in my scheduled line-up of costume posts. Then when it was time to dig it out of the costume closet and begin writing this article, I experienced several shockers! First, I have discovered that the Butterick website no longer has this pattern. It is not even listed in the out of print section and is spoke of on the internets as a vintage pattern. It’s selling anywhere from $26 to $38 dollars… Qu’est-ce que c’est? (English…What is this!) And secondly, I made this costume for Jared a few years back and… well… his sizing has changed… A LOT! Once again, what I thought would be quick and easy has turned into a laborious job but hey – since I have been making shirts for Jared, I have learned some things about fitting him which has saved my butt!
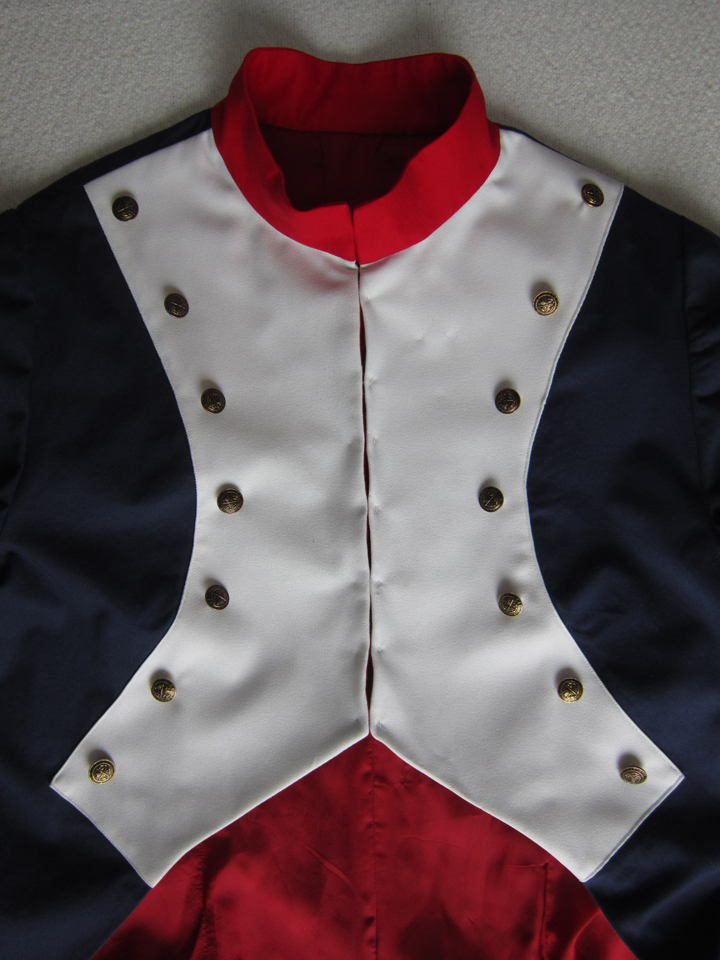
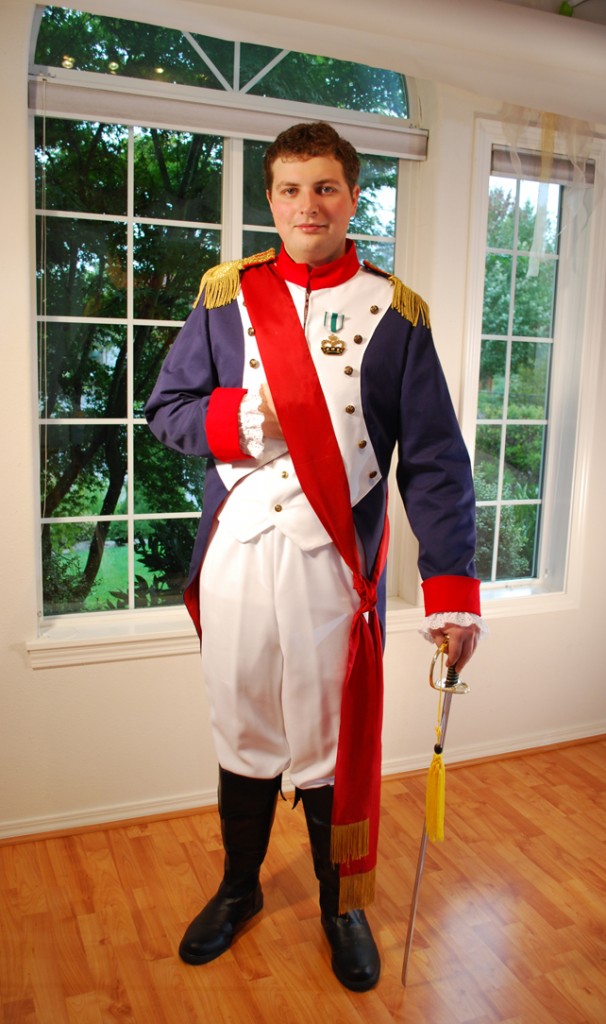
The jacket was my biggest obstacle to change up. Fortunate for me, while this pattern is considered a historical costume of a Napoleon French Revolution Uniform, it is not exact nor does it use period garment making techniques so I had free range on how I managed the changes. The pattern instructions are easy to follow and the design of it is well put together and an enjoyable sew. For the main part of the jacket, I used a royal blue denim and as per the pattern added a white garbardine overlay to the front. It is a lined jacket and so I chose the only obvious color to line it with… red! I loved working with the contrasting colors and for the first time, sewing on buttons was a treat because that’s when I began to see the jacket really become officially a uniform!
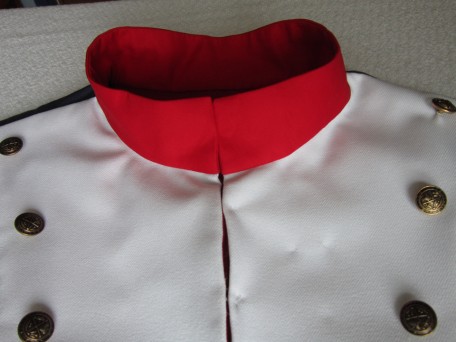
As you can see in the picture above and below, I chose to make the collar in red since that is what all the Napoleon images on the internets show it to be. I think the mandarin style makes it quite attractive. I do wonder though when the mandarin collar was introduced into military fashion. I guess I have a homework assignment!
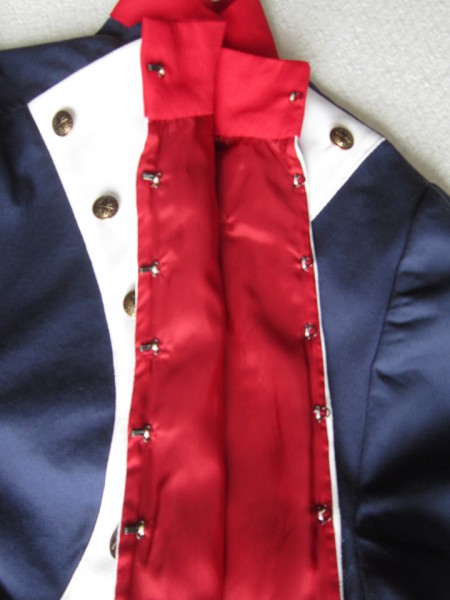
Given that this is a mens garment, I chose to use big jumbo hooks for closures.
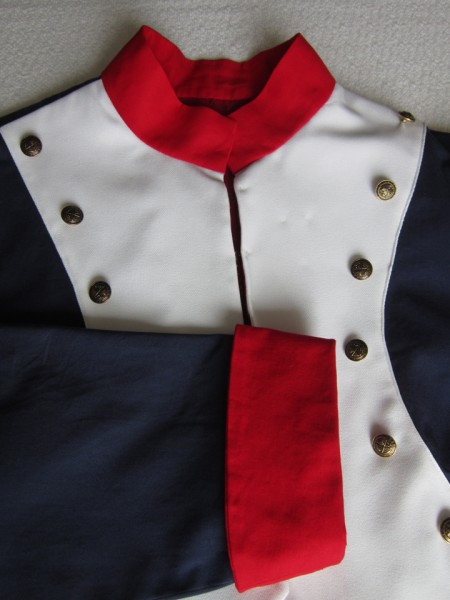
Of course the red cuffs brought it all together.
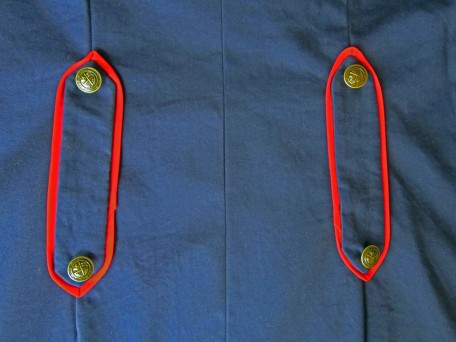
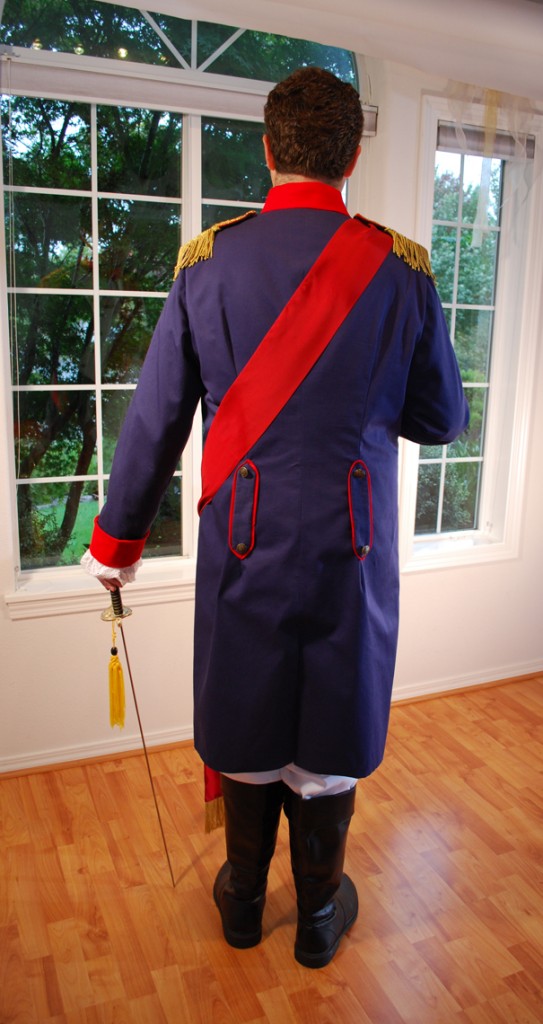
When I first made this costume, I didn’t do any research to see how close to the real deal it was, I just followed the instructions and made it! Now that I’m back re-doing it, and at the same time searching on-line, I’ve discovered that the shape of the tails, the cuffs, as well as the kind of buttons, etc, may not be correct so you can’t very well call this a true historical period costume but it certainly is easy to adapt it to what you need. For instance, the back of the jacket seemed so plain that I decided to borrow a detail from some of the images I viewed and with some scrap fabric I had left, did this.
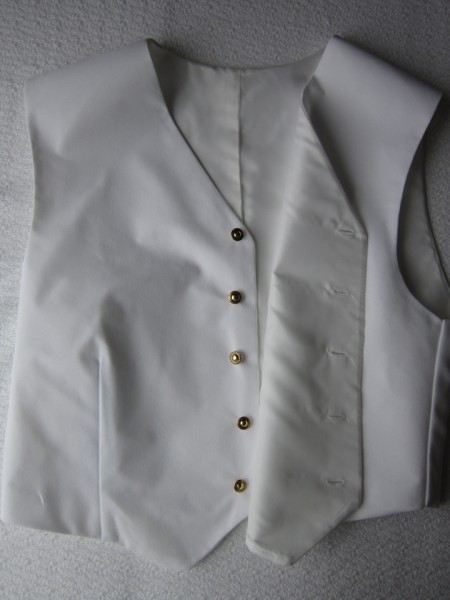
Next is the vest. It is simple and quite traditional. As you can see, I did it all in white using the same gaberdine fabric as in the pants and jacket.
The pants are nothing more than two legs with an elastic waist. I hate elastic but when I made these pants, I was following pattern instructions so I just went with it. And… the costume was for my son and I knew he didn’t care one way or the other as long as he had a costume! I thought the Gaberdine fabric I used was too thin so I lined the pants with Bemberg (Ambiance) and this made a big difference. I didn’t take a picture though because… because… I’m a nerd and forgot!
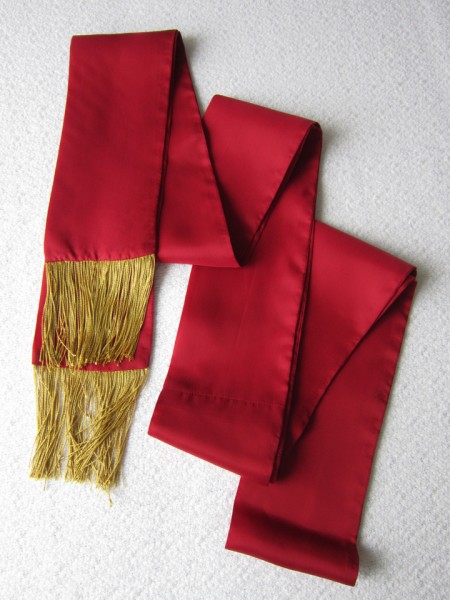
The sash definitely gives this uniform some panache! I used a lining fabric from the JoAnn store that cost me $12.99 a yard and it was not silk! The gold fringe is oh so uniform.
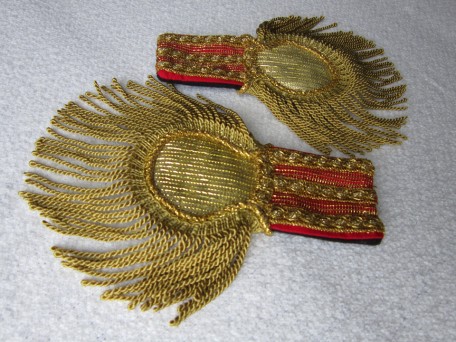
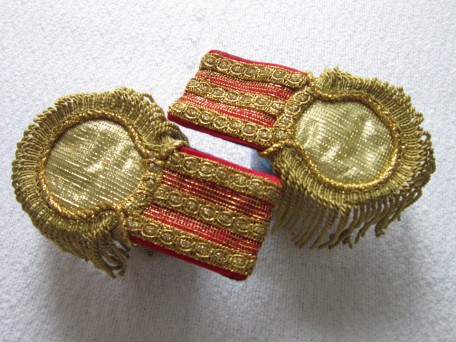
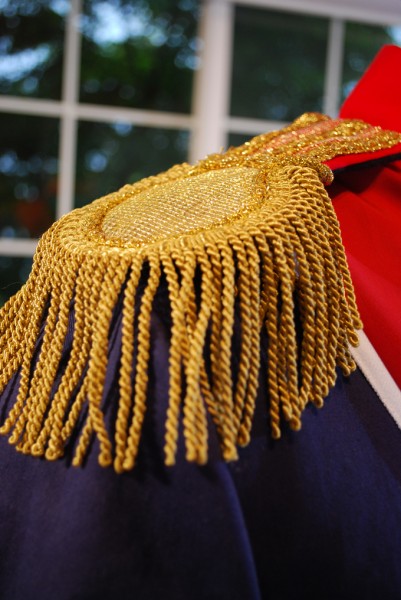
Shoulder boards seemed to be in order as I was re-working this costume. I found a gorgeous pair on a historical costume site for 400.00 euros but… I decided that it might be better to eat and have electricity so decided to try making them myself. This is what I ended up with.
Now – there is the matter of a bicorne hat. Long story short… after spending most of the week rebuilding the costume and another day making the shoulder boards, I decided to bypass the bicorne and get this posted! The hat sure would have made the costume complete but I am choosing not to stress! I think you all would agree with me! 🙂
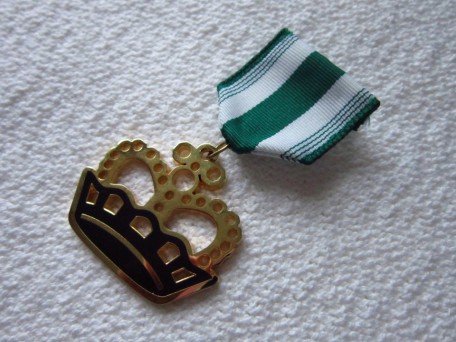
We dug up a shirt and a pair of boots from our costume collection but for the life of me, I can’t remember where I purchased them from. I do know that I found both on-line. The shirt, my son Dylan calls a “doilie shirt”. You know… like doilies that you put on tables and set nicknacks on! He has an attitude huh! We tried to find medals that looked like what Napoleon wore that wouldn’t cost a fortune… it didn’t happen. It was compromise. I created something from what Jared decided he could accept.
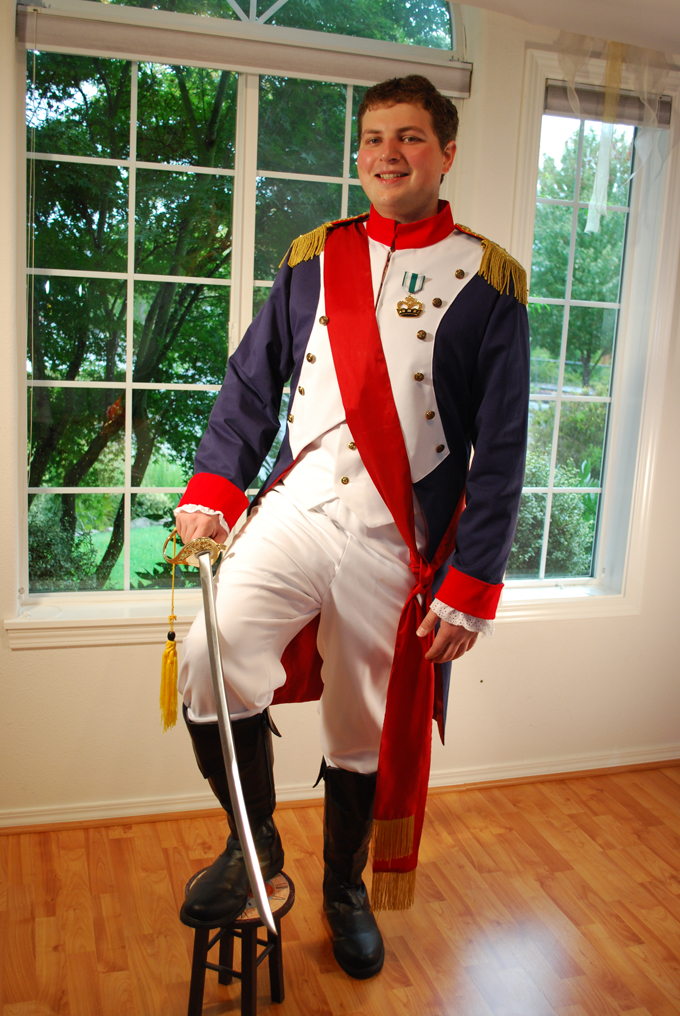
Now it is the time for the man of the hour in all his regalia that his mom made!
On the back are the bands that I added. They are really suppose to be a little longer based off the historical images that I’ve seen but I was working with scraps!
I think the shoulder boards or epaulettes really stand out on the costume.
Probably need to include this one…
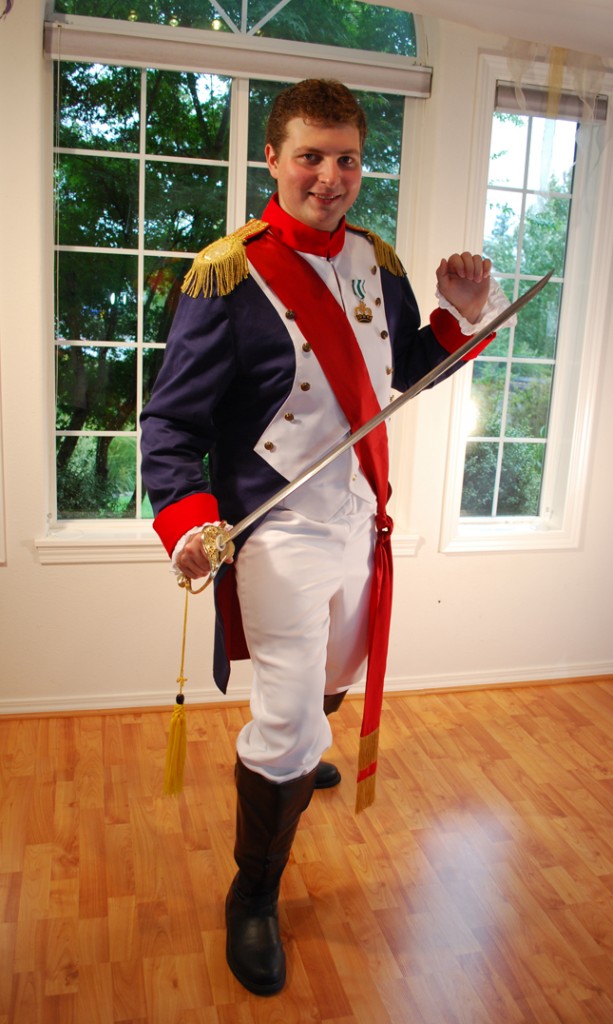
Jared is a fencer and so is having a bit of fun here!
Well…it is 4 1/2 weeks until All Hallow’s Eve and I’ve already started counting down! I hope you are enjoying the costumes so far. Next week’s show-and-tell will be a bit of a mix-up… a little bit of pirate, a little bit of Victorian and a whole lot of fun!
Salute! Jessica
Read More


 Portland, Oregon,


