"Fashion is not something that exists in dresses only. Fashion is in the sky, in the street;
Fashion has to do with ideas, the way we live, what is happening." - Coco Chanel"
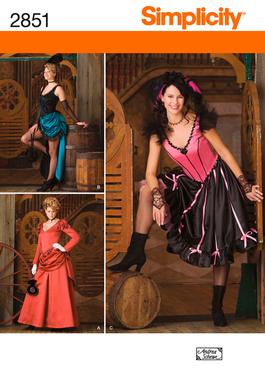
Simplicity 2851 Feathered with 2966
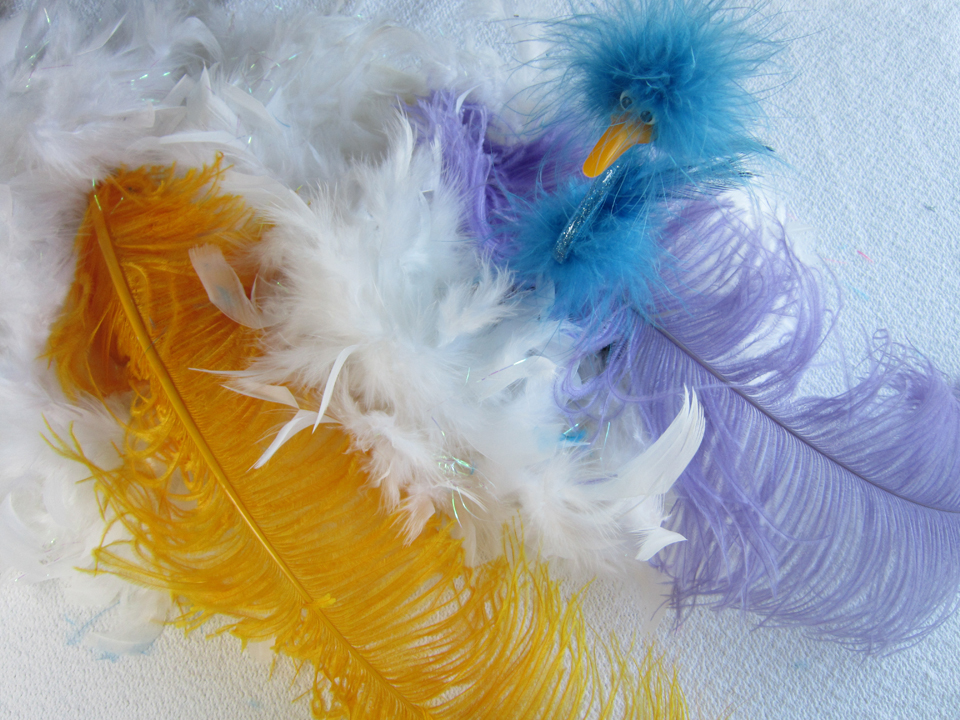
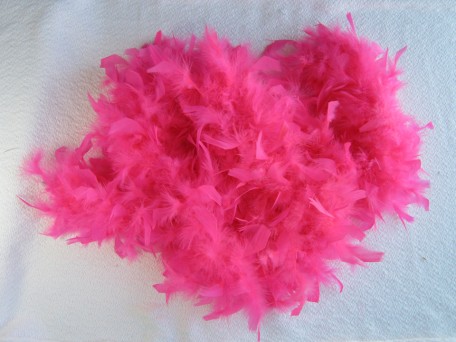
Feather fashion is said to date back to the 11th century with the birth of plumes in head dresses of the wealthy. Twelve century venetian masks were adorned with them. Through the middle ages, feathers were a wardrobe staple for high society. However, when the 1800’s rolled in, feathers were for everyone! AND… the boa stepped into the spotlight! They were actually an accessory in the 1700’s but didn’t catch on very well. Thank goodness some dear soul was determined not to give up! I Love boas and would own dozens if my practical side wasn’t so dominating! I saw a beautiful pink one at the Oregon Fabric Depot in Portland a few years ago. It was $55.00 and about a foot in diameter. It was gorgeous and I remember how I longed for it but there were many other things that my family needed… things that cost less than that boa! Besides, it would likely have ended up in the basket with all the other boas that I do have… but they are special boas.
This one I wore several years ago at the Seafood & Wine Festival in Newport, Oregon along with about 10 other ladies wearing them too!
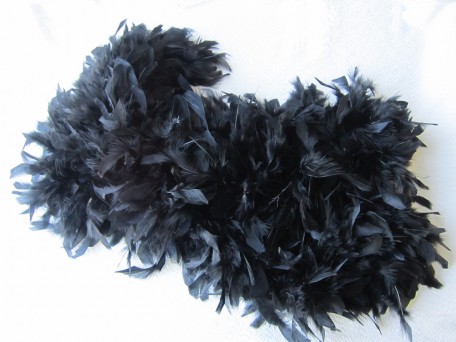
In 2008 I visited Trinidad and stumbled across one of the biggest Carnival supplier shops in Port of Spain… Samaroo’s Limited on Abercromby Street where I found this black one!
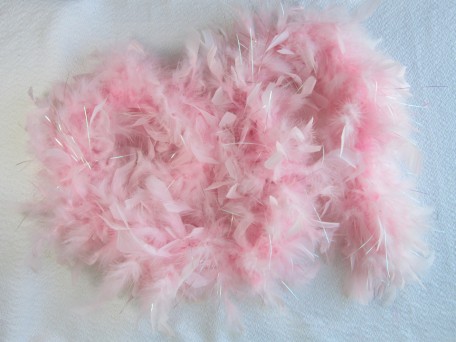
This one was my daughter’s that her grandmother (my mother) gave her when she was about 10-years-old. A few years ago she was reorganizing her room and stumbled across it somewhere in her closet. She asked me if I wanted it because she grew up and was not into pink anymore. I told her Y-E-S – I want it!!!! Does a bear poop in the woods! End of discussion and now I have a pink boa!
So about now you are asking what all of this has to do with a costume! Well… this next costume I want to share with you is a cornucopia of feathers! To start, let’s take a flight with Simplicity 2851.
This costume pattern includes what they call an apron. When I think of an apron, I think of what you wear when you’re cooking in the kitchen however, the apron you can create using this pattern is a whole lot different, really cute… AND certainly perfect for a Moulin Rouge costume!
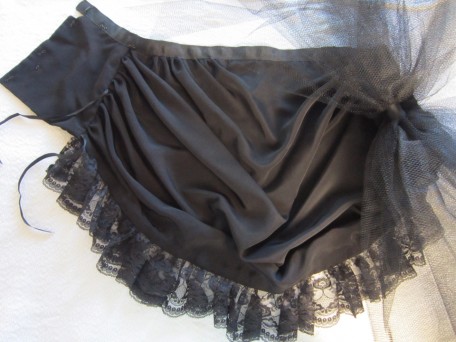
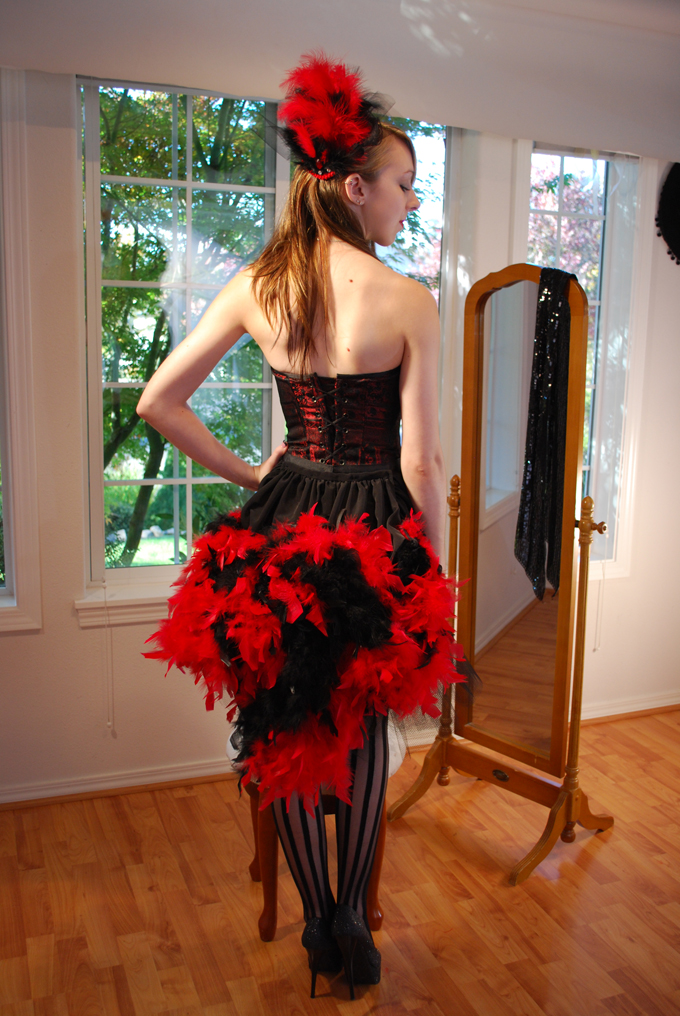
I started off constructing apron B, using black fabric that I chose for it’s draping qualities but for the life of me don’t remember what it was. I do know that I didn’t want to use cheap fabric so I was picky when I chose it. I was happy with the way it turned out but I knew that we needed some extra poof in the back, bustle poof to be exact so I made a giant bow out of black petticoat netting and fastened it permanently to one side with a snap that fastened to the other side when worn.
When it came time to sew the train, I knew that it was going to be too long for what I had in mind. I used only one puff and sewed the long train onto it just like if it was puff number #2. The train was still a little too long so I gathered the sides from where it was sewn to puff number #1 and down about 10 inches on each side. I took a picture to share but the picture looked so stupid and confusing that I decided not to post it. I think it would be easy to understand what I am saying if you were sewing this.
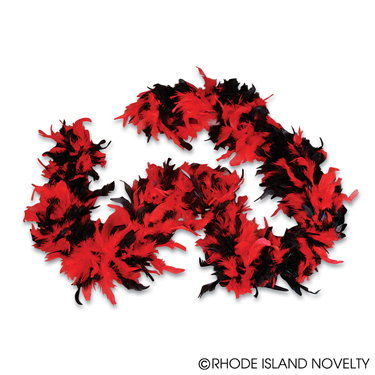
Now that I had got the apron/puff/train finished, it was time for my daughter to try it on. It just wasn’t working. Then an idea hit me… wasn’t sure how I was going to do it, but I saw feathers all over the back somehow attached to the puff/train. To the internets I went and after a bit of surfing, ordered three six-foot 60 gram boas. from Rhode Island Novelty. Why here? Well, they were the only ones that had a red AND black boa.
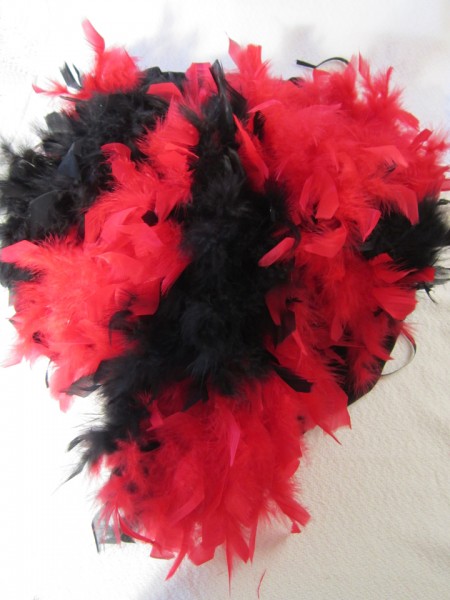
I spent an hour or two figuring out how I was going to attach them and when I finished, had my daughter try it on again. It was DA Bomb! This is it and the puff/train that it’s attached to is underneath.
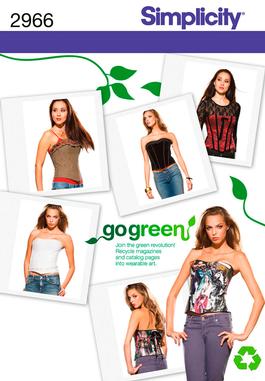
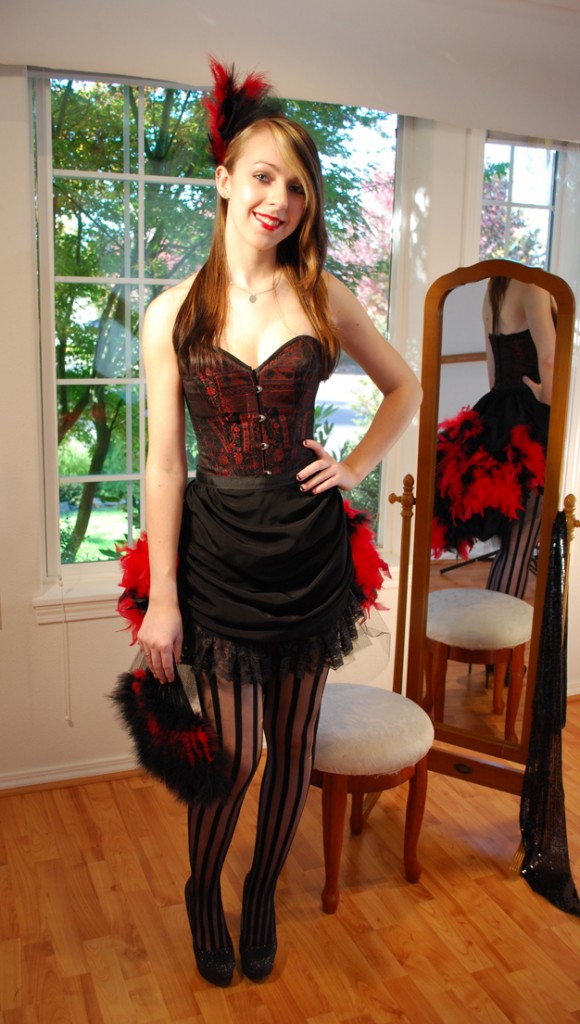
Now that the bottom half of the costume was taken care of, it was time to create a top. We already had a vision… a corset of course! After much thought, I decided not to draft a corset and instead used Simplicity 2966.
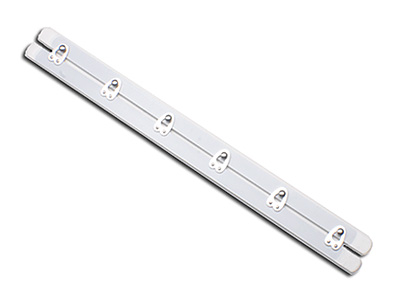
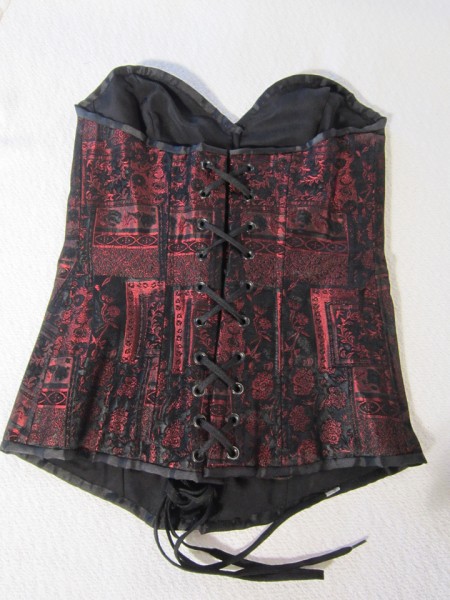
I had already made a few corsets and I knew the proper way to construct them so I used the pieces of this pattern but did my own thing for all of the construction. I used a Brocade for the outer fabric; underlined this with Coutil that I purchased from Tutu.com; and lined it with black cotton batiste. I think lacing looks cool but I wanted the corset to be a one-person job, in other words, I wanted my daughter to be able to dress herself! I therefore decided to use a 12 inch busk for the front which I purchased from Corsetmaking.com.
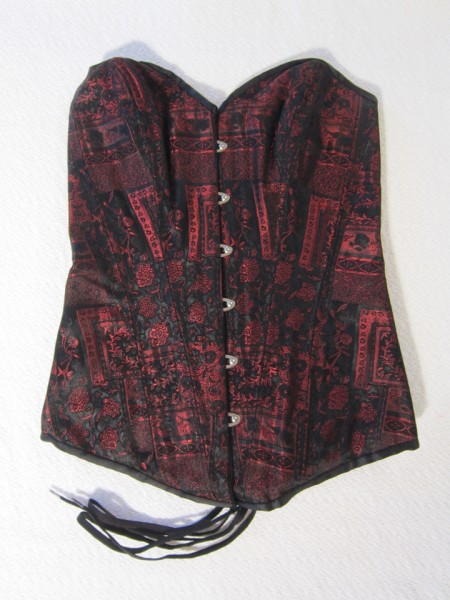
Below is a picture of the front of the corset. To finish the edges, I made bias strips to encase them using remains of the black fabric that I used to make the apron/puff/train.
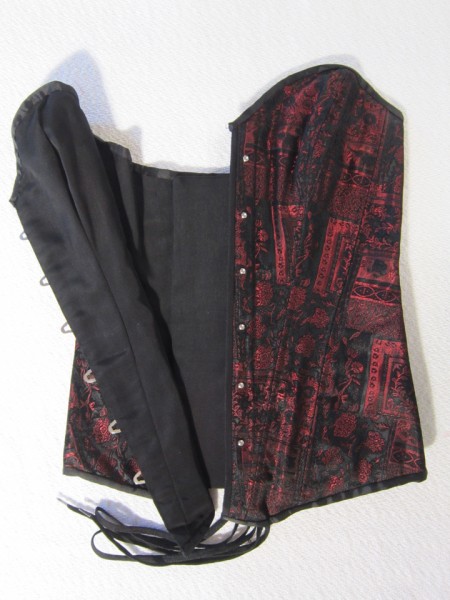
This is what the busk looks like when it is opened.
I put lacing in the back, but it doesn’t have to be undone so it gets to stay put and look cool!
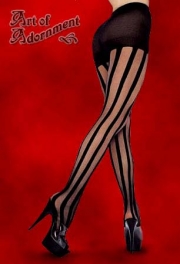
If you are a regular reader, by now you know that I really have a thing for accessorizing my costumes, a condition which all my children seem to have developed… even in their everyday attire! Calley and I decided that the right hosiery was necessary for our version of the Moulin Rouge costume so she chose these from Art of Adornment.
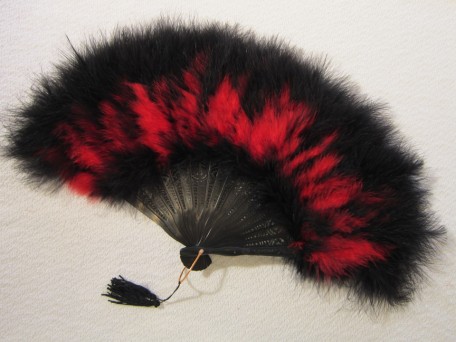
We thought a fan was in order!
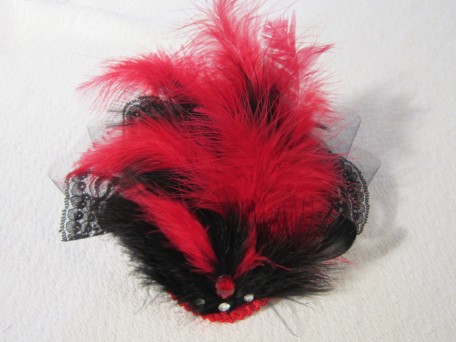
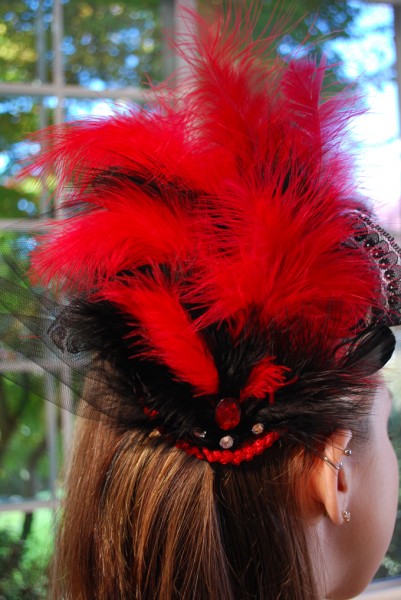
And there has to be something to adorn the head so I made this using sinamay, satin, lace, netting, red trim, lots of feathers, a red jewel and rhinestones.
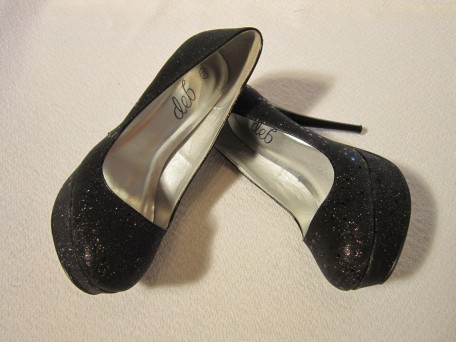
For shoes, she chose these.
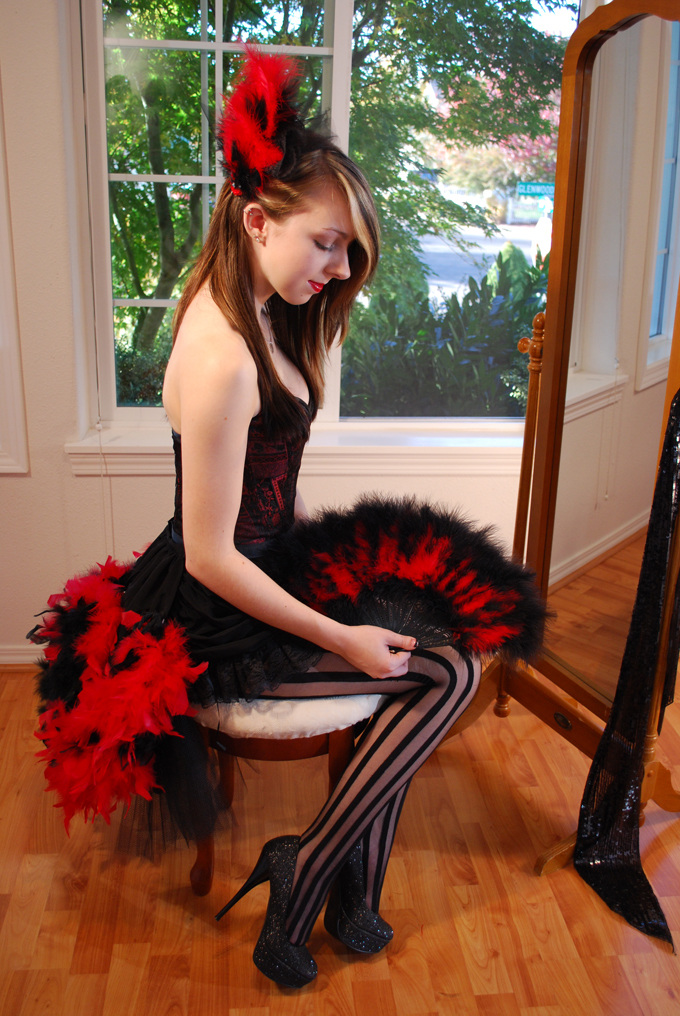
And… when you lump it all together.. Voila! You have Lady Calley!
The bustle of boas!
Hair adornment…
And a picture of my lovely daughter that was just too pretty to pass up.
Well… there it is, our version of a Moulin Rouge costume. Next week is zooming in fast and of course the grand finale of my costume presentation… It has taken me months to make this last one and is definitely an eye catcher in the light! Until then…
Salute! Jessica
Read MoreButterick 4827 Medieval Dress
Here is my son in total bliss in the vineyard. You might think it’s because he is spending the afternoon outdoors on a beautiful day. But nope… that’s not it. He is laughing his derriere off because he knows that he’s dragging home 300 MORE pounds of grapes for me to make wine out of! As of today while writing this, I have almost 500 lbs of grapes fermenting in my kitchen! We are going to be very happy people for the next year!
So there it is… since I’m knee deep in grapes, I’m a little bit late posting costume number4 for you but better late than never eh! In my last post, I mentioned that I was going to show you something renaissancey! I should clarify that what I am actually going to show you is medieval. The difference between Renaissance and Medieval is really nothing more than two different periods of time in history with the medieval period coming before the renaissance period. There… now that I have that covered, we are off!
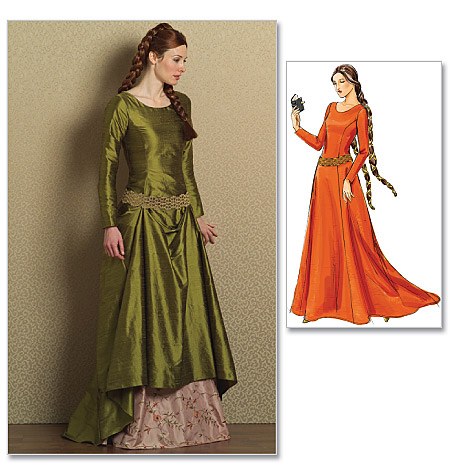
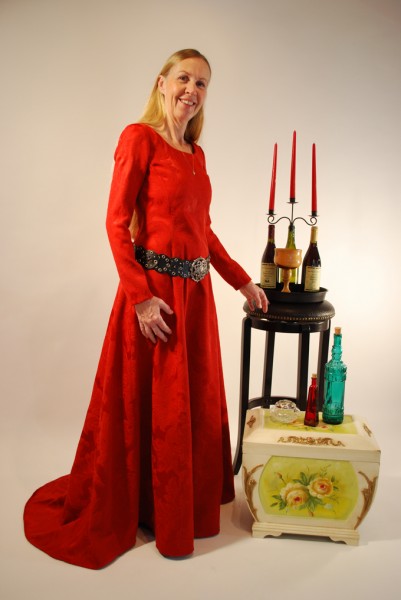
The Butterick 4827 pattern is a very nice put-together medieval dress ensemble.
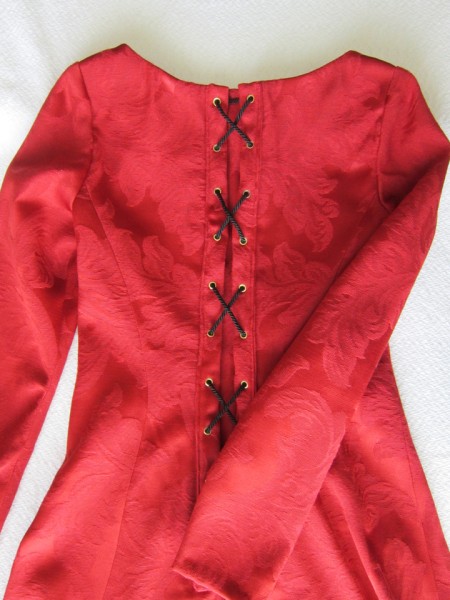
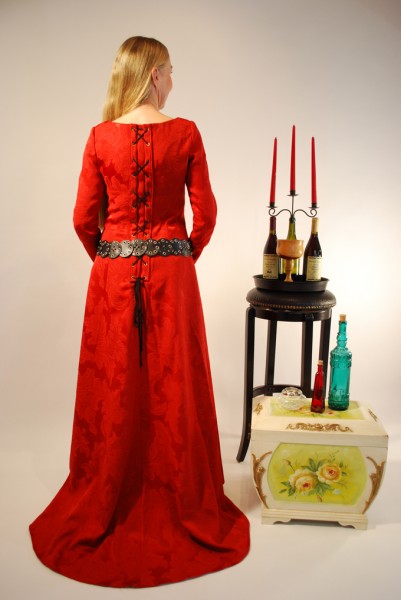
The only challenges to making it, from my perspective, are in the fitting and putting in the eyelets if you happen to get some of the crappy gold ones that I used! (Sorry to say it but I think they were a Dritz product) They did not set well and so have snaggy edges that are messing up the cording that laces up the back, replacing the need for a zipper. Yes! No zipper, but… be eyelet aware! They have some very nice grommets in assorted colors at corsetmaking.com which I have used since making this dress and they are definitely worth the trouble ordering. Grommets are just a little bit more heavy duty than eyelets but so is a zipper! Oh.. also a bit of warning… since the back laces, you will need help getting dressed AND undressed but that’s none of my business!
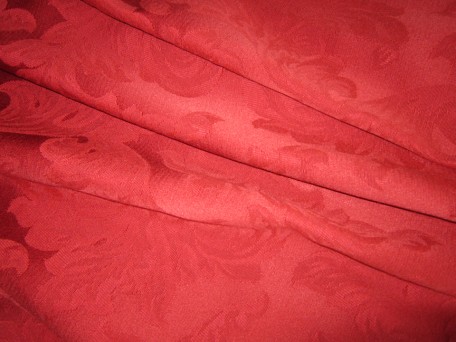
For the dress I used drapery fabric, a little heavier than I would have liked and which may have have played a little part in the eyelet disaster, but I loved the look of it and couldn’t resist!
The instructions are pretty easy to follow though I did get tripped up a little when it came time to make the bands that the eyelets are inserted in. The instructions talk about “the band” and it’s not until step 21 when the instructions say to apply eyelets to each band! Maybe I was just having a dork moment but there it is just in case it’s confusing to any of you.
The finished dress has princess seams with a small chapel train built into the length of the back. As I mentioned earlier, the zipper is replaced by lacing down the back.
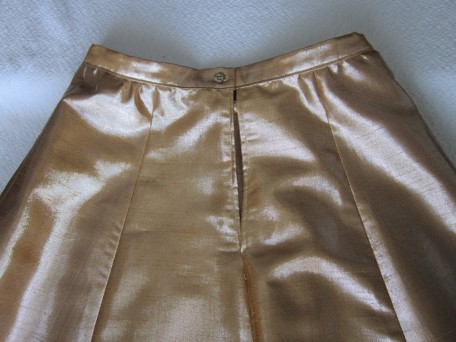
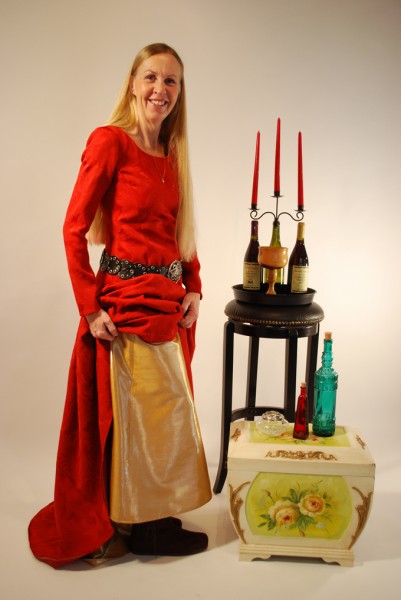
I made this dress several years ago for an SCA event and at the time did not make a skirt so to give this pattern a fair review, I decided to go ahead and make the skirt. I envisioned some sort of gold taffeta fabric with embroidered somethings on it but the fabric gods were not interested in helping me out! I had to keep reminding myself that it was just a costume so I found myself settling for some gold metallic fabric. I had many reservations, clear up until it was time to cut out my pieces. Following a glass of wine, I decided “who cares!” and started cutting. It was actually really fun sewing with it and I am quite happy with how it turned out. No zipper here either… just a button and buttonhole though you can finish it with hooks or whatever type of fasteners please you.
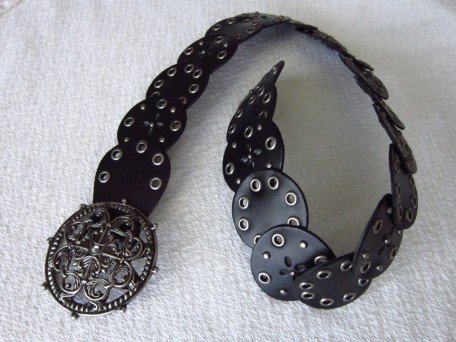
I loved the look of the belt that the model is wearing on the pattern envelope and assume it is made using the belt pattern pieces included. However… where do you find that kind of fabric?!!! Once again, I detoured and decided to go with something that I had stuffed away in a costume basket. I don’t know where it came from but I think it use to belong to my daughter.
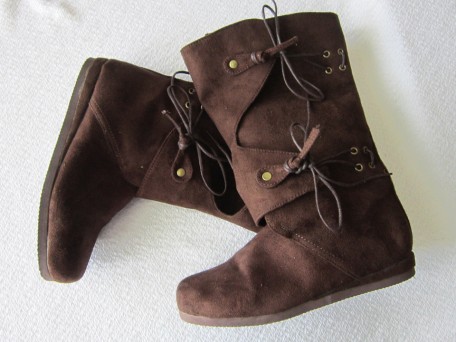
Of course there is footwear that must be considered! I purchased these medieval boots on-line at Costumes of Nashua. You have to scroll down a ways before you see these.
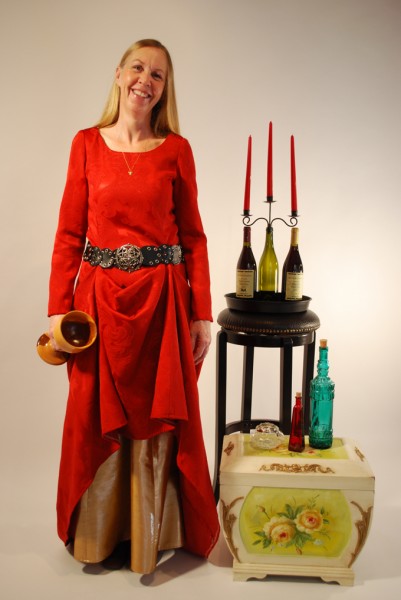
Okay! So there’s the necessary garb for a medieval female. And here she is doing her best to not look too tired! LOL
The fabric of my dress was too heavy to really look good hanging over the gold skirt. Fortunately it is being held up with safety pins that I can easily remove!
No skirt, but now you can see the dress and train.
Of course there is the interesting back…
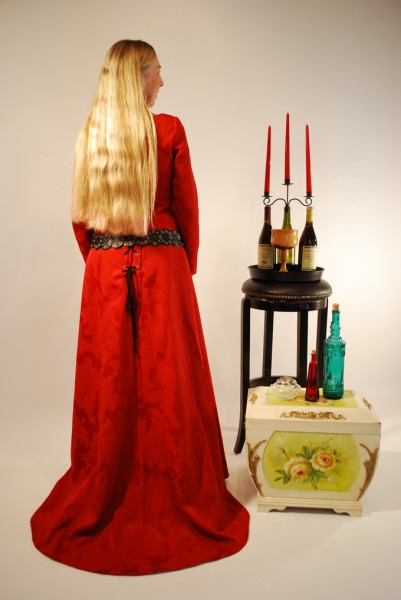
And one with my hair. Hey… it’s about the only thing that I was born with that I half like! I keep toying with cutting it off though…
And you always have to have a fun one! I was trying to show some boot!
Okay then. That’s it for this week… I hope this is helping give you some ideas for your Halloween debut if you haven’t already set to work creating something fabulous! Next week’s costume line up involves lots of feathers! Will see you then. Now I have to go check on my wine… and have a glass to celebrate finally getting this posted!
Salute! Jessica
Read More


 Portland, Oregon,


