"Fashion is not something that exists in dresses only. Fashion is in the sky, in the street;
Fashion has to do with ideas, the way we live, what is happening." - Coco Chanel"
Burda 8836 in Blue
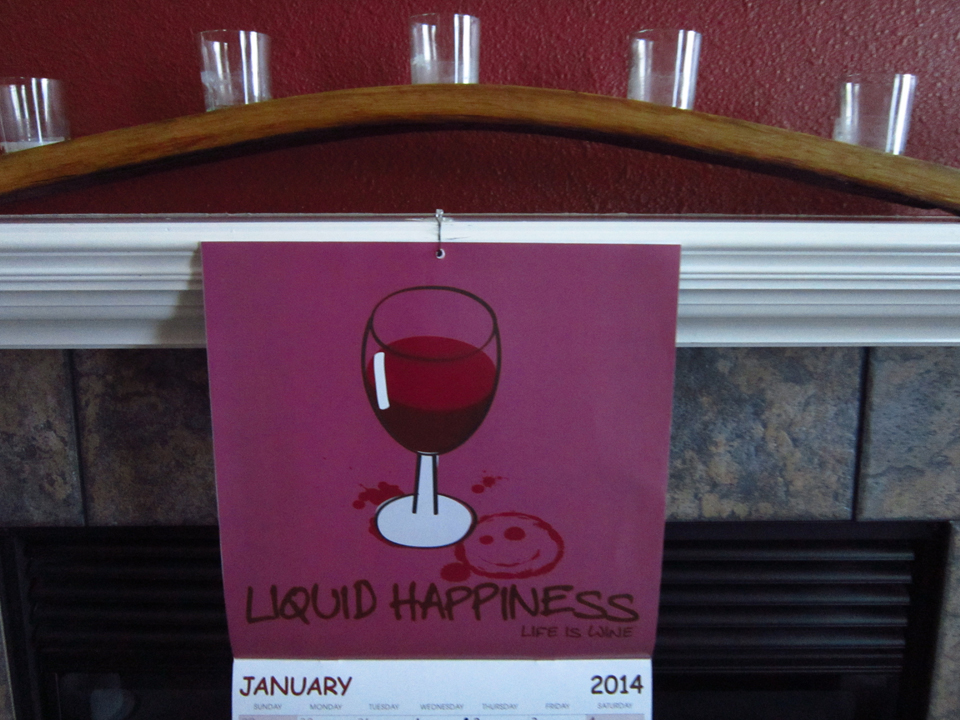 My new calendar for this year! I’m liking it!
Well I’m back! You were probably wondering if I fell off the earth… or something! Happy to say, nothing of the sort, just recovering from the holidays and adjusting to the beginning of a new year. It started off with a bang. Spent all day the 5th of January at Oregon Health Sciences University in the surgical waiting room… one of my sons had to have his gall bladder removed. Imagine that! He is a 27-year- old male and so this is sort of an odd thing. After the dust settled from that, I decided I better get busy and make my little Burda 8836 dress in blue. This project also ended up in the emergency room which is why I am so late in getting back to you. Oh… and did I mention that this same now gallbladder-less person is having a birthday at the end of this month and asked me to sew him a flannel shirt for a birthday present?!! Yes… I have definitely been feeling overwhelmed.
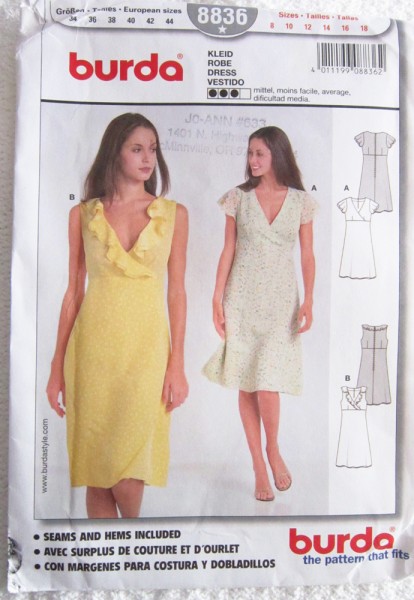
So I suppose you want to hear the grizzly details… of making my Burda 8836 dress, that is. Let’s see – where do I begin. Maybe a picture of the pattern first!
Originally I had imagined this dress in black, however I found myself not to excited to take on another black project since making the black jumpsuit, mainly because I need to improve on my lighting. I think what I need is one of those big bright lights you see at a road construction site! That would be so awesome! Okay, never mind, not logical, but you know where I’m coming from. Anyways, after much deliberation, I ended up deciding on blue. I have never owned a blue dress so I was feeling pretty jazzed about this idea. I spent about an hour at the fabric store wandering… and wandering… and…. then finally, I found a small bolt tucked in between several others that I just didn’t notice before. It was blue but with a red hue making it almost purple but not quite.
Interesting thing about this fabric. It was in the Georgette/Chiffon section which is the kind of fabric that I wanted but it feels like silk… sews like silk… even the lady at the cutting counter thought it was silk, but it was not in the silk fabric section. Hmm… maybe I got lucky and things are going to start shaping up!
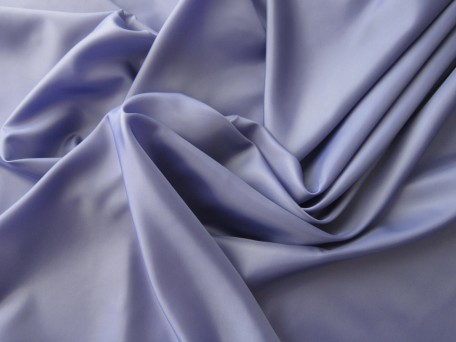
And this is my lining…
Okay… moving right along – this fabric business is where my disaster happened. The width of the fabric was less than 45″, can’t remember the exact measurement now… I think it’s intentional memory loss due to trauma! Anyways, I think what happened is that after much discussion with the lady at the cutting counter, I ended up with a converted amount of yardage and so I was a happy camper and off I went. After pre-shrinking, I laid out my fabric and as confident as can be, started cutting out the pattern pieces on the fabric. I really was paying attention in the process and it was when I got to the last piece, a skirt front to be precise, I realized that there was not enough fabric! Panic began to set in. My daughter had to go into Beaverton that day so I asked her if she would swing by the fabric store, in hopes that she would be able to buy me another yard of that same fabric. WRONG! No fabric, no where, no how!
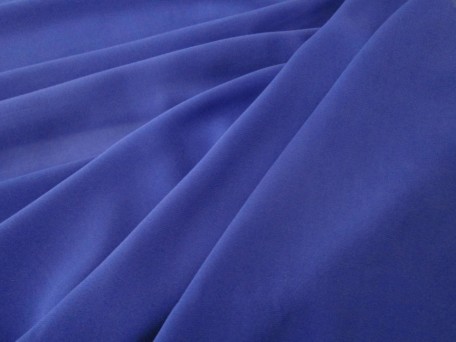
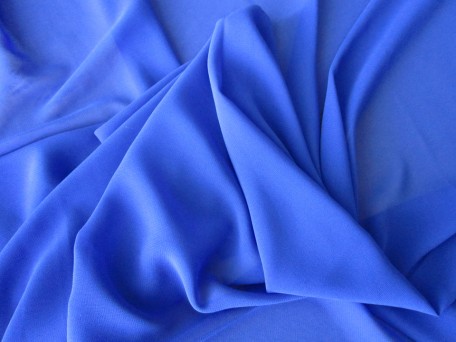
Some days passed as I stewed on what I should do. Then the light bulb finally turned on in my head and I figured it out. You see, the dress pattern calls for two skirt layers and since I did get all the bodice pieces and one entire skirt layer cut, all I needed was to find a second fabric that blended, contrasted, or whatever, that I could use as a 2nd layer that is sandwiched between the top layer and the skirt lining! It wasn’t what I really wanted to do because I saw in my mind two matching layers flowing with each other along the hem but since that wasn’t going to happen, this was certainly a solution to the problem. I went back to the same fabric store and wandered… and wandered… you know how it works. I finally had to settle on my best option, a solid blue Georgette in a totally different shade, but it was not to dark or too light so it didn’t change the shade of my original fabric when I tested it with a scrap. This is a picture of my blue Georgette.
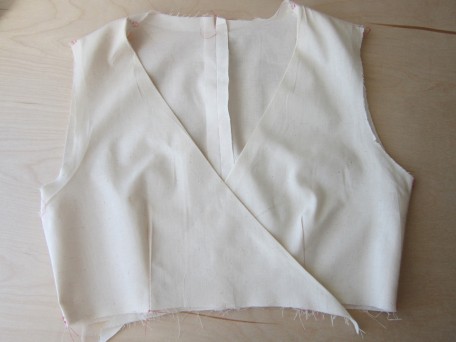
Alrighty! I was ready to sew now. I had already made a muslin of my bodice which I was happy with. The front…
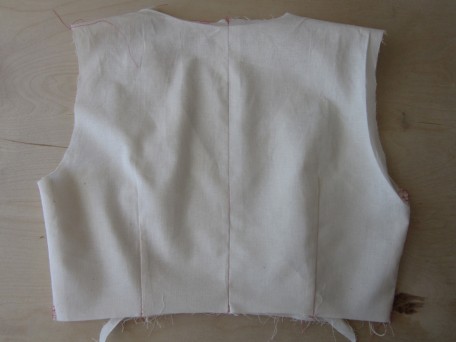
and the back…
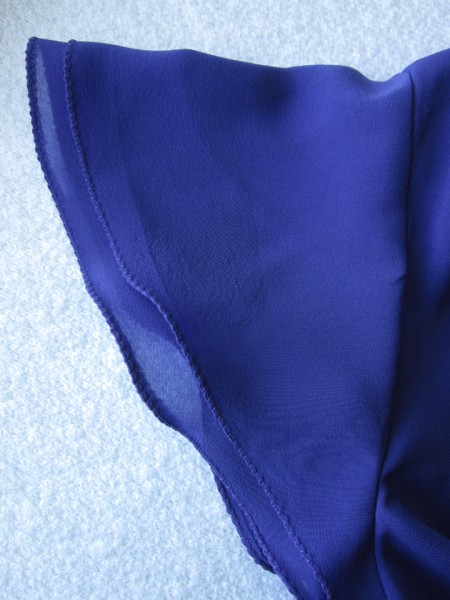
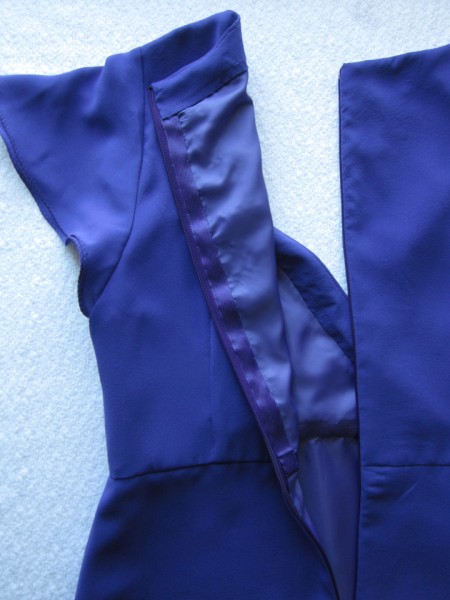
I am fussy with the inside of anything I make. I don’t think it’s an anal retentive thing! It’s just that when I feel my clothes are made really nice, then I feel good wearing them. Enough said right? So I really liked this Burda dress, but the design challenged me with finishing concerns. For the butterfly sleeves, I sort of did what was suggested in the pattern but not! I actually created an edge that looked sort of embroidered. Sort of…
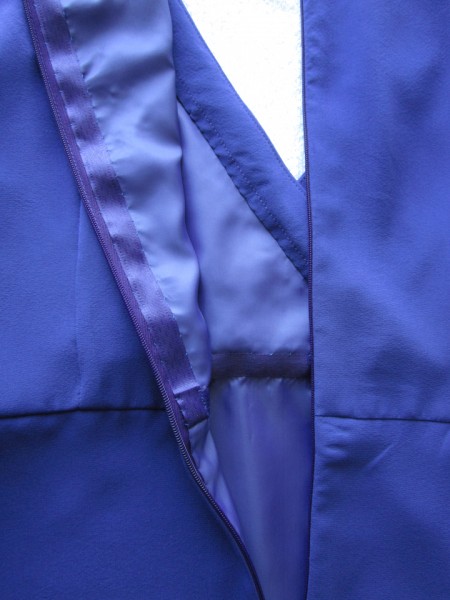
The way you put the bodice together does not allow you to use seam allowances to fold under to cover the stitching of the attached skirt or the installed zipper. I decided to use hemming tape to cover up both areas. I am not sure I am happy with the look of the hemming tape but I went with it.
I am an invisible zipper addict and since I used one in this dress, I had to definitely bind the edges.
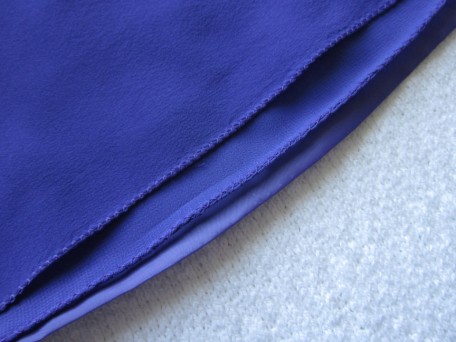
The pattern instructions said to finish the hem the same as the sleeves so that is exactly what I did. I did however make the Blue Georgette layer shorter because I wasn’t liking the contrast. It looked to me like the slip was showing!
Alright then. I finished the dress and I really love it. I think sometime this spring I am going to make up the option A style with the ruffle around the neck… AND I think the fabric will be yellow!
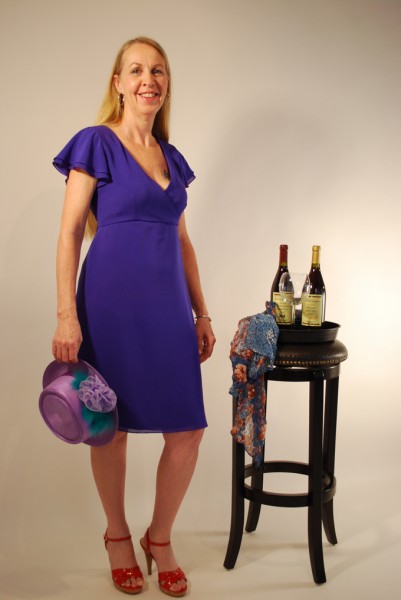
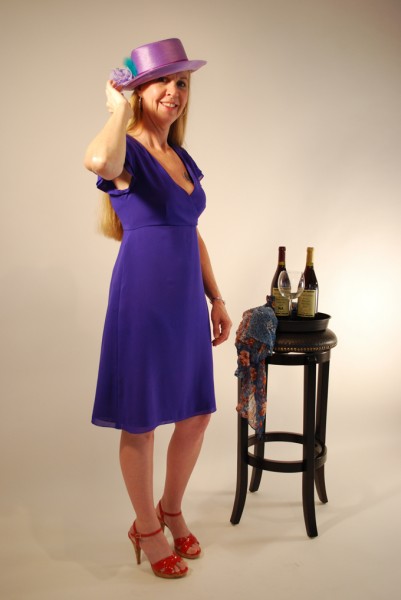
Here is the finished Burda 8836 in Blue! The hat is a little goofy but I was having trouble getting into photoshoot mode…it was part of an outfit my son had to wear for his bachelor party!
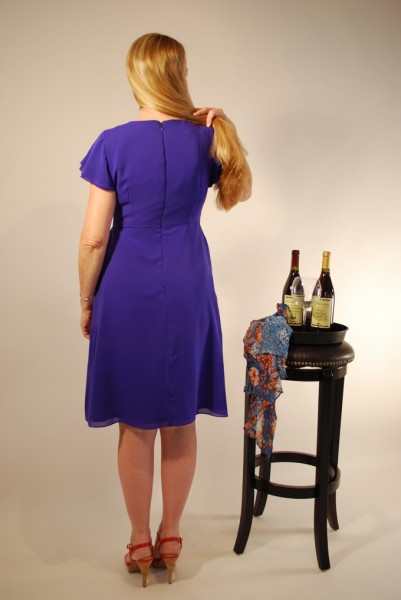
The back of course….
Goofing off as usual…
Now I’m ready to head out to the Wine Cellar and celebrate! Feeling pretty good in my blue, maybe silk, dress. And lots to celebrate… including that I’m almost finished with my son’s flannel shirt, got my 2013 taxes done and started bottling my wine so everything is momentarily alright in the world. Look out 2014… Here I come!
Salute! Jessica
Read More
Pajama Extravaganza Butterick 4406 and 5433
Pajamas are an important garment to most everyone right! Lots of stores certainly have this figured out. They are meant for wearing when you sleep of course but they’re really not just for sleeping. If you are in my family unit, they are what we change into when we want to get out of our not so comfortable street clothes; they are the necessary attire for movie marathons on Netflix; they are what we wear when we are putzing around the house doing whatever we want, their warmth and comfort validating that in our own little domain, we are in control… for the moment! Each of us gets to fly our own colors and flaunt our favorite animals and symbols. When one of us puts on our P.J.’s, it’s an unspoken message… “yes, I am home and I’m not leaving for a while.” They may be flannel, fleece or jersey but no matter, pajamas are a keystone that holds my family together.
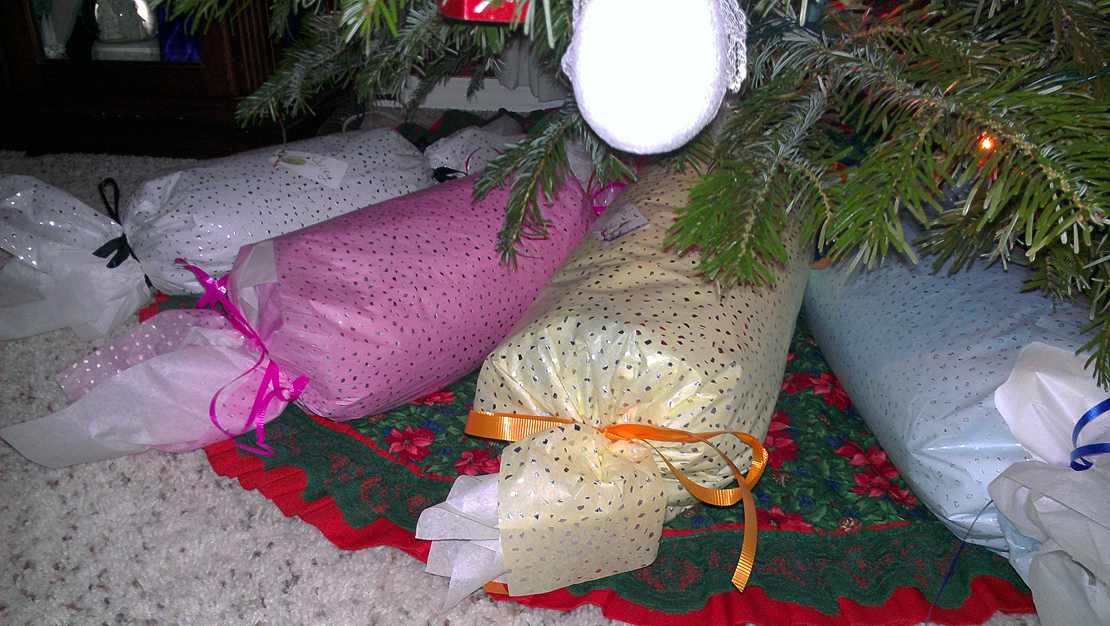
Pajamas a keystone? I know this may sound like an odd thing to say but it’s true! They are one of the major elements that binds us together, especially during the Christmas season. For a few weeks before Christmas pajamas are a focal point in the shopping experience. I of course am always responsible for taking care of the kids, but they are in charge of taking care of me! It gets pretty interesting for the boys. The girls have drug them through lingerie departments and Victoria’s Secret! Of course they have no idea what I have in store for them. They wait as patiently as possible for the official packages to present themselves under the tree! The kids have dubbed them “tootsie rolls” because they are a always rolled up in tissue paper and wear ribbon ties on each end. When the early Eve of Christmas arrives, we all get to unroll our tootsie rolls, don our pajamas and then the revelry begins! Yes… we party in our P.J.’s for the whole evening! Our friends and neighbors know of this strange custom and think nothing of it… anymore!
This P.J. addiction has been going on since the very beginning of my children’s existence though the tradition started long before then. As a little girl, I remember always getting pajamas. They were wrapped and placed under the tree for the grand opening Christmas Eve. We of course wore them to bed awaiting the visit from the fat guy in the red suit! (another weird custom!) I can’t say that I learned all my lessons very well growing up… however I did hold on to the pajama mania, certainly an oddity but it has been so much fun through the years that I’m glad I did! I owe it all to my mother… thanks Mom!
This year I decided to sew pajamas for my children. A wonderful woman who is in the American Sewing Guild Garment Group that I belong to inspired me to do this; Joyce, is her name. She was making P.J.’s for all her grandchildren that included embroidered pictures on them matching each child’s interest. I don’t have an embroidery machine but I knew I could do plenty of damage with fabric and color so I thought… why not! This is going to be cool! I’ll make my kids P.J.’s for Christmas this year!
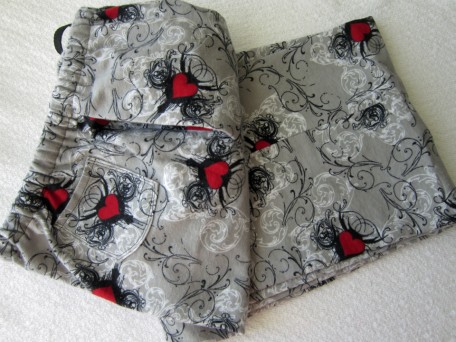
Okay… so I only had to make 4 sets of adult sized pajamas… 2 girls and 2 boys. Yeah I know… how can I say…only 4? Sets? Hey, I try to be an optimist regardless of how impossible things appear! First up… I had to purchase fabric. What and where was a challenge. I searched through my local fabric stores. Flannel was either a blend of cotton and polyester or 100% cotton. Sort of a purist by nature, I decided to go with 100% cotton and the softer the better. I don’t know a lot about flannel, have never really researched it because I’ve never made pajamas before. I ended up choosing flannel from Jo-Ann Fabric and ordered it on-line for quite a bit of savings due to an on-line sale. This was quite helpful since I needed to purchase 26 yards. The only draw back… the fabric didn’t arrive until December 10th. So I had two weeks to make 4 pair of pajamas… what was I thinking! Oh yeah, I wasn’t thinking! I was determined though and was not going to give up – like the little engine that believed it could… I think I can, I think I can, I think I can!
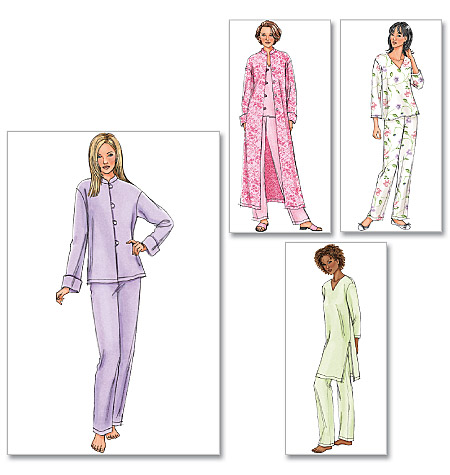
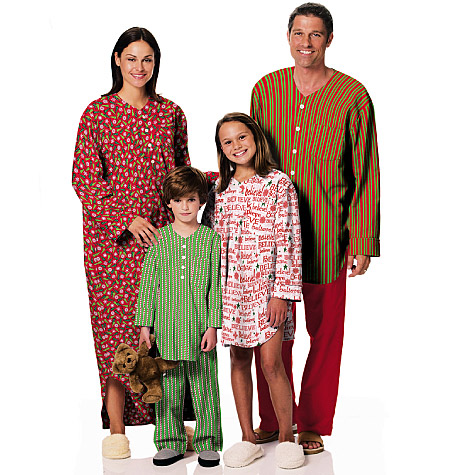
I chose 2 patterns for my big pajama extravaganza challenge! Butterick 4406 and 5433.
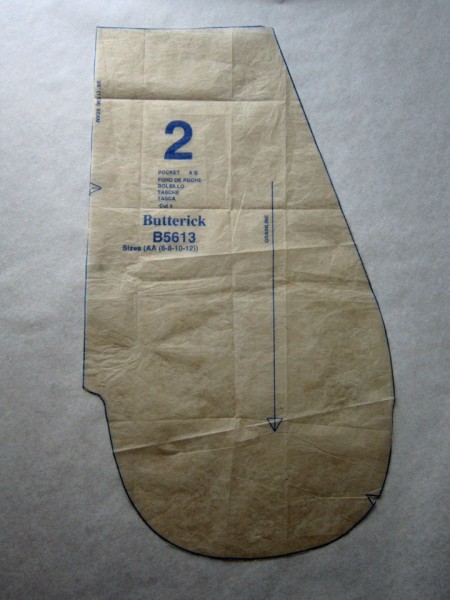
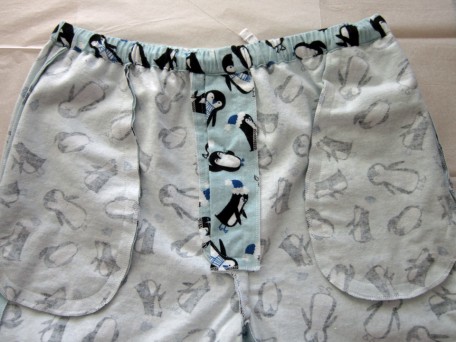
The patterns are very easy to follow… they are pajamas and so they should be right! For the girls, I decided to make the pants and tunics. I had already been informed by my daughter that she didn’t want long sleeves so that was the first style change. For the boys, I made the pants and shirts per pattern instructions though I did shorten the length of the shirts some. Hopefully this won’t be a problem! It’s just that the pattern pieces looked really long! I also decided to throw in some side-seam pockets on all of them. Gotta have pockets! They all have to have some place to put their cell phones… right??!! I borrowed a pocket pattern piece from my Butterick skirt pattern.
How did I do this? I applied KISS (keep it simple stupid)
First: I sewed 4 cut out pockets, 1 for each front and back side (4 in all). I placed the top of each pocket right at the fold line for the waist band casing and then sewed them all in place.
Second: Pinned the front and back sides together as well as the pockets which should be pressed away from the pant legs (forgot to take a picture for an example… I was sewing like a mad fool to make the deadline!)
Third: Measured down from the fold line of the waist 2 inches, marked that point and then stitched the front and back together from top of waist (edge of fabric) to that point. I then measured 4 3/4 inches down from the same fold line but this time started stitching the front/back side seam at this point and going clear to the end of the leg.
Fourth: Sew the 2 pocket sides together starting perpendicular from where the 2 inch section stops, across the pocket and then down and around staying at 5/8 until having to quickly and sharply rotate the fabric until you are stitching straight across the side seam, perpendicular to where the 4 3/4 inch seam starts. Voila! Pockets!
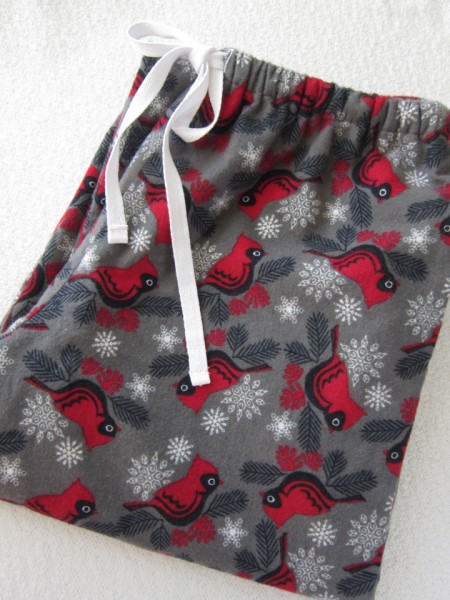
The pattern for the girl’s pants didn’t include the styling for adding a tie that resides in the casing along side the elastic so I added this feature.
The other pattern that I used for the boys did have this. Besides looking cool, my thought was that if the waist band was to big, they could remedy the problem by using the tie. Awe…. I had my thinking cap on! To do this, you just have to make 2 buttonholes, each off center 1/4 inch. Remember though that you have to allow for the 5/8 inch seam so the buttonholes need to be 7/8 inch from the edge of the fabric, 5/8 plus the 1/4. I reinforced the buttonholes by first basting a 1 inch square of fabric behind the area where each buttonhole was to be. I used twill tape for the ties.
The girls pants still seemed like they needed something more so I ended up sewing a back pocket on them.
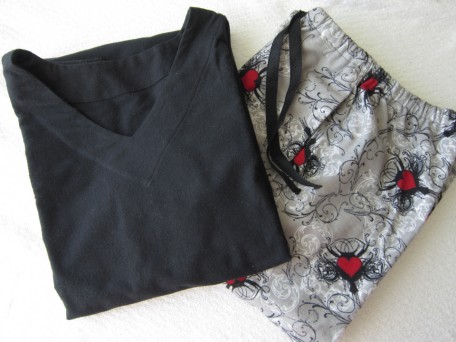
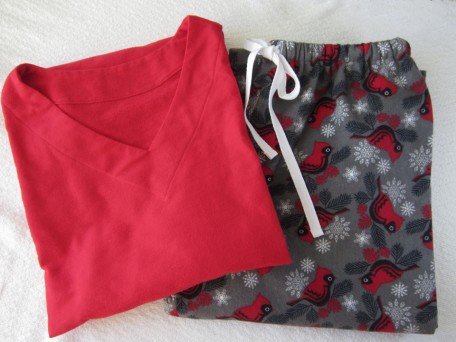
Since I was sewing in a medium weight flannel, I chose to not use interfacing on any of the tops/shirts. I hate that iron on stuff anyway! I don’t know why, I just do! On the girls tops, I sewed the facing to the top front rather than just tacking it to the shoulders. I personally like facings to be well attached so that I’m not having to smooth them down while trying to put the garment on!
The girls P.J.’s with the facing top-stitched.
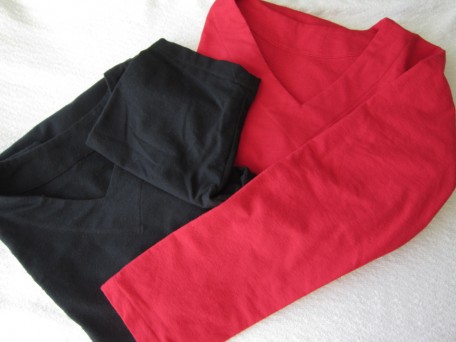
As I mentioned earlier, my daughter requested short sleeves so I indulged her! My daughter-in-law however, gets cold easily, like me, so I thought I would give her long sleeves. The problem here was that the pattern is a 3/4 sleeve length so I had to get a little crafty but it was manageable. I just cut the sleeve pattern piece at the shorten lengthen line and added the length I needed between the two pieces.
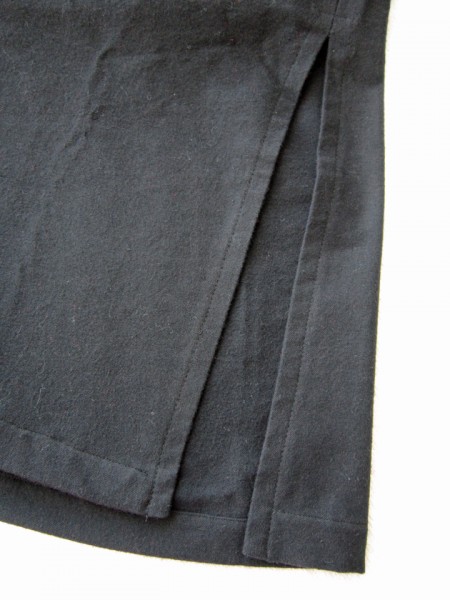
These tops are tunics so the sides are not stitched clear to the hem. The fabric in this picture doesn’t look as black as it. Black flannel really attracts fuzz too!
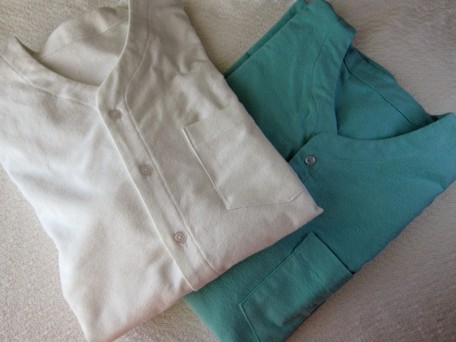
The Butterick 5433 pattern shirt seemed simple enough when I started but ended up being about as much work as making a shirt! It was still fun though. Making the pleat in the front below the buttons was a little confusing to me and so while it seems to be fine, I did have a wide space between the point where I sewed across it and the bottom buttonhole. I decided to get creative and sewed an X across this space. Awe Crap! I am just noticing that the picture below which I had taken to explain the X’s doesn’t show them! Another DERP moment!
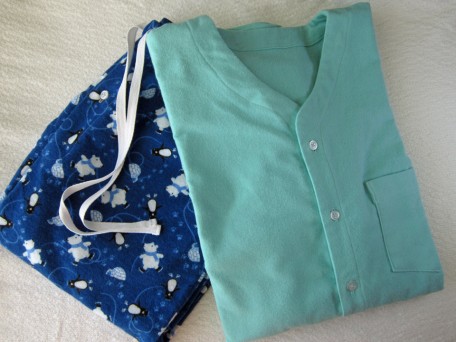
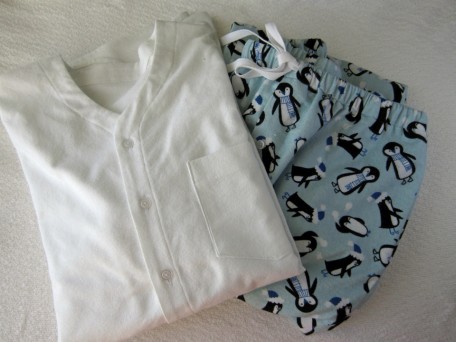
Well… here are the boys pajamas minus the “X”!
The bears and penguins are a bit cutsey for young men but they were the ONLY bears and penguins I could find in flannel! I told you I could do damage! It must be the South Pole Elf in me! 😉
The big moment still awaits… it is Christmas Eve day so the “tootsie rolls” are still waiting for their debut. I am not going to post this until after this event and hopefully will have coerced my munchkins to do a photoshoot that I can share with you. Hang tight and treat yourself to a hot tottie with me… I’m thinking hot buttered rum! Be back soon…
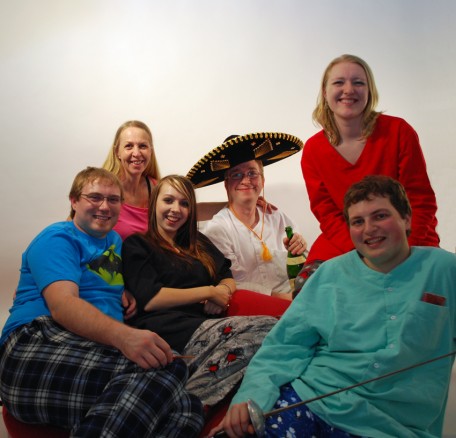
I knew I could, I knew I could! It’s just after midnight… rolling into Christmas Day, but in the best form possible, here they are!
We have an addition to the group… the gentleman wearing his P.J.’s with a Batman T-Shirt. I cannot claim fame for making his but I’m proud that he was so willing to participate in the P.J. Extravaganza!
In what ever way you celebrate this time of year, I wish you the very best! Now its time for me to get back to the revelry!
Salute! Jessica
Read More


 Portland, Oregon,


