

Tricked So No Treat Part 1
Why, you ask, is the above picture a snapshot of an empty mail box? Well there is an answer! The short version… ordered 8 yards of trim for the Halloween costume I was making to share with you in this post but it never came! Boo-Boos do happen (pun intended!) … have made at least a few of my own, so rather than blame the business I ordered the trim from, I decided to not spend energy on ranting about the fact that I don’t have a finished costume for this article one day before the big “Trick Or Treat” event and instead, share what I have got done so far in a Part 1 with a Part 2 to follow. And what will I wear for the party tomorrow? Well… I finally have a reason to justify the dozens of costumes I have, stored in boxes and containers and stuffed everywhere in my house…they are my back up plan for when something like this happens!
**Note to self: You just ranted!
Okay, moving right along. So… the costume I’ve been working on is an historical period garment. The pattern is Butterick 4093 that was available in 2003. Unfortunately being that it was 11 years ago, this pattern is no longer available.
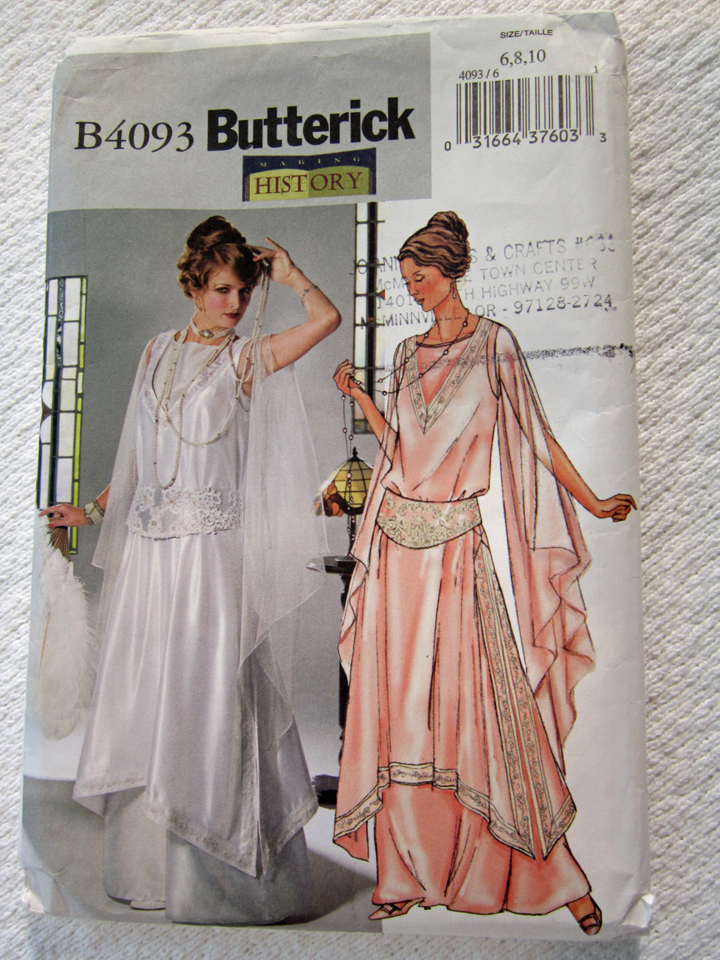
I don’t remember what my thoughts were when I bought the pattern, maybe I just thought it was pretty, but here in 2014 with Downton Abbey being so popular, it seemed like the time to break it out.
For my fabric, I chose Chiffon for the gown. It is the perfect texture and color for the tunic that fits over it made from Crepe Back Satin but unfortunately because of it’s thinness and low neck-line of the tunic, an additional under layer is gonna be needed! This was a total “OH CRAP” moment. I never thought about it when choosing my fabric.
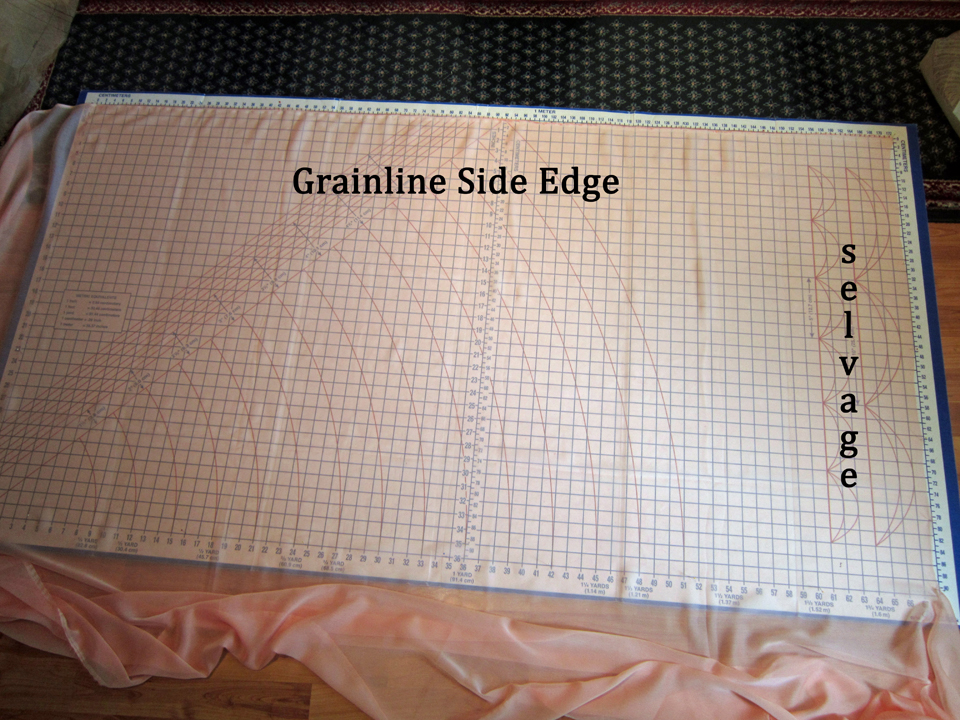
I worked out a system for cutting my pieces out of the chiffon. I laid a cutting board that you can buy at Jo-Ann Fabrics on the floor and then pinned one grainline side edge onto the cutting board. I used lots of pins spaced about 2 inches apart. I next gently pulled the fabric to pull out the wrinkles and make it smooth across to the opposite side leaving the remaining fabric lying off the board and on the floor. Then I pinned alternately, the selvage along the end and the fabric laying over the opposite edge of the cutting board, continuously smoothing and working with the grainline so my finished gown would hang properly when wearing it. Because this fabric is very thin and light, I think it’s really important to pay attention to what it does when you are pulling on it. It’s not hard, but you do have to be patient!
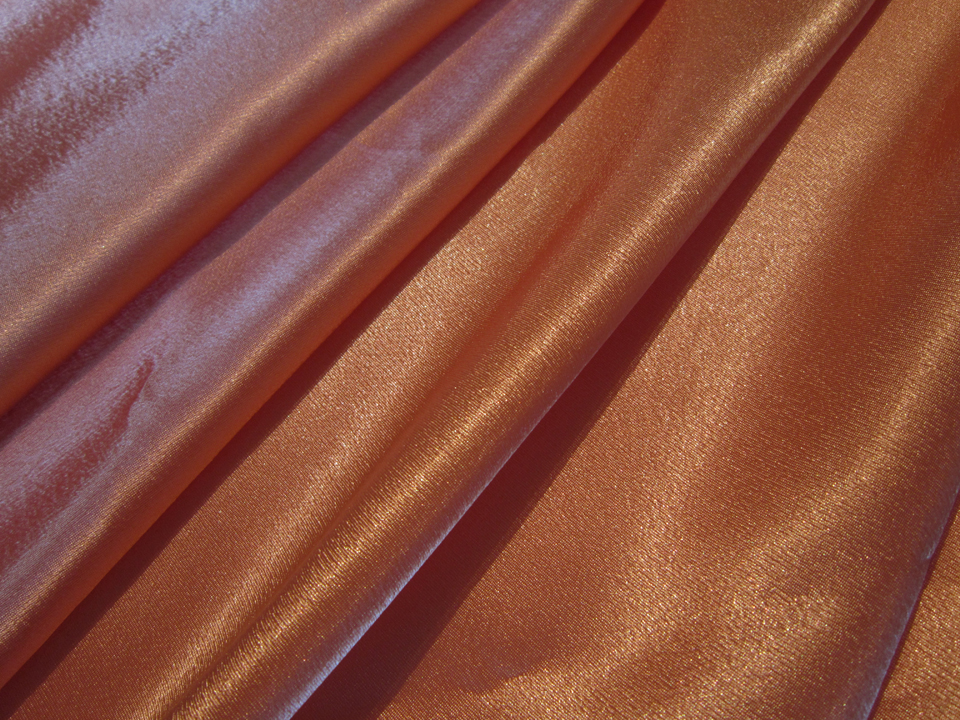
Cutting my pieces from the Crepe Back Satin went a little quicker because the fabric is heavier though it was slippery so I used my pinning technique that I used for the chiffon. I did get bold and cut my pieces on the fold! Risky but it worked out! Below is a picture of the fabric.
There is a third piece to this costume, a girdle, and for it I chose a gold Brocade embroidered with colored thread that looked perfect next to my Chiffon and Crepe Back Satin.
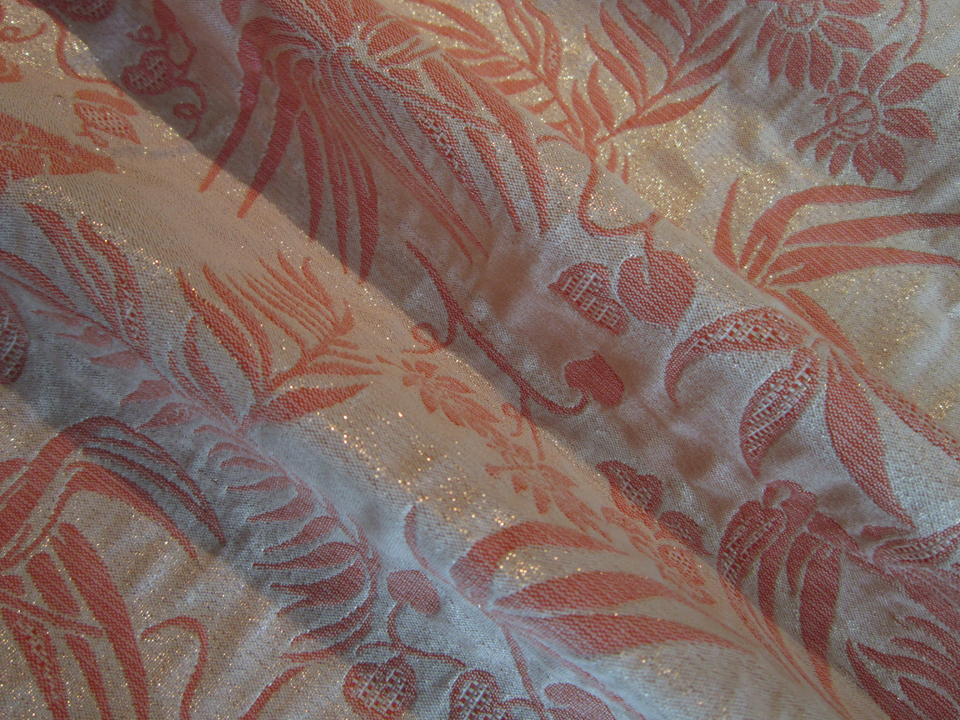
Here is a mix-up of the three. See… they look good together!
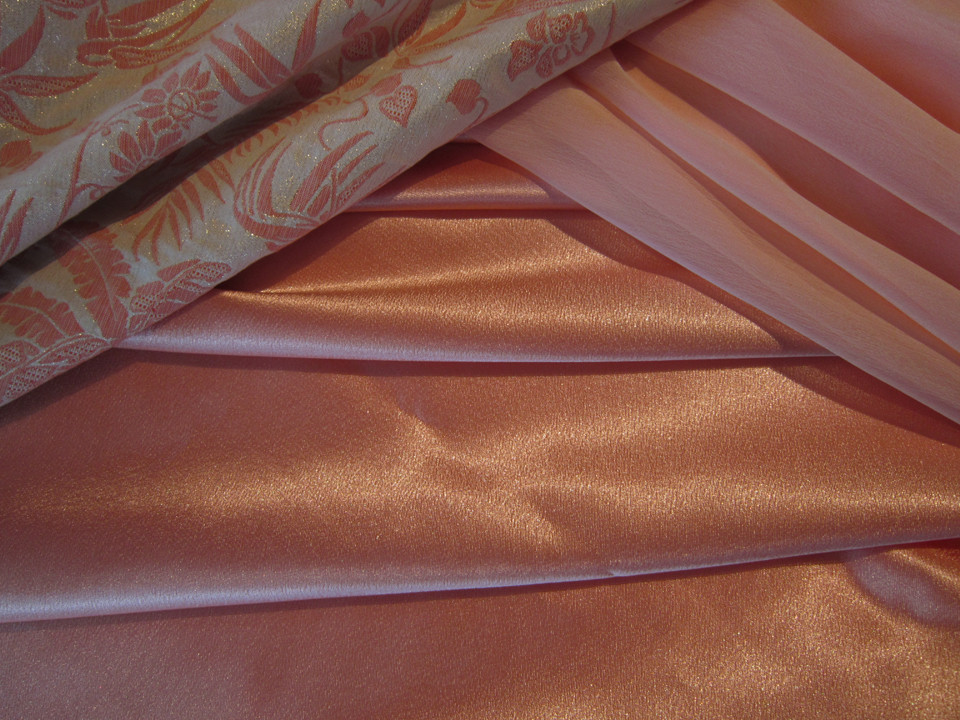
Hey, I’m stretching this out so this posting has something interesting in it. It’s not my fault!
The gown I made first because I thought it would be the biggest challenge due to the sheerness of the fabric. Surprisingly it actually went quite well. I did make my own bias tape and used the same Chiffon for it.
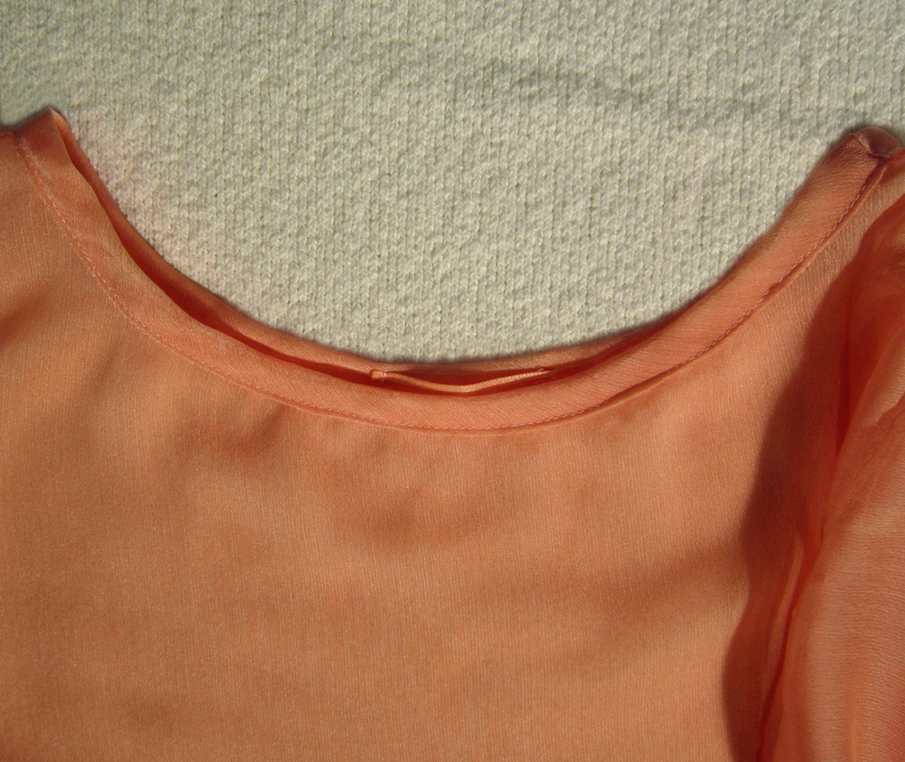
The sleeves are sleeves, but not sleeves! They are connected for about two inches down past the point at the end of the shoulder, but from there to the hem they are open.

The tunic I found to be a little more of a challenge than the gown. It was like sewing… uh.. I hate to say it… “snot” because it sounds gross but it’s the best analogy! Once again, patience was my best tool of defense! Believe it or not, I changed absolutely nothing and followed the pattern instructions exactly when I made the tunic! And I might add that it went very smoothly.
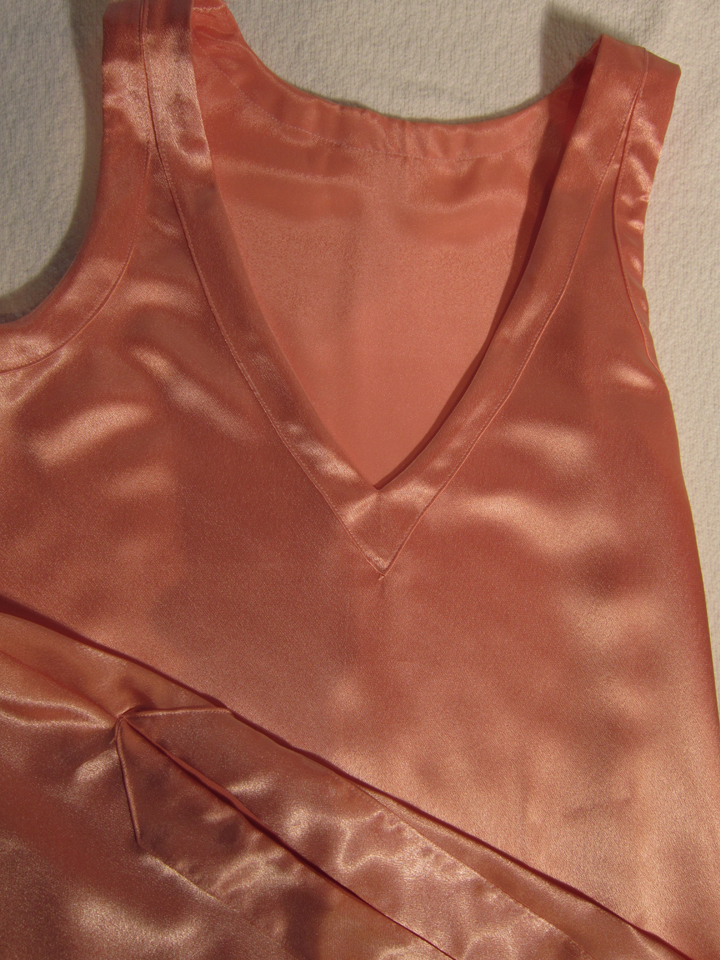 The two folds towards the bottom of the picture looking like a “V” pointing dowards are actually one of the sides. I just folded it upwards into the picture.
When I finished sewing the tunic, this is when the production line shut down. I needed trim, 8 yards of it to be exact, and I faithfully checked my mailbox every day thinking that it would be there because I ordered it!. Several of those days I even made my son go check the mail for me in rain that was pouring down in buckets… (well I wasn’t going out there!). But alas, no trim. While stuck in stand-by, waiting for the missing package, I figured it was the perfect time to finish the girdle. Hey – that’s what it’s called! There is really nothing to it. There is a front panel and 2 back panels that fasten in the middle of the back, and then it is faced to enclose the seams. This part of the costume I have been chipping away at for a while because I have been sewing beading on it. More specifically, pearls, bugle beads, sequins, and glass beads as well as gluing on Swarovski crystals. It has been a work in progress but it is done.
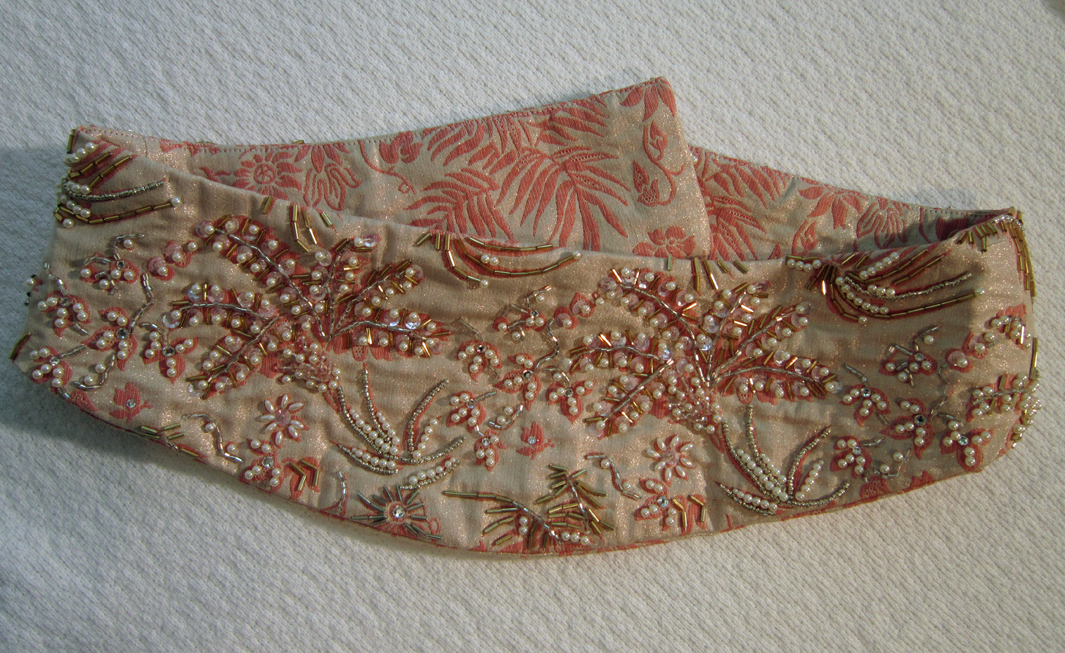

It is actually very sparkly and bling-y but I was having trouble with my lighting today so it is what it is!
Good news! My trim has been shipped so when it arrives and I get it sewn onto my tunic, my ensemble will be ready to share! Until then, have a fun Halloween, stay safe, stay warm and here in Oregon, stay dry!
Salut! Jessica
Read MoreAbout Me
 Portland, Oregon,
 United States
Hi there! I’m Jessica Brandon and I am a clothes-loving sewing artist. When I am not sewing, blogging or shopping for shoes for my creations, I fill in the remainder of my days spending time with my children, playing ice hockey, gardening and making and drinking wine!


Up Coming Projects:
Vogue 1426

Vogue 7881

McCall's 7089

Vogue 8997

Vogue 1431

Vogue 9006

Vogue 8991
